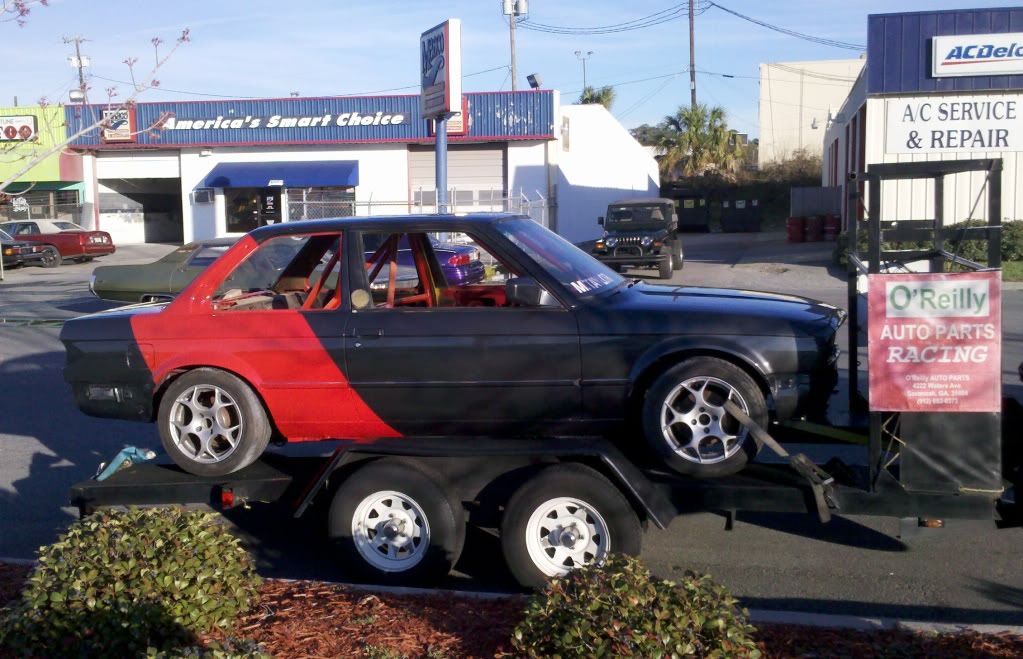
Big weekend for New#6.
The big news is that the clutch seems to have fixed itself. I’m not quite sure what the deal is, maybe sitting for a couple yrs unloved caused something odd in the clutch hydraulics but the clutch now travels far enough to disengage engine from tranny. I was wrong about the plastic clutch fork pivot pin being missing, it’s there all right. After working the pedal many dozen times, all the sudden it started engaging the fork earlier. I started the car with it up on jackstands and I was able, for the first time, to shift gears with the motor running. God how I love it when things fix themselves. I’m cautiously optimistic that I don’t have to drop the tranny.
Not having to drop the tranny means I’ll go ahead and backburner the various schemes I’d been draming up to either replace all rubber shift linkage bushings with brass, or just buy one of those fancy BimmerWorld shifter kits that bolts right to the transmission tunnel.
Tranny issue seemingly resolved I moved on to front suspension. And of course, it was harder than I expected it to be.
New#6 came with some kind of fancy coilover front suspension that, not being SpecE30 legal, I’d not paid much attention to. What I wanted to do was to simply move the suspension from smashed Old#6 to New#6. Near as I could tell, except for a busted control arm, Old#6’s front suspension seemed to have survived.
Saturday afternoon I had to pause and consider the awesomeness of the day. It was a warm January afternoon. I was working on my race car. Having gained some expertise the hard way, I knew exactly what I was doing (I was torching brake lines to unfasten them). I had 80’s tunes in the background. It was pretty damned awesome. I went in to the house to tell my wife about how awesome the moment was.
After taking the garbage out I returned to the garage.
Pulling the PO’s front struts off of New#6 was easy. I noted that the ball joint boots on both the tie rod ends and and the control arms were torn. I replaced the tie rod ends but not having spare control arms nor wanting to fight with control arm bushings, I let the control arms go. I’ll replace them next Winter or something.
Getting the PO’s camber plates off turned out to be a little tricky. The PO had used USCS (United States Customary System, what we used to call English System until they too went Metric) instead of Metric hardware. It took me a while and a few damaged fasteners to figure this out. At midnight Saturday night I was getting my butt kicked by the fact that I didn’t seem to own a 1/2" socket in 3/8" drive.
But I did have a 1/2" socket in 1/8" drive. I soaked the camber plate bolts in penetrating oil, used a 1/8" adapter on a 3/8" socket wrench, hammered the 1/2" socket on to the unhappy nuts, and than turned the 1/2" socket with delicate care knowing that the 1/8" adapter would probably snap at little more than 15ftlbs. And the nuts came off.
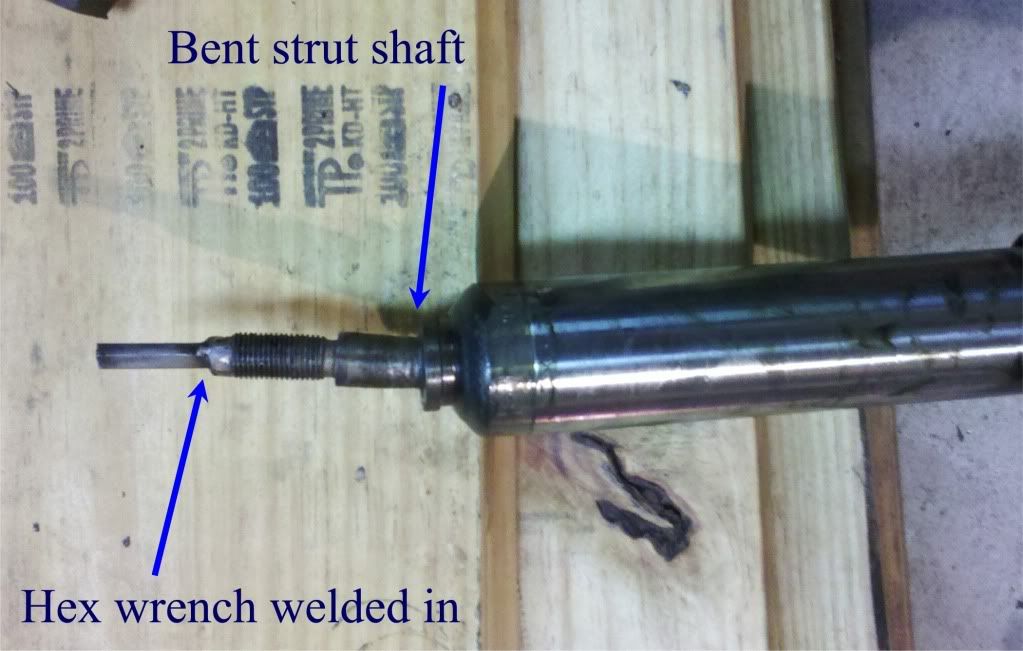
Then it got hard. I couldn’t get my old camber plates off of my old struts. The hex “inny” on the strut shaft needed to work against the top nut and some rust had developed there with Old#6 under a tarp. The hex “inny” stripped. On both struts. At this point it also became clear that one of the strut shafts was pretty bent at the camber plate, see pic. 
You think I could have this strut shaft straightened and it would still be safe? These struts shafts don’t take any lateral load to speak of, well, unless you crash.
I welding a piece of hex key into each strut shaft so I’d have something to hang on to, and then I carefully ground away the excess metal from the weld. This allowed me to get the big top nuts off of the struts and I was finally able to get my old camber plates off of the old struts.
Comparing my camber plates with the PO’s I noted how much less “stack height” his had. Using his camber plates instead of mine, I figured, would drop my front end probably 15mm. That sounded very cool. So I did a test fit of that idea to confirm awesomeness and of course it didn’t work. That’s when I realized that SpecE30 camber plates have to have a large stack height to work with OEM spring hats. The PO’s camber plates only worked because he had some kind of trick coilover that didn’t use OEM spring hats. Not all ideas work out. Ok, a lot of ideas don’t work out.
Then I got my arse kicked. I’d already resolved to look into getting the bent strut shaft straightened. I figured it could be done, but I’d have to ask around as to whether or not it would be safe. It was the other strut that kicked my butt tho. The big top nut that was so hard to get off?..Now I couldn’t get it back on. The threads on the strut were a little damaged from grinding off excess weld and I couldn’t get a die to properly cut the new threads. I spent a lot of time trying to make this work. And didn’t.
So now it looked like either I was going to have to buy new struts or at best both struts would be going to the machine shop.
Which is when I took a harder look at the PO’s fancy coilover suspension. The springs and hardware were unfamiliar to me, but the struts themselves looked to be the same Bilstein yellow. I looked for a part # and found one that was pretty close to the part # of my old Bilstein Sports. “Holy crap”, I thought, “could the PO’s fancy coilover suspension really just be Bilstein Sports with some kind of adjustable spring”?
I looked up the part #'s on the Internet and sure enough, the PO had Bilstein Sports. That was really a big break for the kid. I pulled PO’s Sports out of his strut housings and put them in mine. I wanted to use my strut housing/hub assemblies because I had newish wheel bearings, studs already installed and better brake calipers. Which is when I realized that the right strut housing/hub assembly from Old#6 was bent. Rats, won’t be using that.
After moving my brake caliper and brake duct backing plate to one of the PO’s strut housings I was ready to install both front suspensions. Well, not quite. I found that I’d created 2 left suspensions and 0 right suspensions. Ok, well, that’s a do-over.
Next I wasted an hour trying to get the strut up the strut tower at the fender and thru the camber plate. With a jack lifting up the strut and control arm, and me trying carefully to keep the camber plate’s thrust bearing aligned I tried over and over again to make it work. The camber plate’s bearing kept wanting to pivot over a bit and the strut shaft just would not pop thru. It was frustrating. Finally I gave up and put the strut aside. Then I returned to the car’s strut tower and removed the camber plate’s strut bearing slider device from the underside of the camber plate. Then I took the thrust bearing slider doohicky and popped it on to the strut’s shaft.
So rather than fighting the shaft thru the bearing, now I’d simply have to lift the strut into place and mate the bottom of the camber plate to the top by getting the 4 studs to poke thru.
That idea worked out well so having figured out how to do it, I got the other side done.
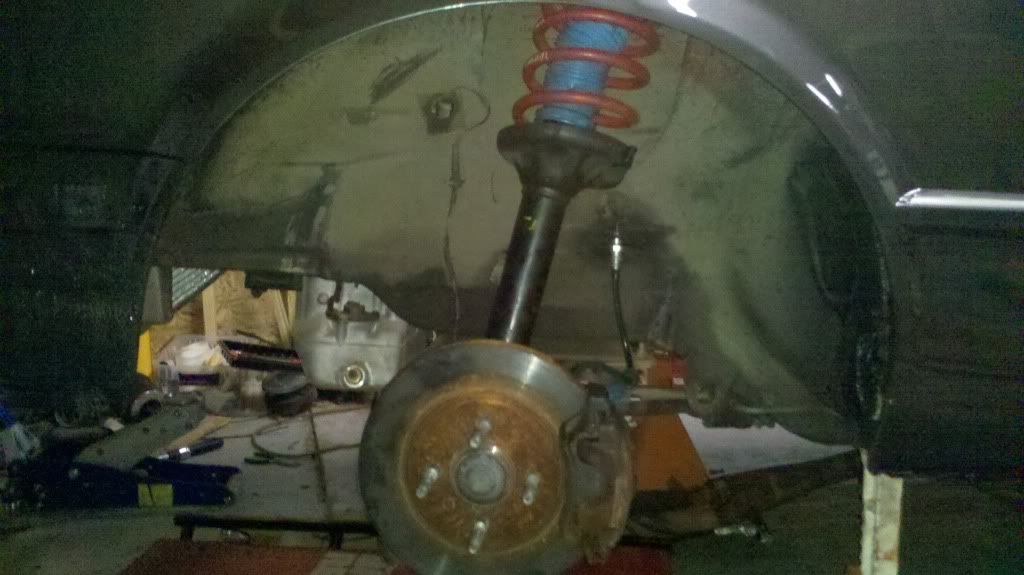
After that it was just a matter of fastening up the control arms and tie rod ends to the hubs, and connecting the brake lines and ABS wiring.
I give you New#6 with SpecE30 suspension. 
The next big project is the rear end. I’m hoping that New#6 has an alignment that I can live with. If not, the subframe, trailing arms etc. are going to have to get swapped over from Old to New#6. That’ll be a big job. But maybe the alignment will be good enough to live with for a while and if that’s the case I just have to swap out the rear sway bar and reinforce it’s mounts.


