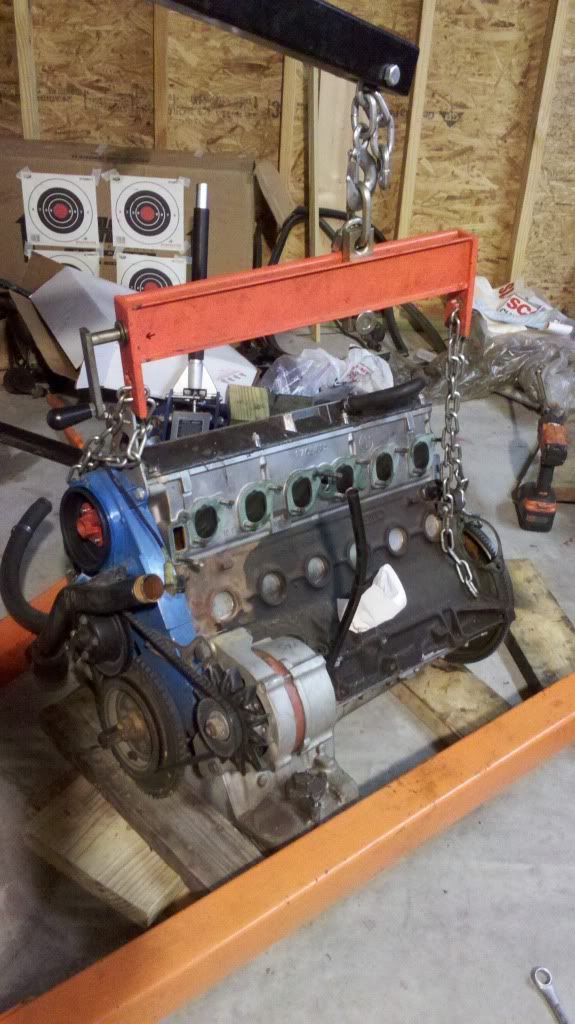
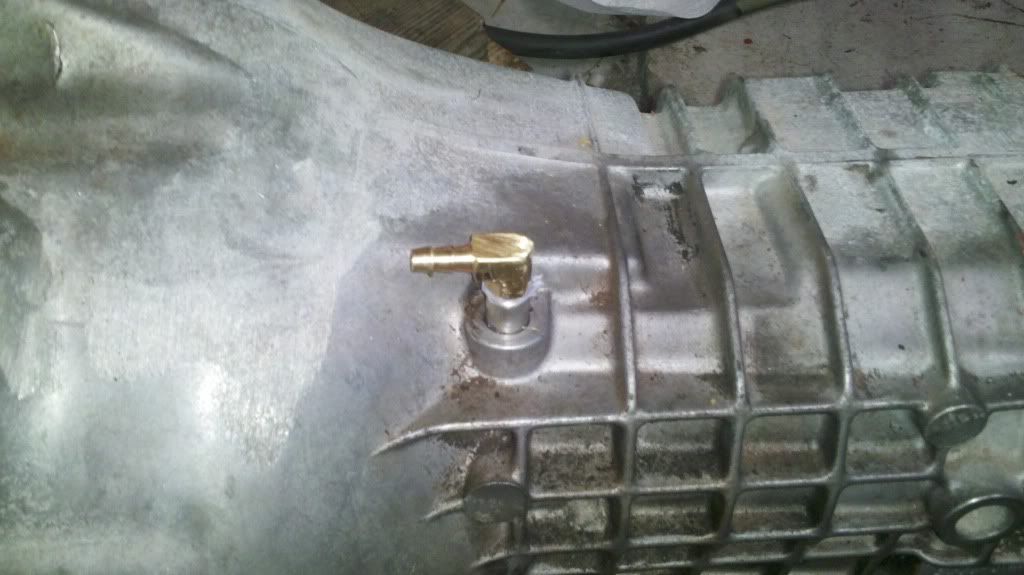
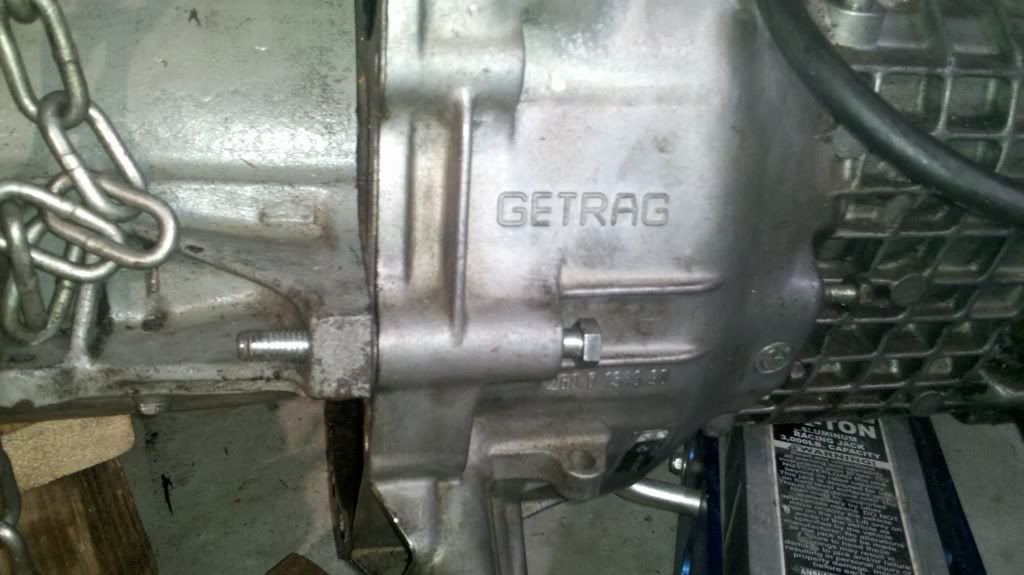
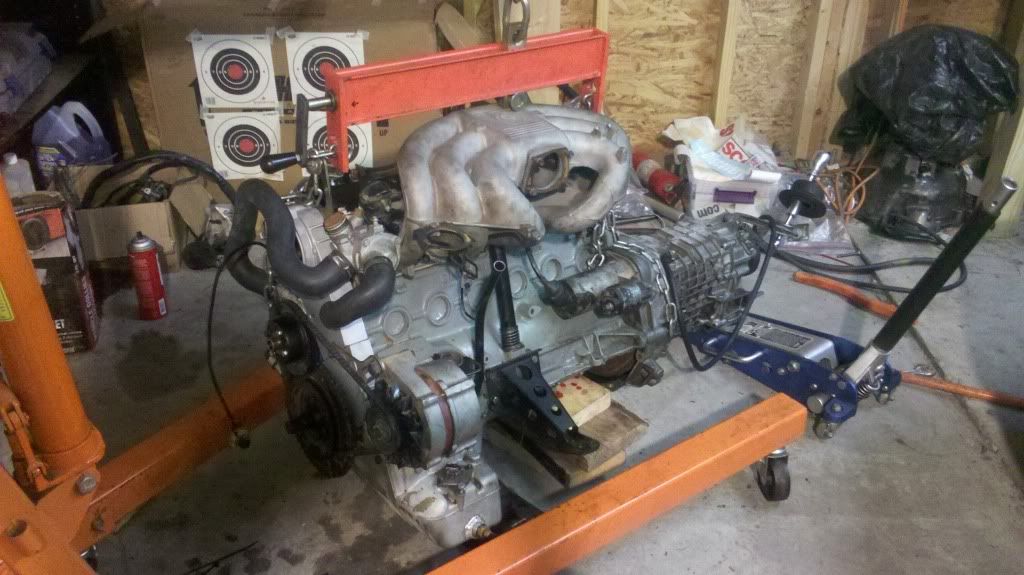
I didn’t get a lot of Scott-time Saturday. I fetched engine #8 out of the storage closet, it’s the .020 over bottom end that Chuck Baader built, and with the help of a neighbor got it into the back garage where the race car is. Then I fetched my best head out of the attic. It’s a Metric Mechanic head that was cracked during an overheat (coolant loss) at RA in 2009 at an 8hr enduro. Chuck had the head welded up and did a refresh on the valve seals back when he built #8.
Recall this story :http://www.spece30.com/forum/16-general-discussion/42615-late-night-wrenching-pass-the-glock-pls ? It was her husband that helped me lift the engine so I could get it to the race car. He is not nearly so high strung as his cute-but-high-maintenance wife.
The head had a lot of grit on it so I pressure washed it and sprayed it down with WD40.
There were parts I needed off of the engine that was coming out, most importantly the oil pan, oil pump and crankscraper so those came off.
Sunday morning and the oil pan. Since the crankscraper had already seen a couple engines it went on w/o requiring any clearancing. I used goobage between scraper and block and then a thin cork gasket between pan and scraper. The better oil pan gasket is the thicker paper type but I don’t like how crankscraper and thick paper oil pan gasket combine to drop the oil pan prob 4mm away from the oil pump pickup. One of the charms of the MM scraper is that it doesn’t add thickeness like the I-J scraper.
After carefully scraping and cleaning the mating surfaces I put goobage on the bottom of the block and put the scraper on. You have to put in almost all of the bolts to make sure that the scraper is precisely located.
A bit later I pulled the bolts off, scraped and cleaned the oil pan’s surfaces, put the thin cork oil pan gasket on to the scraper, put some goobage on it in order to compensate it being a shitty thin gasket, and put the oil pan on. To my dismay I stripped out one of the bolt holes in the block. Shit. I was using a beam in-lb torque wrench and doing 80in-lbs for bolts going into AL at front and rear, and 95 in-lbs for bolts going into iron. But clearly one of the bolt holes had been damaged at some point. Shit happens. I decided to hope for the best instead of taking everything back apart and putting in a threadsert.
Bottom of engine now buttoned up.
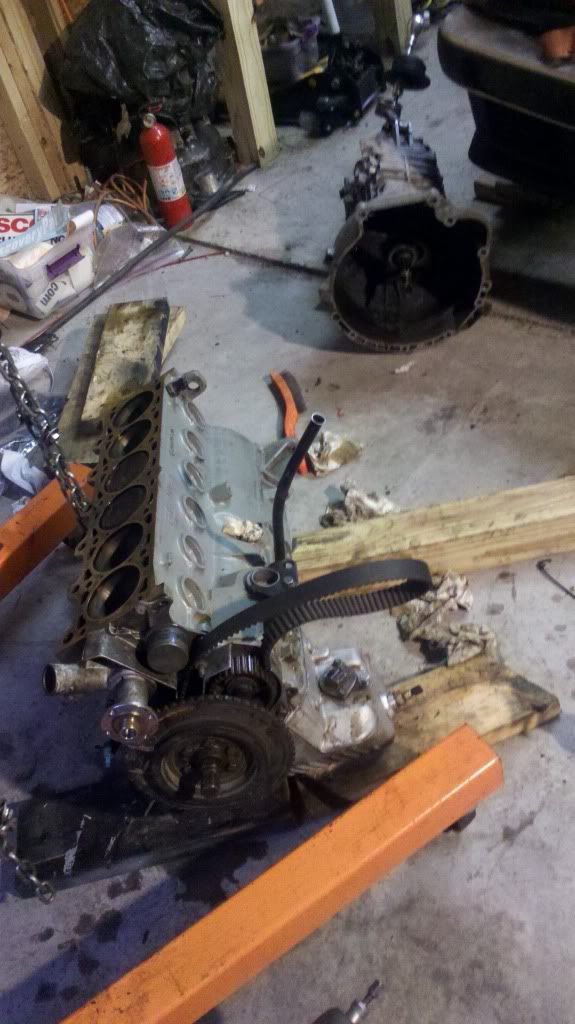
Sunday afternoon I had to figure out what to do about a water pump. Because of my aftermarket radiator I have to use the late model steel coolant pipe that goes across the front of the radiator. The late model water pump works best becaue it has a fastening point for the coolant tube. I checked my bin of water pumps and found only 2 late model pumps, a clean one with a stamped steel impeller and an unloved one with a rusty cast iron impeller. I put a post at bf.c and e30tech to find out if there was any downside to the stamped steel impeller.
I pulled some bead blasted engine front sheetmetal pieces out of the attic and sprayed some aluminum paint on them so they’d be pretty. I needed the sheetmetal on before putting the head on because the harmonic balancer’s timing mark is on the sheetmetal.
It was time for the family’s traditional Sunday swimming pool visit so I went and swam laps, and put the boys thru their kickboard drills.
Once back home I put the harmonic balancer on. Then removed it, then put it back on, then later removed it once more, and finally put it back on again. The sequence of doing things is often critical and no matter how much you think things thru, there’s always a couple of iterations of having to remove part “B” because you realize no matter how much you try there’s no getting “A” on with “B” already in place. Once the harmonic balancer is on, there’s no getting the timing belt on.
Jim Levie was the first person to answer my post re. the water pump and he said that the stamped steel impeller was fine.
I didn’t have a spare water pump gasket so I used goobage instead. The water pump gasket is a very thin piece so I figured that the goobage will do. I did a hamhanded job of it tho and smeared goobage all over the front of the block trying to get the damn water pump’s bolt holes, that were invisible from my vantage point, to line up.
Next it was the head. I chased the bolt holes and carefully scraped and cleaned the mating surfaces. You have to be careful with the razor on the head because the razor will happily cut right into the aluminum if you are incautious. I had problems with one of the locating pins that go between head and block. Somehow I never seem to have enough of these. My obsessively organized fasterner bins produced only 1, not 2.
A SNAFU associated with one of these pins set off a chain of events years ago where a local shop’s screwup resulted in the total loss of a $2k MM head. That was engine #4 or something like that.
Not having a 2nd head locating pin I pulled one off of one of the spare motors, but it was a little beat up and the head wouldn’t drop into place on the block. It took 30min of careful pin repair with a file to get it sufficiently smooth and round to work. Then the head went on and I went back up to the attic to fetch some (reusable) metric blue bolts I’d used on an engine or 2 prior.
I figured I’d get one more use out of the metric blues and then go to TTY or studs next Winter if I do a head refresh. Although Chuck had a great idea to do a regrind now, I don’t have time to figure out a process I’ve not done before. And I don’t have the spring tool to remove the valves from the head.
At some point here a couple hrs were spent playing monopoly with the family. You have to play monopoly with 7 and 9yr olds to appreciate what a great learning tool it is. Math, a better understanding of money, making change, negotiating deals, financial risk…it’s all there. One of the 7yr olds was the banker.
Back to the engine. I was just about to start popping the metric blue bolts into the head when I realized I’d forgotten the head gasket. Oops. Moments later, Goetz HG in place, I was putting some oil on the bolts and dropping them in. First I torqued them to 30ft lbs, let it sit for a bit, and then torqued them to 45ftlbs. After I’ve test run the engine a bit I’ll torque the bolts to 50ftlbs. That’s somewhat similar to the tightening regimen used for the old hex head bolts.
The timing belt went on pretty easily. The first time it was off by a tooth, but I marked the belt and the 2nd time it went on correctly. Then I realized that the tensioner spring had to go on before the tbelt so that was a redo. It was interesting to note that putting the tbelt on was entirely trivial, yet it’s easy to remember how difficult this was the first time I did it.
Virtually every single bolt in this effort got blue locktite, btw.
It was hot and muggy all day and night. 80deg and a showers off/on. It didn’t seem hot enough to turn on the AC but the humidity had sweat pouring off of me during the whole effort. I had to conciously keep my forehead averted so there wouldn’t be a steady stream of salt water into the engine.
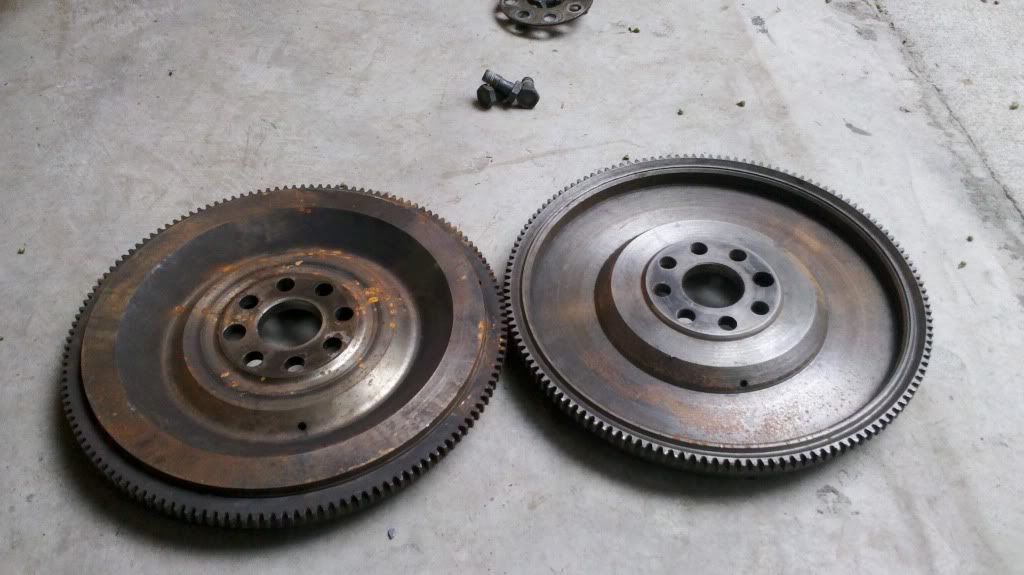
It was pushing midnight when I started on the flywheel and clutch. It took a couple attempts to get the clutch on such that with the bolts tightened down the splined clutch tool happily slid in and out. I knocked off around 12:30.
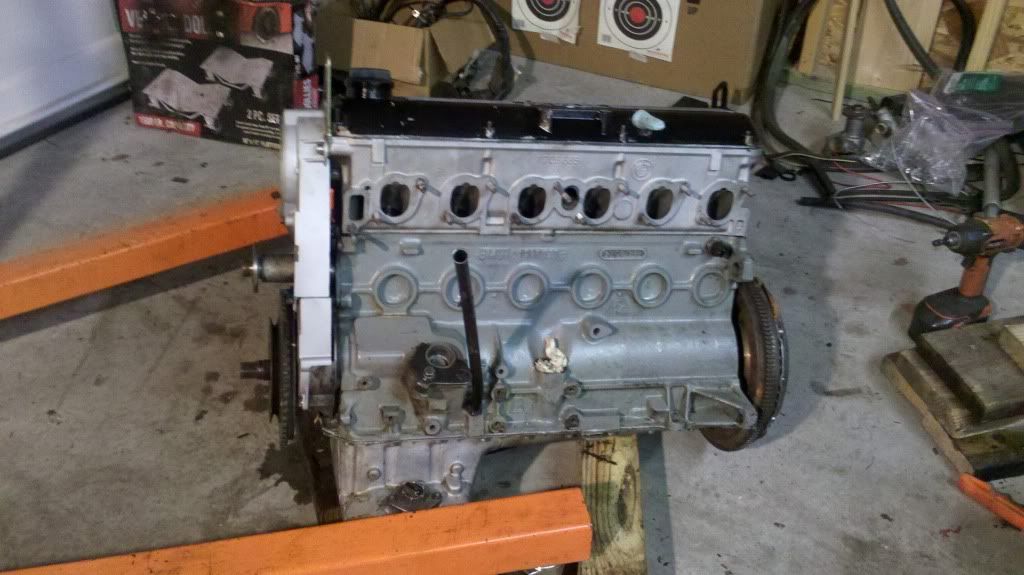
Re. shifter. Ya, I realized after the tranny came out that disconnecting the shifter was a waste of time.


