


Here’s the instructions for installing the Miller MAF in a test car.
Pull the rubber boot off of the AFM cable connector so you can see the 4 wires. The wire colors can be hard to make out because they are so old. Work at it tho because, well, you need to cut the right one . Here under the boot is not a great place to cut a wire, but it is the best place to see the wire colors.
From top
Blue with Gray stripe
Gray with White stripe
Gray with Yellow stripe
Gray with Violet stripe
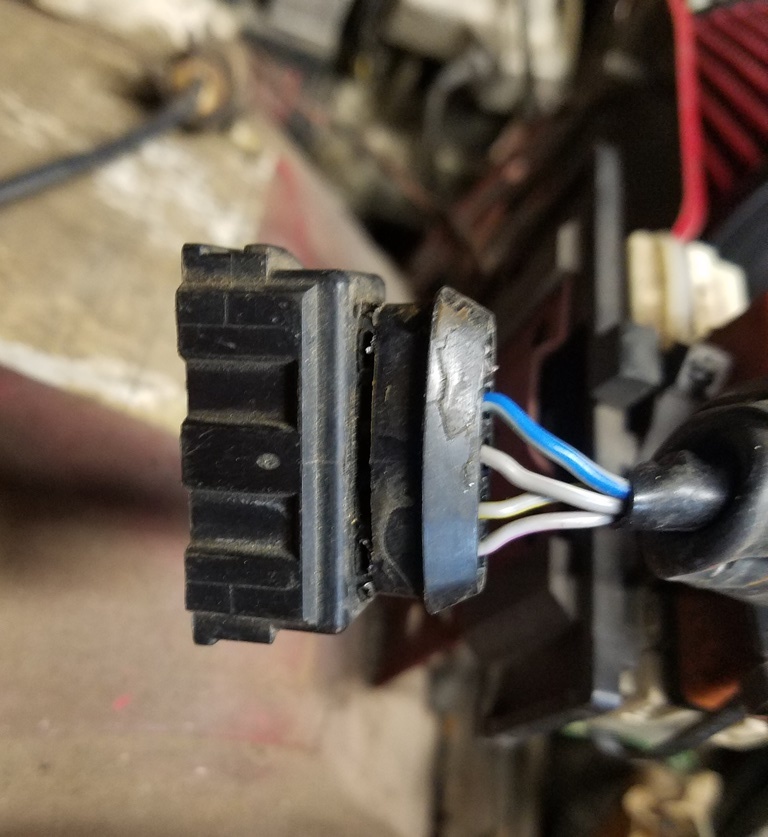
You need to cut the Gray with White stripe wire. The Miller instructions say to do it near the DME, but for your test car, it will likely be more convenient to do it near the AFM. My harness had a convenient spot about 10" prior to the AFM connector to cut it. I had to examine the wires pretty carefully to make sure I was cutting the right one.
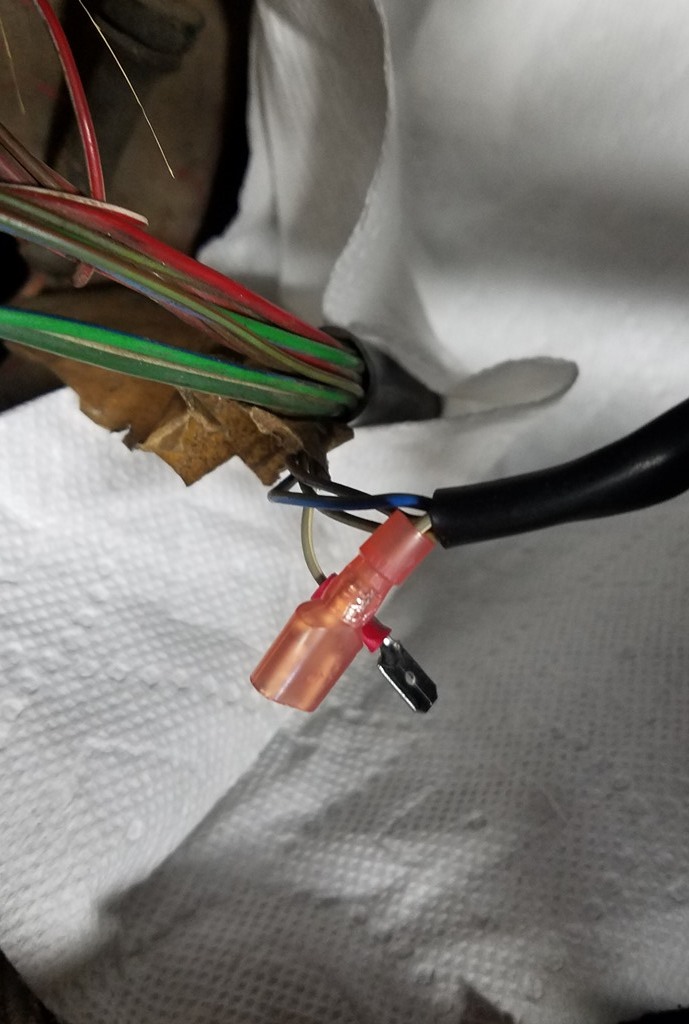
Cut the Gray w/ White wire and put a pair of connectors on it. That will allow you to easily convert from “AFM as usual” to “MAF Test Car”. By putting the Female connector on the AFM wire, and the male connector on the DME wire, you can borrow my 12V wire and won’t have to figure out your own way to get 12V.
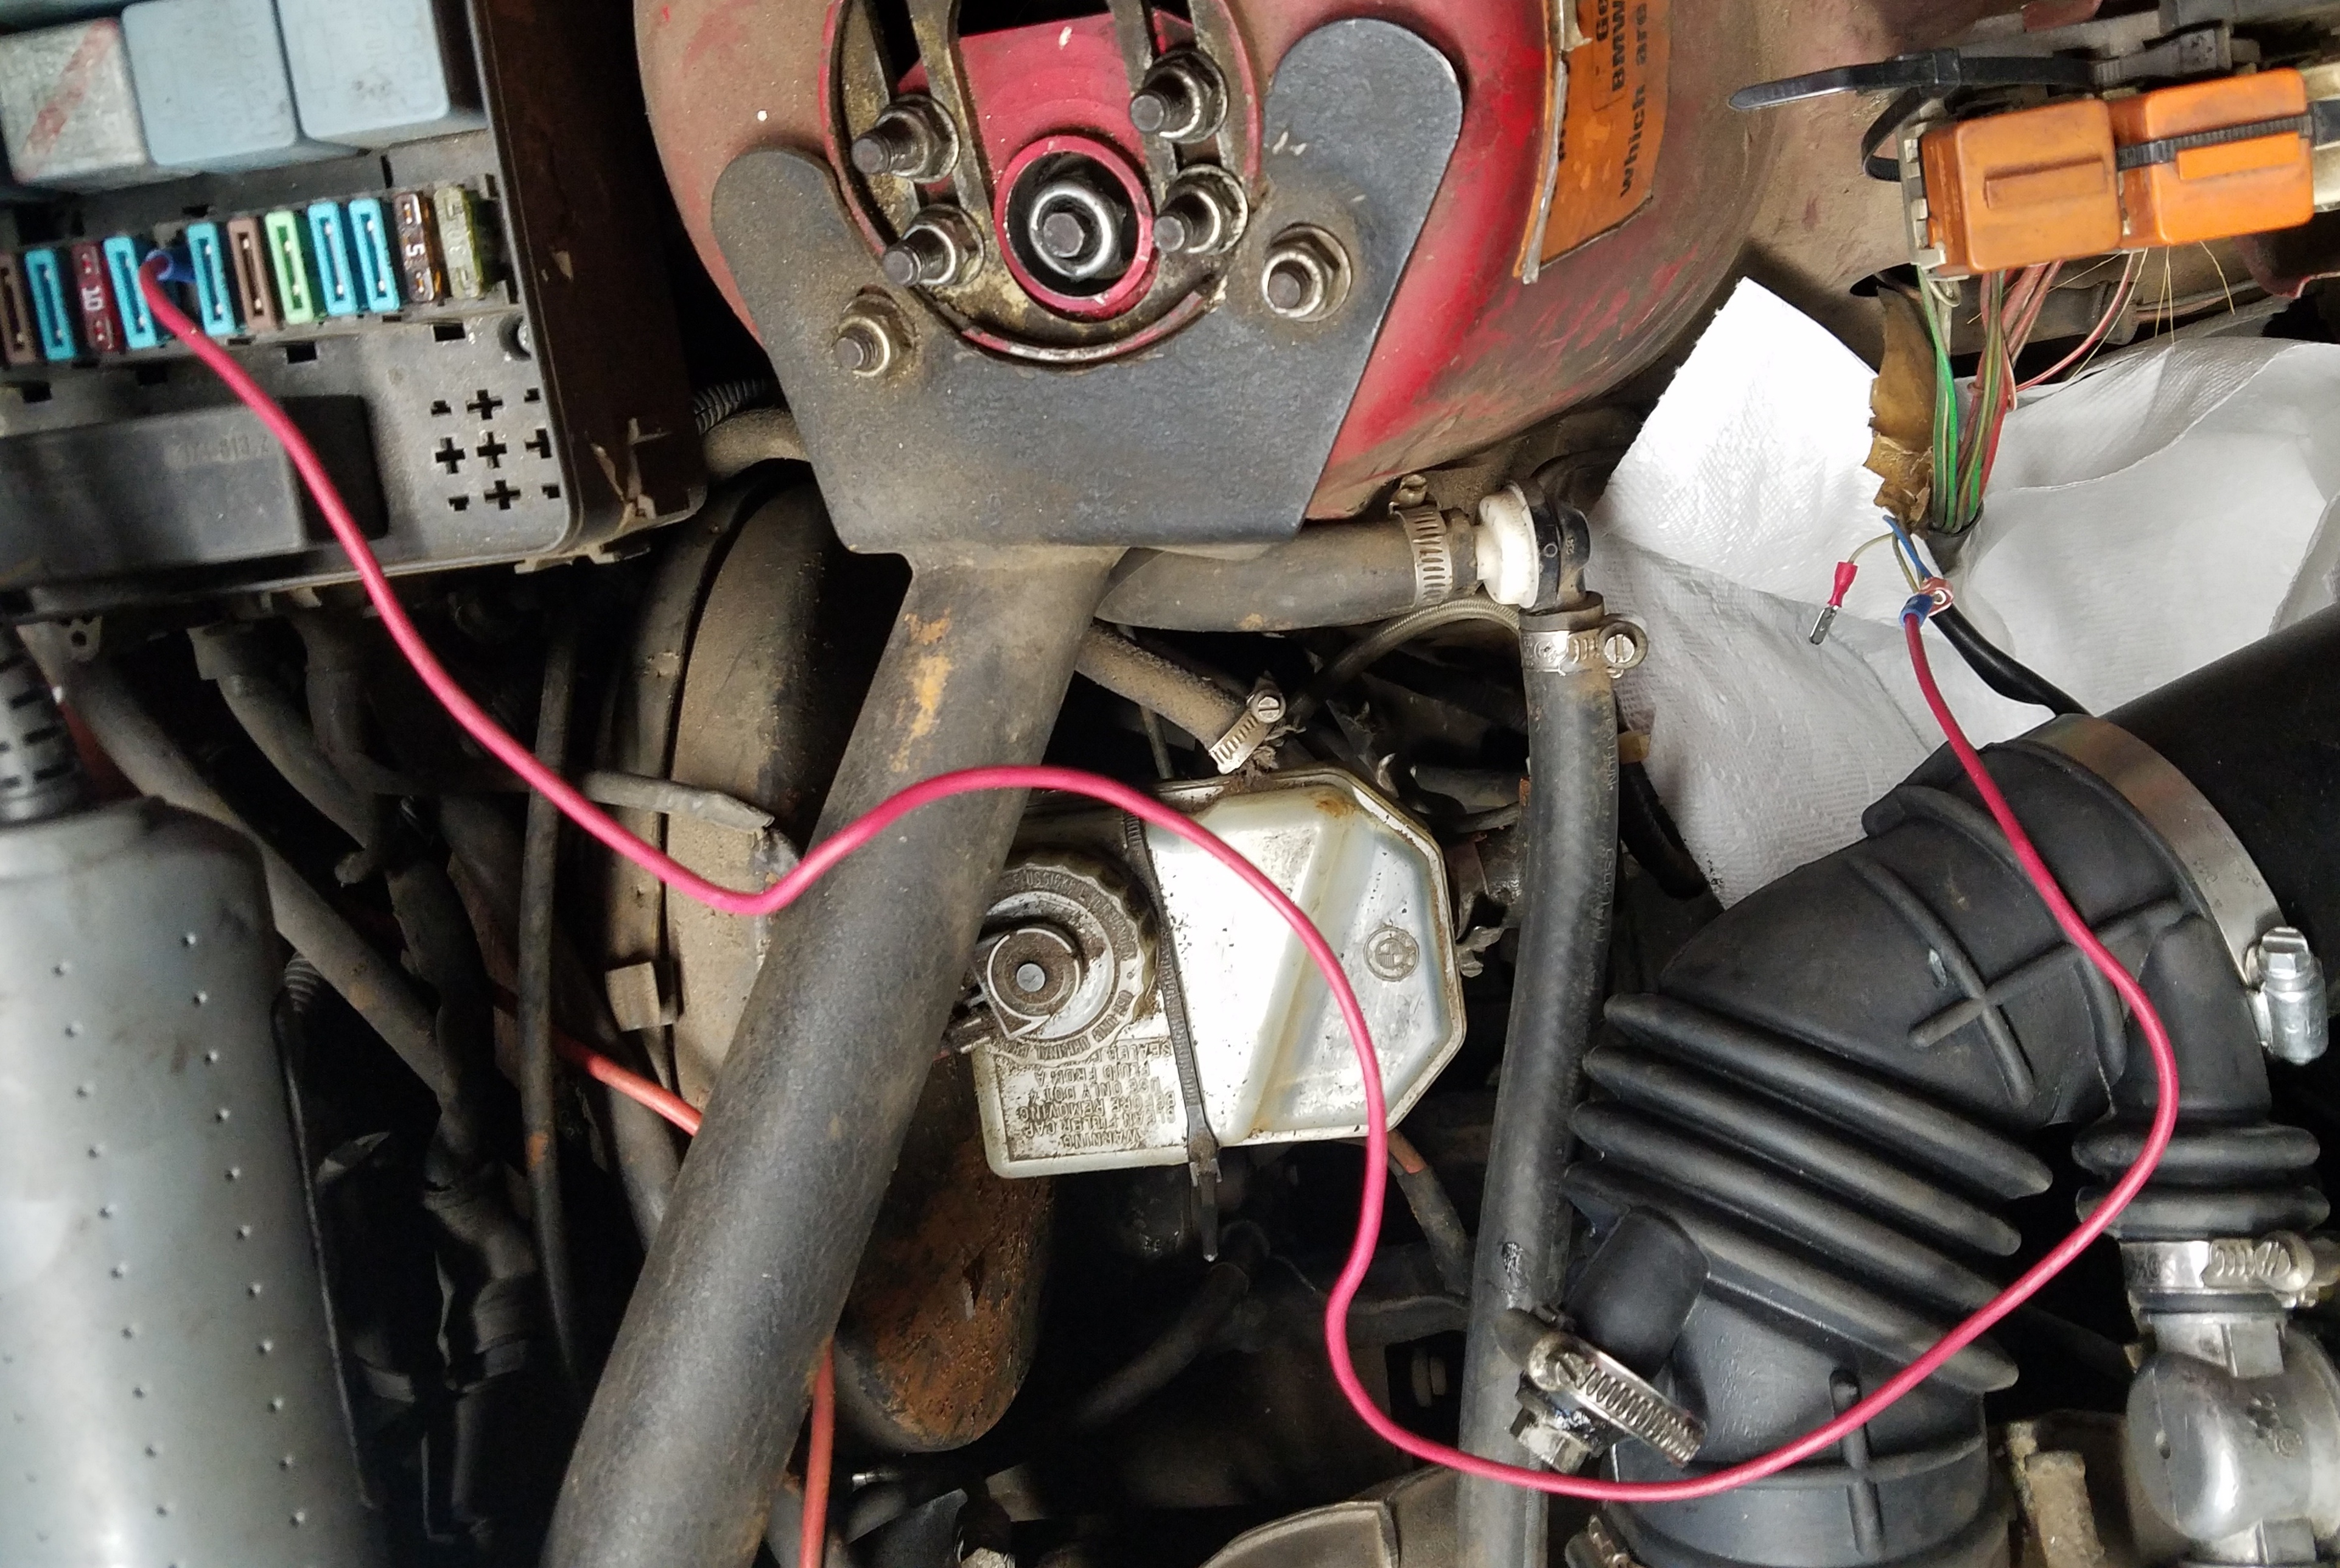
Make a jumper wire that will go to Key On 12V. Put male connectors on each end. I pulled Fuse 8 (rear window defogger) and stuck a connector in. Obviously each fuse position has holes for 2 prings. The pic doesn’t show it very clearly, but the red wire’s male connector goes into the fuse’s “top” hole. That’s top in the picture. It’s actually the hole nearest the fender. Run that wire to the MAF via the female connector you put on Gray w/ white. What’ you’re doing here is giving the MAF it’s 12V supply V. Don’t screw up and give the DME 12V instead. It might not survive that.
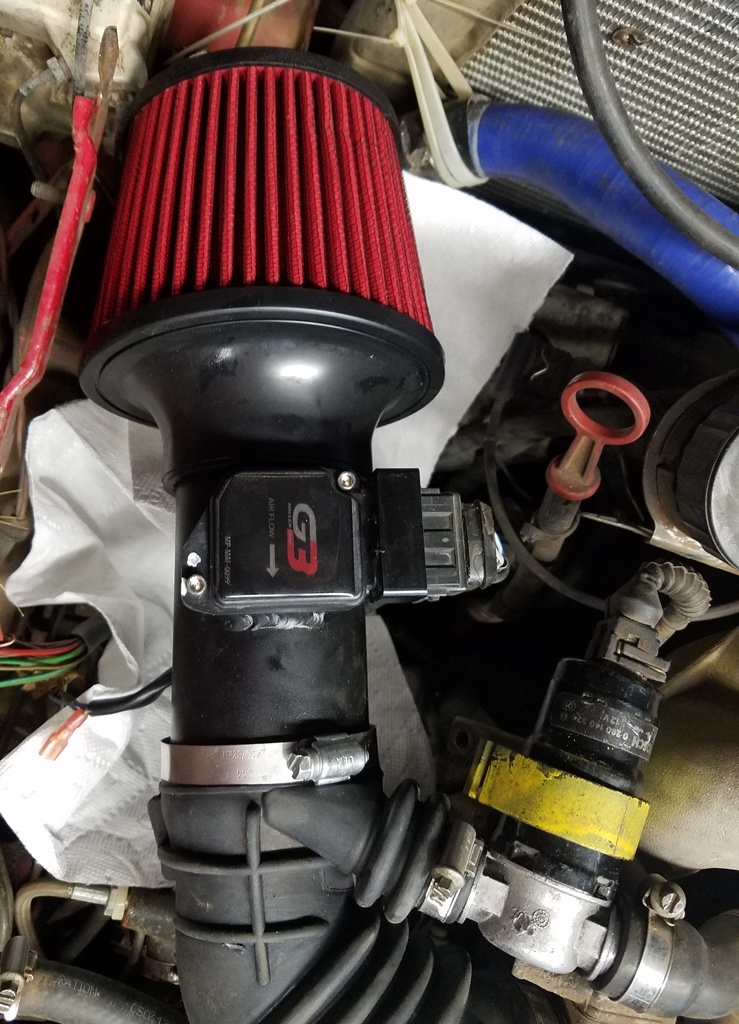
As you may have seen from another thread, I have no vac line going from my rubber elbow to a triple checkvalve between intake and brake booster. The rubber elbow connected to the MAF has the vac port plugged. I played with that triple check valve years ago. Iirc, you don’t have to connect it to my rubber elbow. Just leave that port on the checkvalve disconnected. I don’t think this will cause a vac leak. If I’m wrong your your checkvalve is leaky, you can plug the hose going to the checkvalve with a bolt, some goobage, and a hose clamp. The above pic shows a hose clamp and a bolt peaking out where I plugged the port to the brake vac checkvalve.
My ICV and the Miller chipped DME will come too, so if it takes you and me longer than 3min to connect this to your car, we need to put the beers down and use both hands.
The MAF is now installed in my car and seems to work fine. In my garage anyhow. We’re going to test it at CMP and then do a bunch of dyno runs with it at RA. Miller says we can expect 10-15hp. The Aussies say to expect 5-10hp,.
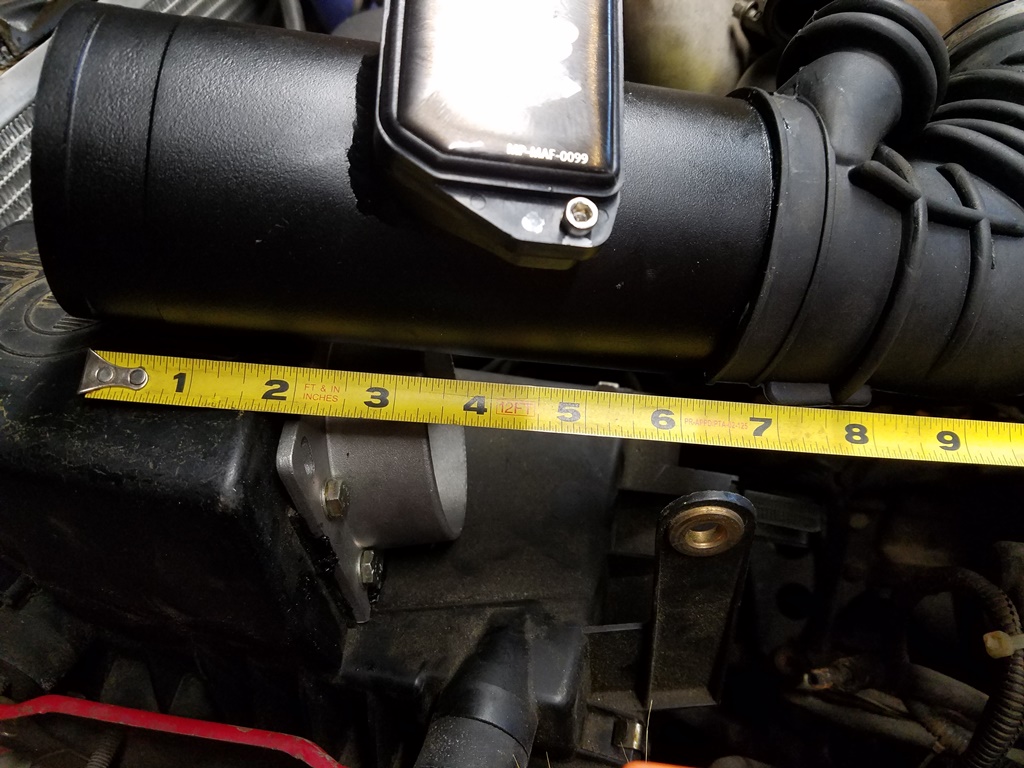
I had planned to connect the MAF to our airbox, but that didn’t work. The MAF tube is way too long. It’s not even close. So I went with the Aussie solution and bought a cone filter.
The pic below shows my attempt to make the MAF work with our airbox. On the left you can see that I have a 3" cylindrical adapter (ebay) fastened to the airbox. Imagine the necessary space for a short piece of silicon tube to connect the rigid MAF tube to the airbox adapter. As you can see the resulting length available for the MAF tube is prob 2.5".
Be aware that the Aussies have mentioned that this kit is less tolerant of messed up engine management systems, than the tired mechanical AFM. So they had some cases where cars seem to run ok with the AFM, but didn’t run as well with the Miller kit. In every case, the problem was tracked down to vac leaks, brokedick TPS, messed up spark plugs, etc.