


I did this because an adjuster bolt snapped at Rd Atlanta last weekend. Also, I was constantly worried about over-tightening the toe adjusters and having one of the serrated plates strip out. The toe adjusters had problems staying put, so it was always tempting to tighten them more.
Hardware is upgraded from 8.8 to 10.9. I could not find 12.9 in the 1.5mm thread pitch. Nuts are tack welded on to the serrated plates.
I got the hardware from BelMetric.com. You want 4x 12x110mm 10.9 bolts. 1.5 thread pitch, not the more common 1.75 thread pitch.
I did not remove the subframe to do this, but I did lower it and punch the subframe bolts up into the cabin. I lowered one side at a time, did the work, then went to the other side. So the subframe was more twisted then actually lowered straight down. I used a transmission jack to support the diff so that the whole rear end wouldn’t be tempted to drop on the floor.
In order to get more clearance to put the serrated toe plates back on the tips of the bolts, I had to remove a little material from the subframe bushing and the big washer on top of it. A Saws-all worked to remove the material, just use a short blade and keep careful control of the Saws-all so the blade can’t hit the fuel tank. In my case the sheetmetal of the wheelwell held the Saws-all at the perfect distance. A little work with a hacksaw blade completed the trimming of the subframe bushing.
The pic below shows the right subframe bushing in place. Just beyond the bushing you can see the toe adjuster’s bolt tip emerging from the serrated plate. Note how little room there is between plate, bolt tip and bushing. It’s going to be worse. That plate will soon have a nut tacked to it.

The pic below shows the right side of the subframe dropped a little and I circled the part of the subframe bushing you’ll want to cut away a bit. On the top of the subframe is a big washer. Pull that out and use an angle grinder on it to remove a little material. The bigger problem is the bushing itself, not the washer.

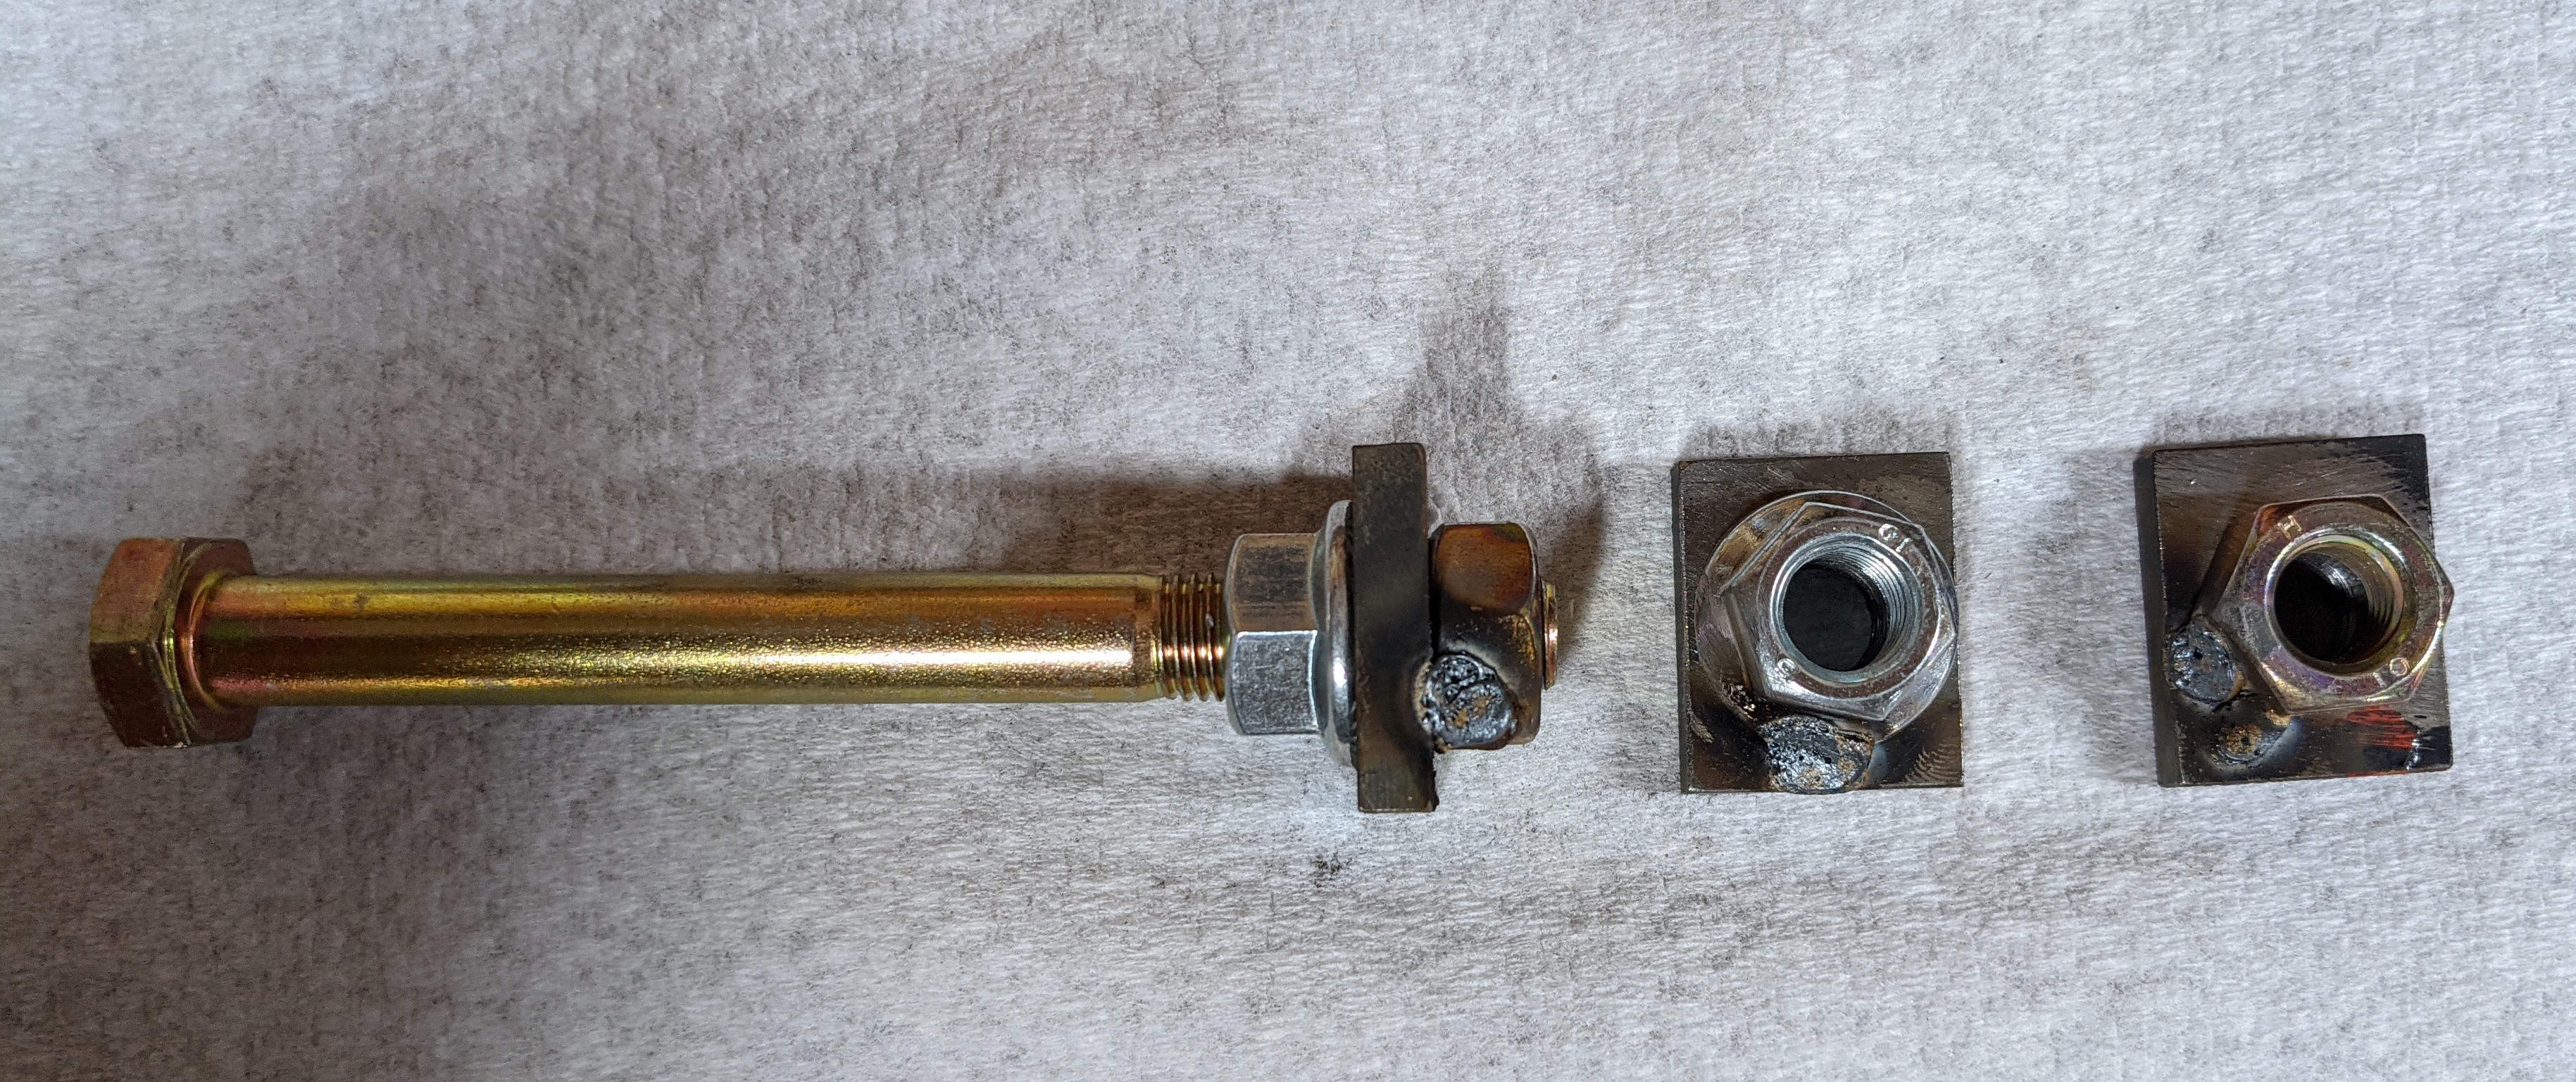
Below shows the 12mm bolt and a couple serrated plates with nuts tacked to them. Note that the nuts are different types. Use the normal nut, not the one that has a base. The basic nut is 2mm thinner. That will give you more room around the subframe bushing. I used the thicker nuts at the camber adjusters, which are at the inboard rtab. Lots of room around there.
When setting up to tack a nut to a serrated plate, I double-nuted the bolt so that I could torque the nut to the serrated plate pretty firmly. I wanted the threads in the two to match exactly, and therefore distribute stress properly.
Don’t remove the big subframe bolts from both sides simultaneously. Keep one in place. That will prevent the subframe from moving a bit and then you’ll be in a battle to get the first bolt back in. Do one side, do all the work, fasten it all back up loosely, then do the other side.