Rear wheel bearing replacement.
Link to the Facebook post. The attempt to post here is a shit show
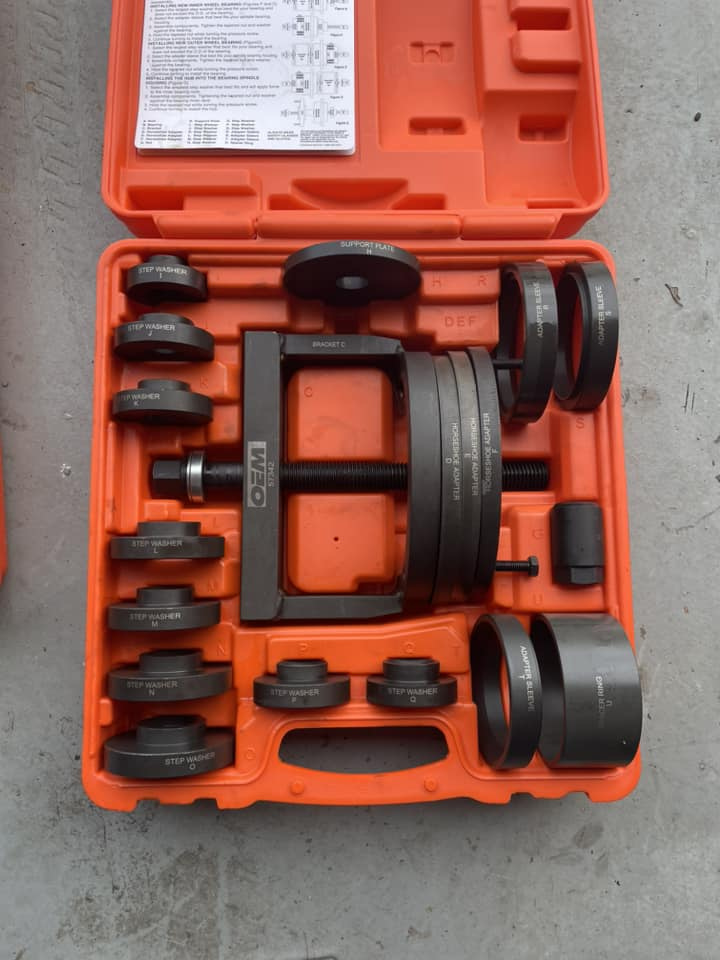
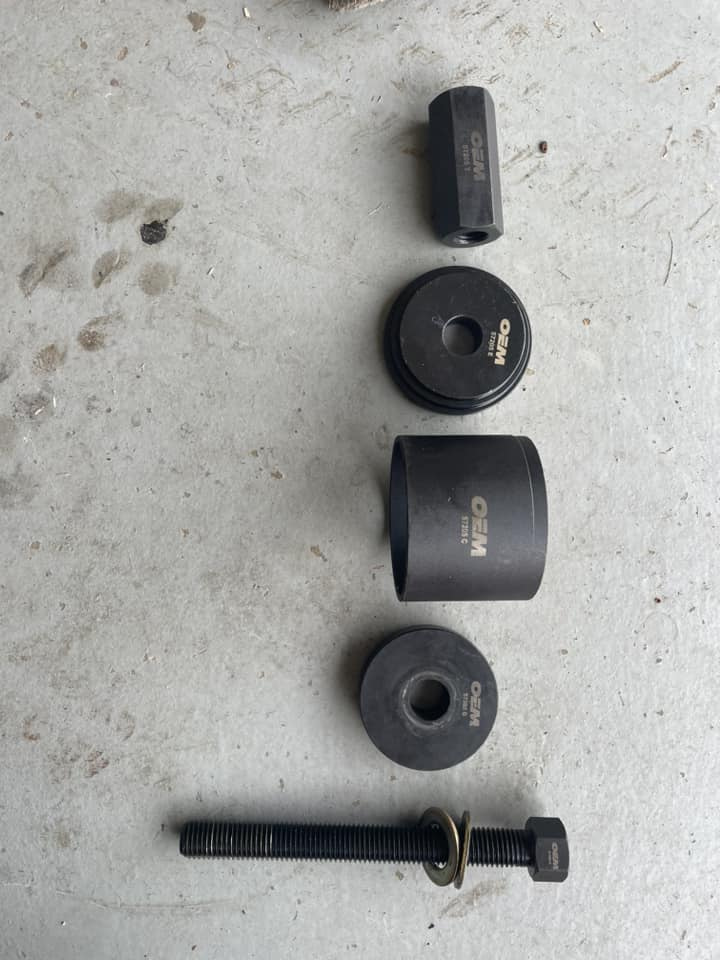
I replaced the rear wheel bearing this weekend using loaner tools from Autozone. I know other chains have the same tools under different brands. I took pictures with the components I used so that may save some of your time. I spent around 5 hours from start to finish without hustling, so not a terrible job.
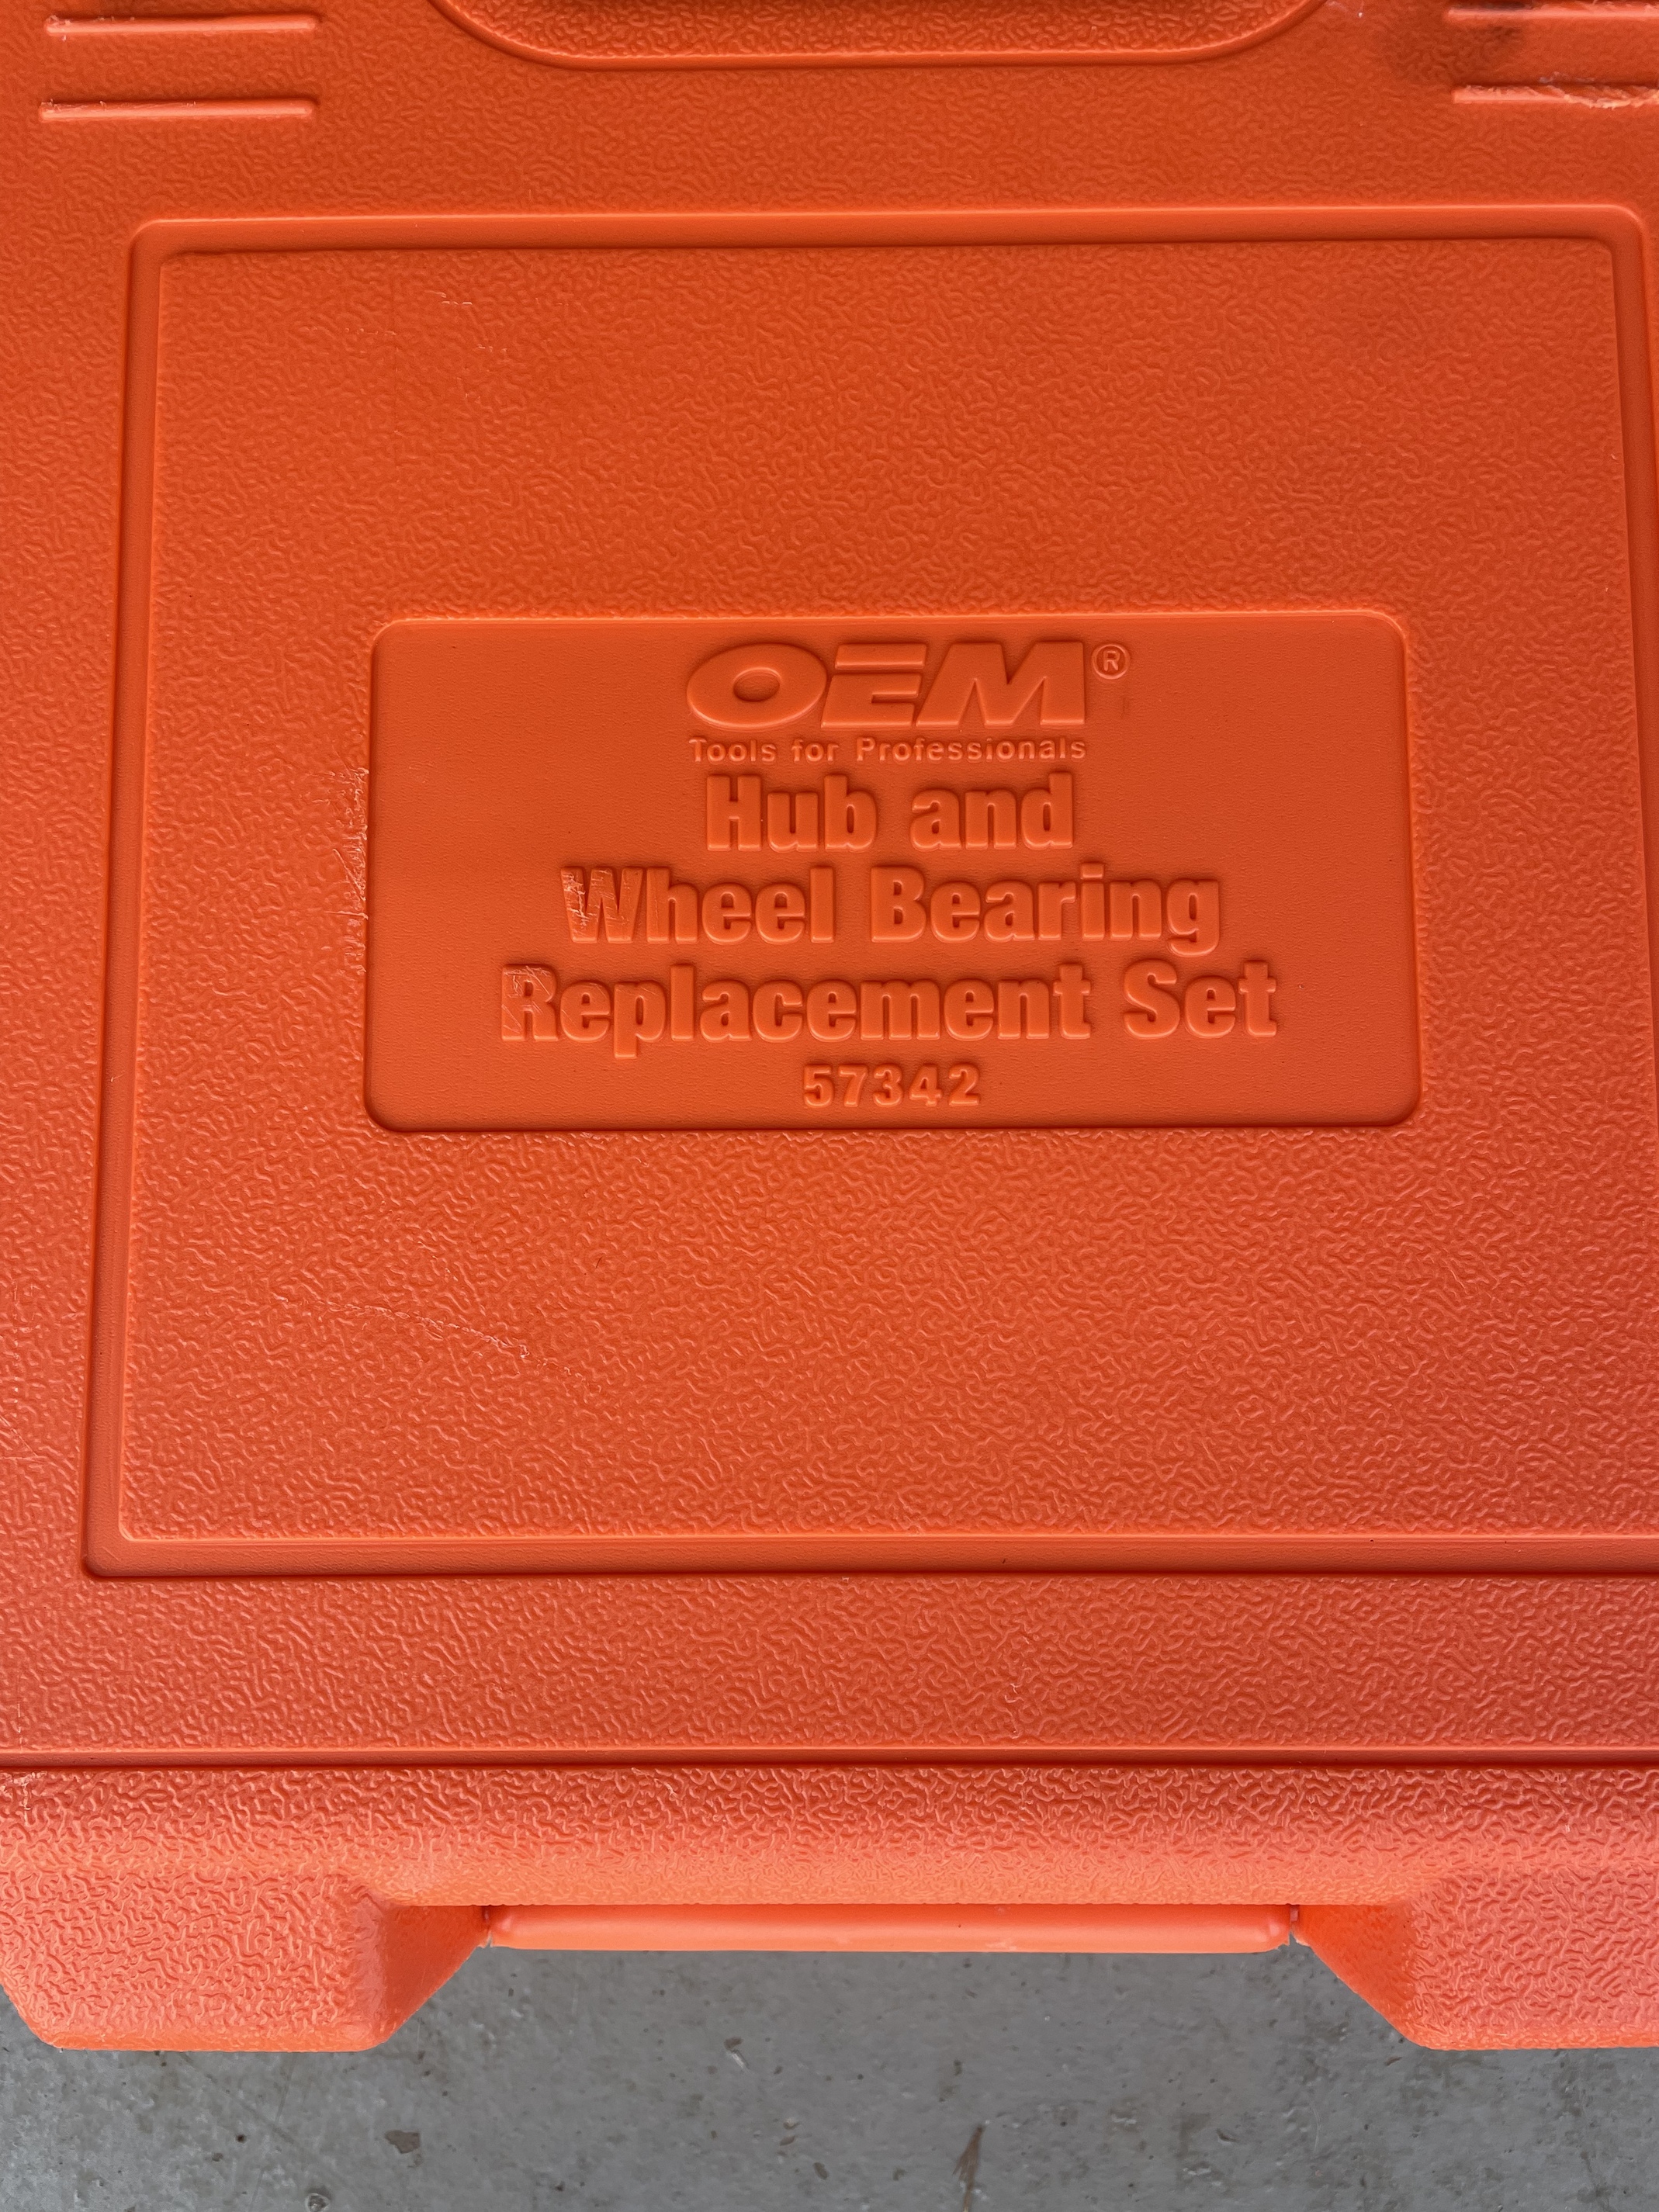
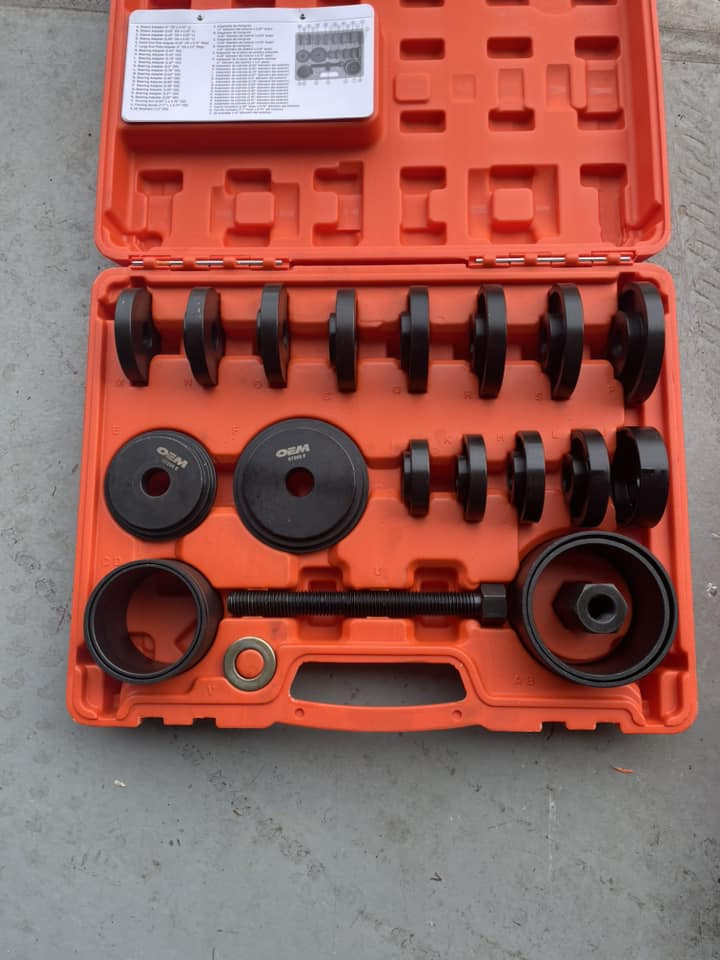
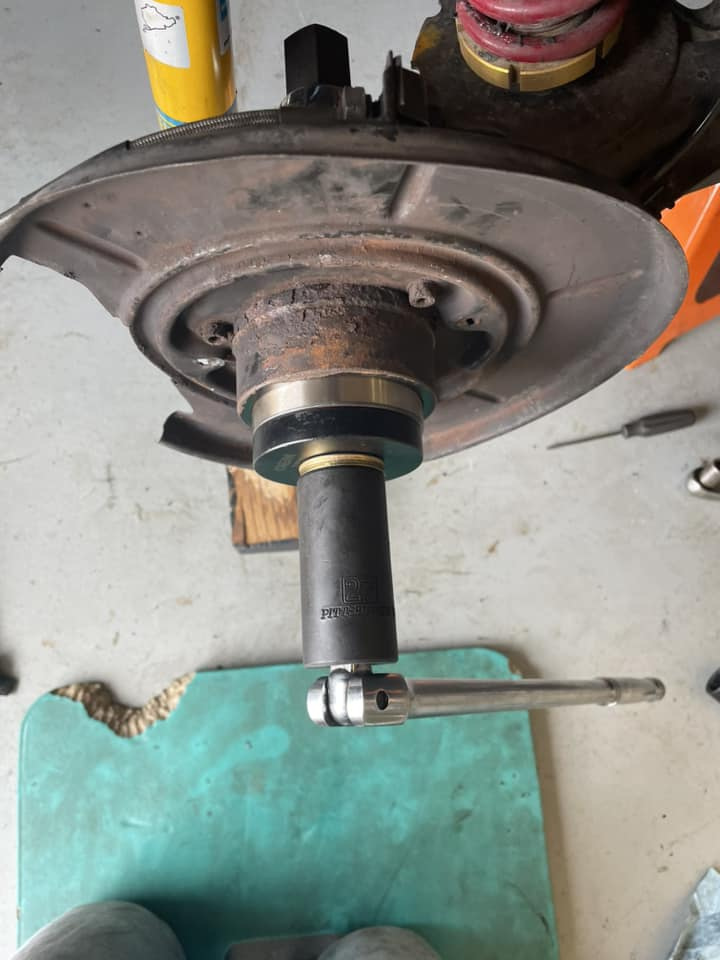
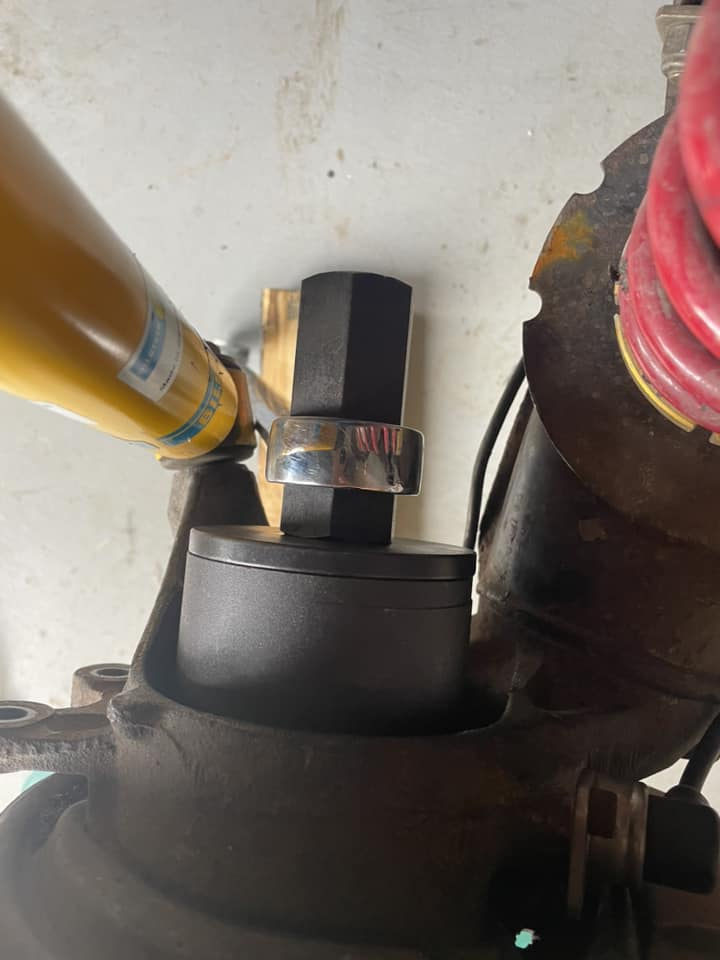
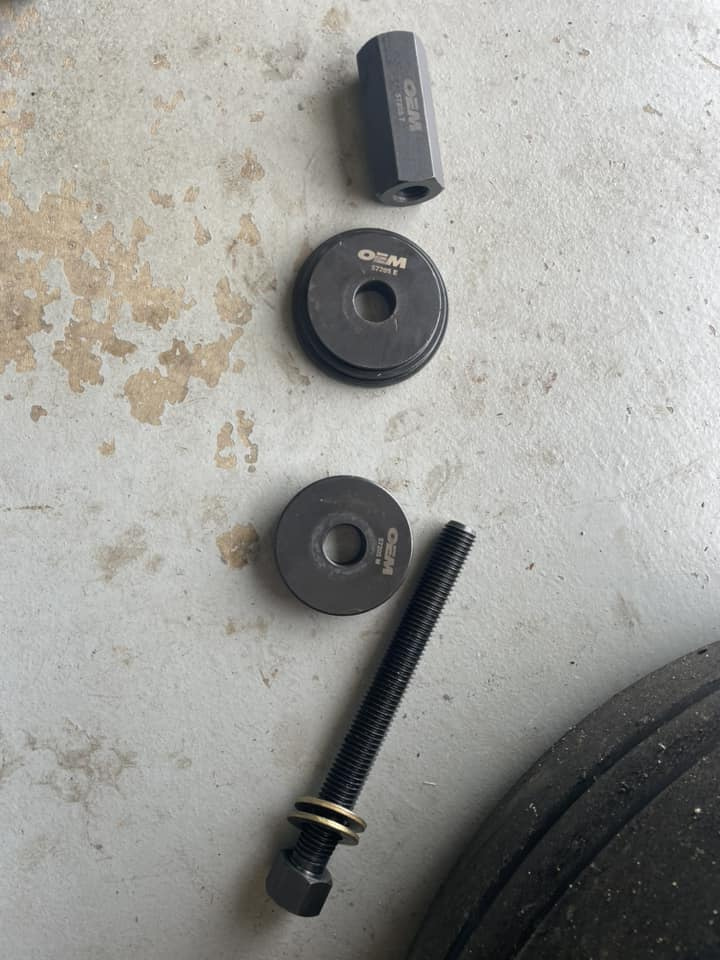
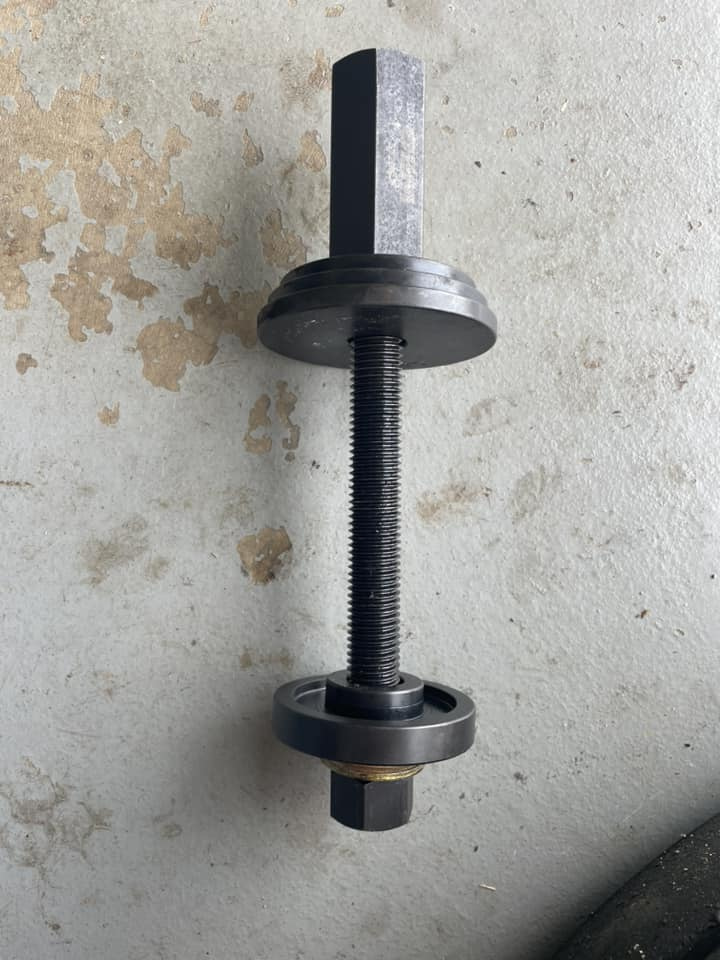
I used the Hub and Bearing tool to pull the hub and the wheel bearing, the FWD bearing tool to press in the bearing and hub. You can probably use the hub tool for both, but I like the FWD tool for install as it is less bulky and easier to press in from the outside of the car.
I will caption the pictures as I think is relevant
Some key points:
-Loosen the axle nut with the car on the ground, high torque so need the car in gear.
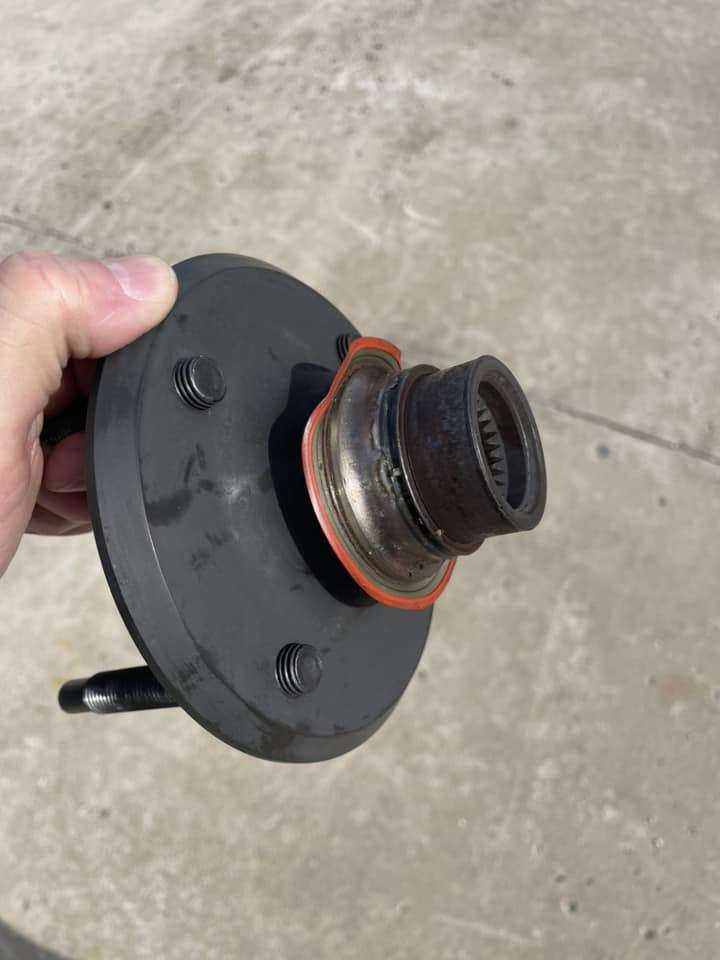
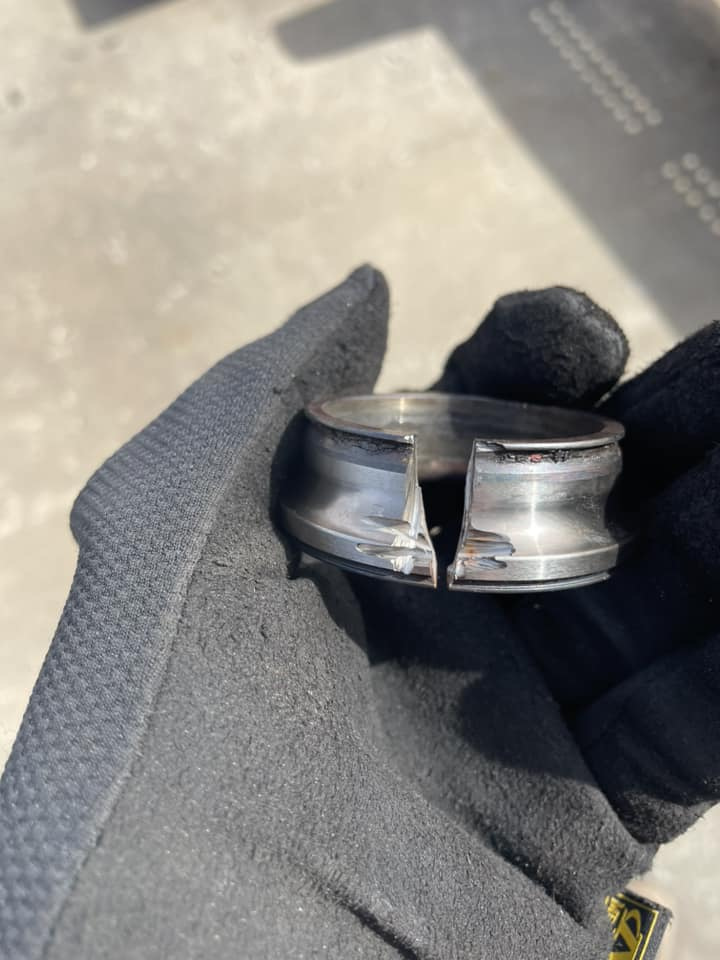
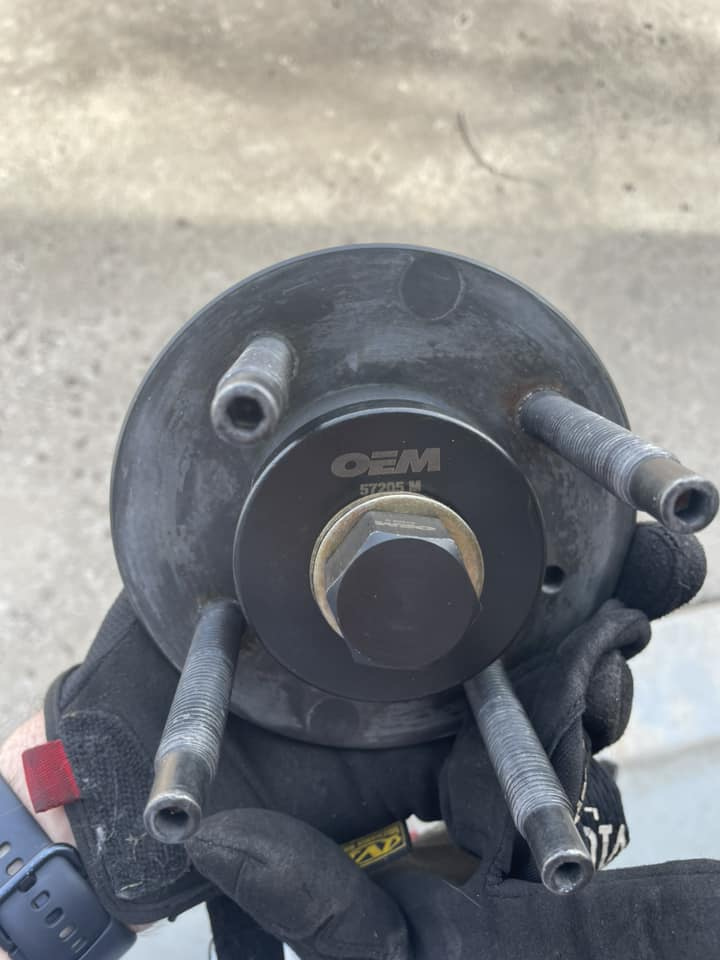
-The outboard section of the inner race almost always comes off with the hub. I used a dremel with a cutoff wheel to make parallel cuts and one perpendicular cut, then hit it with a chisel and the cut section popped out. It’s one of the more painful parts of the process.
-Make sure you remove the snap ring before you attempt to remove the wheel bearing.
When assembling, make sure you put in the snap ring before you install the hub!! Remember above about the inner race staying with the hub…you will ruin the new bearing.
-Car back on the ground for final torque on the axle nut. The LSD won’t hold the torque in the air.
Steps, with some simplification:
- Remove the half shaft, brake caliper, caliper bracket and rotor to get started.
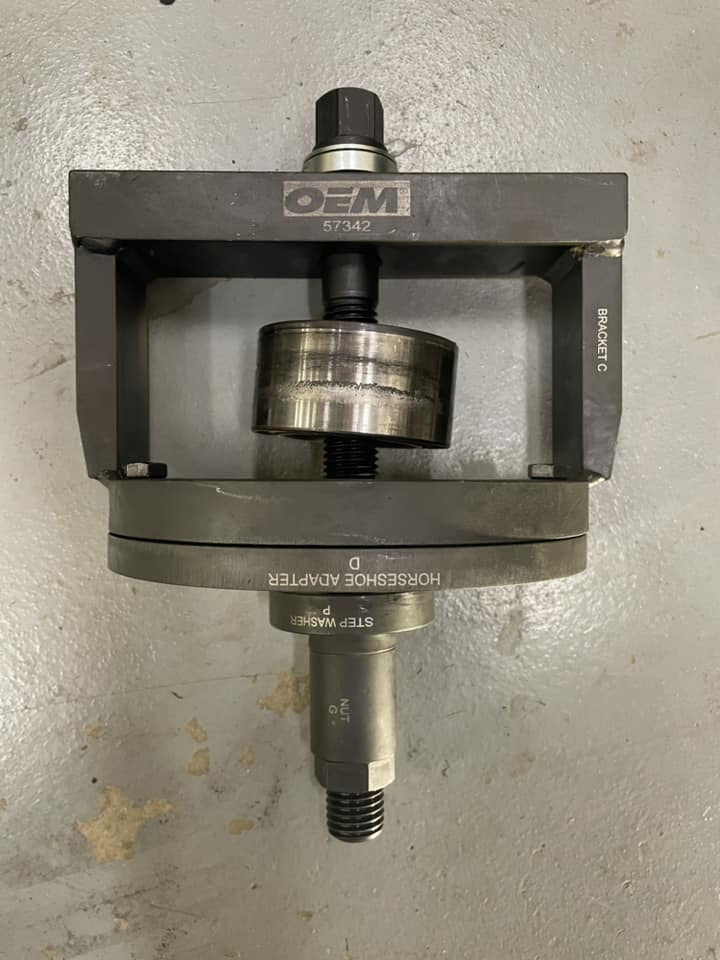
- Press out the hub. Back side use just the nut G (no picture, but same as bearing removal, without the step washer)
- Remove the snap ring, press out the wheel bearing
- Remove the inner race from the hub. This might be a good time for a beer.
- Press in the new wheel bearing
- Install the snap ring!!!
- Press in the hub
- Install the half shaft and brake components.
- Torque the axle nut