


Go get these ramps from HF for $50. 1000 lbs. Capacity 9 in. x 72 in. Steel Loading Ramps, Set of Two
Then cut them down to the length that you actually need. They start out 6’ long. I first cut them down to 4’ long, then after a couple years I cut them down to 41". No sense packing and slinging around ramps longer and heavier then you need. Sure, they’re rated at only 1000lbs, but as you make them shorter, they get stronger faster than they get shorter.
My first effort to put the ramps at the right angle involved pieces of PVC pipe cut to fit precisely inside the ramp, and then fastened by heavy duty zipties. The pipes were of varying dia and positioned in the right place under the ramp such that the desired angle was achieved. Some of those PVC pipes are still in place to spread the load so you can still see them. I had two problems with them. 1) The 5" pipes weren’t quite strong enough so even when I used 2x pipes, they ovalized. 2) The heavy duty zip ties weren’t up to the task. Several times/yr I had to replace a few zipties because they’d break. That was irritating.
I’ve been thinking how to replace the 2x 5" PVC pipe sections such that it wouldn’t add much weight, would be plenty stable, and would be fastened in a way to handle stress and weathering. I’d long learned that anything threaded like wood screws or lag screws into the wood got defeated by stress and weathering.
So I finally got serious about fixing the ramps. I replaced the 2x failing 5" PVC pipes on each ramp with 3x pieces of 2x6". I wanted to use just enough wood to create a really stable surface, one I could fasten very tightly to the ramp, and the fasteners had to go into metal, not be wood screws.
The first pic shows one of the 41" ramps. Note how the left side is cut down so that the end of the ramp will end up lower, and there’s 4 bolts on the right going thru wood. See also the PVC pipe sections fastened by zip ties. Those spread the weight load. Prob not necessary. When these zipties fail, I’ll just discard the PVC pipes.
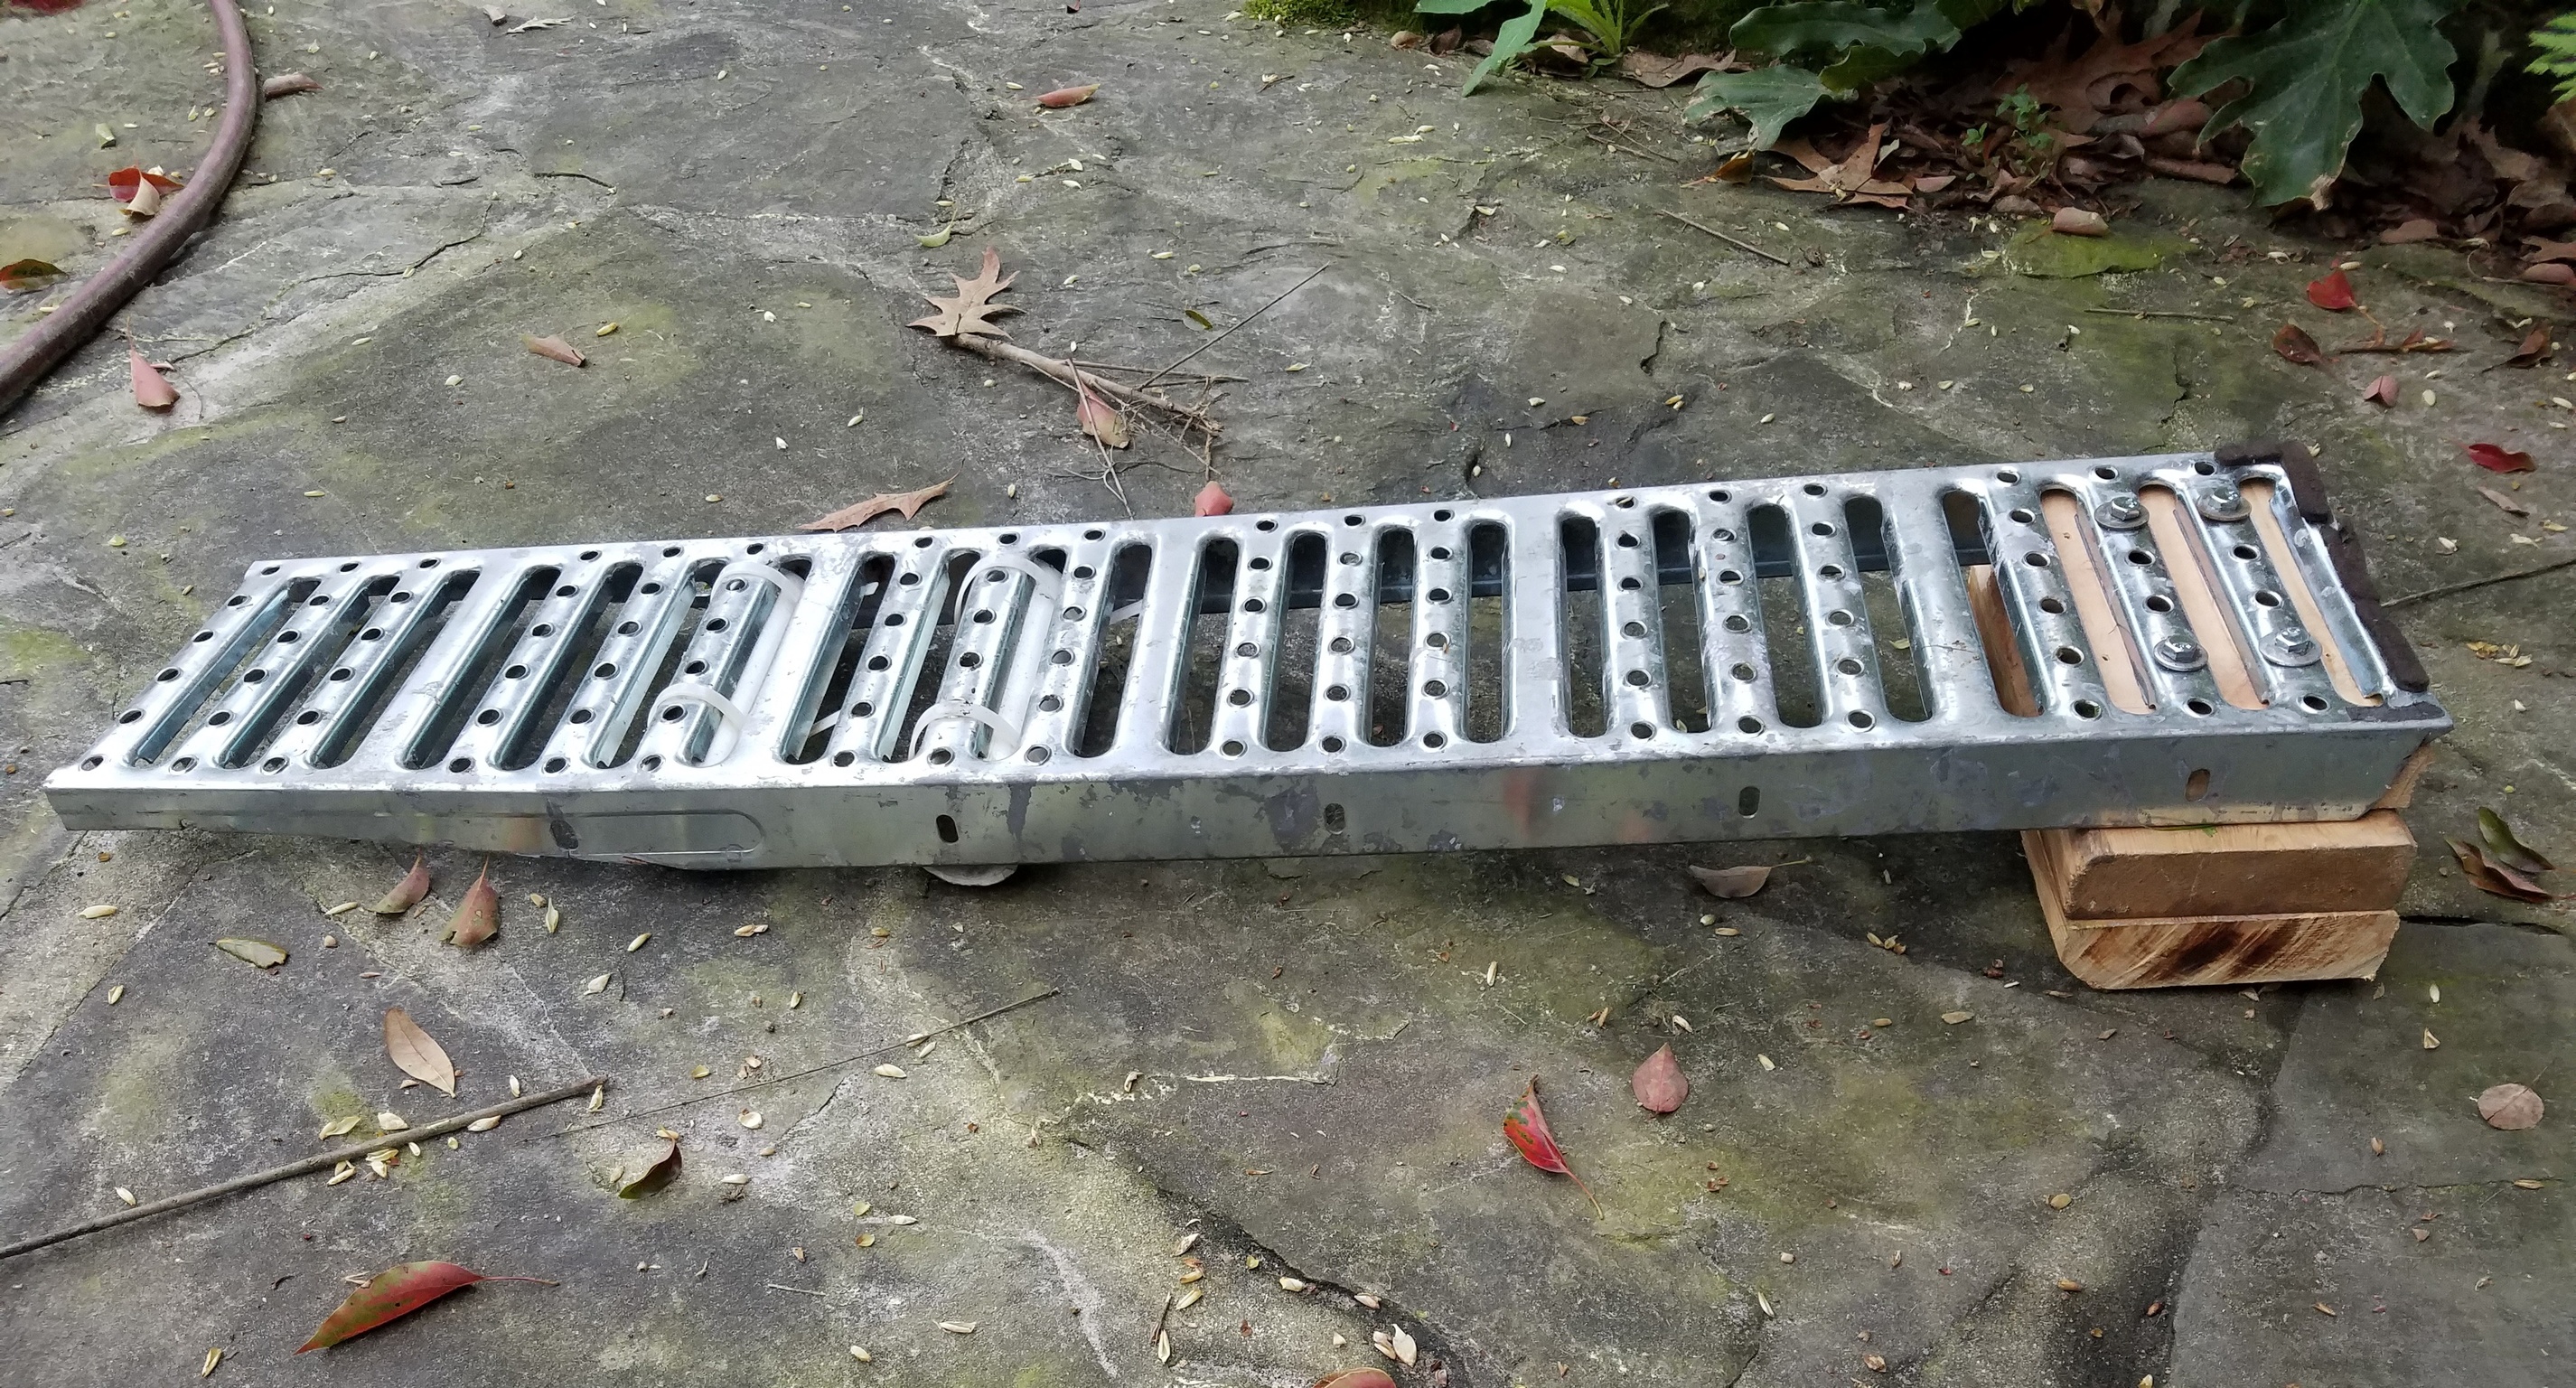
The wood is 2x6’s. The top most is a little shorter in order to fit inside the ramp. The other two pieces of wood are a little longer to provide more stability. The bolts are 3/8th bolts 5 1/2" long. I had to start with 6" bolts, but once the nutserts that you’ll see in a later pic were tight, I replaced each 6" bolt with a barely long enough 5 1/2".
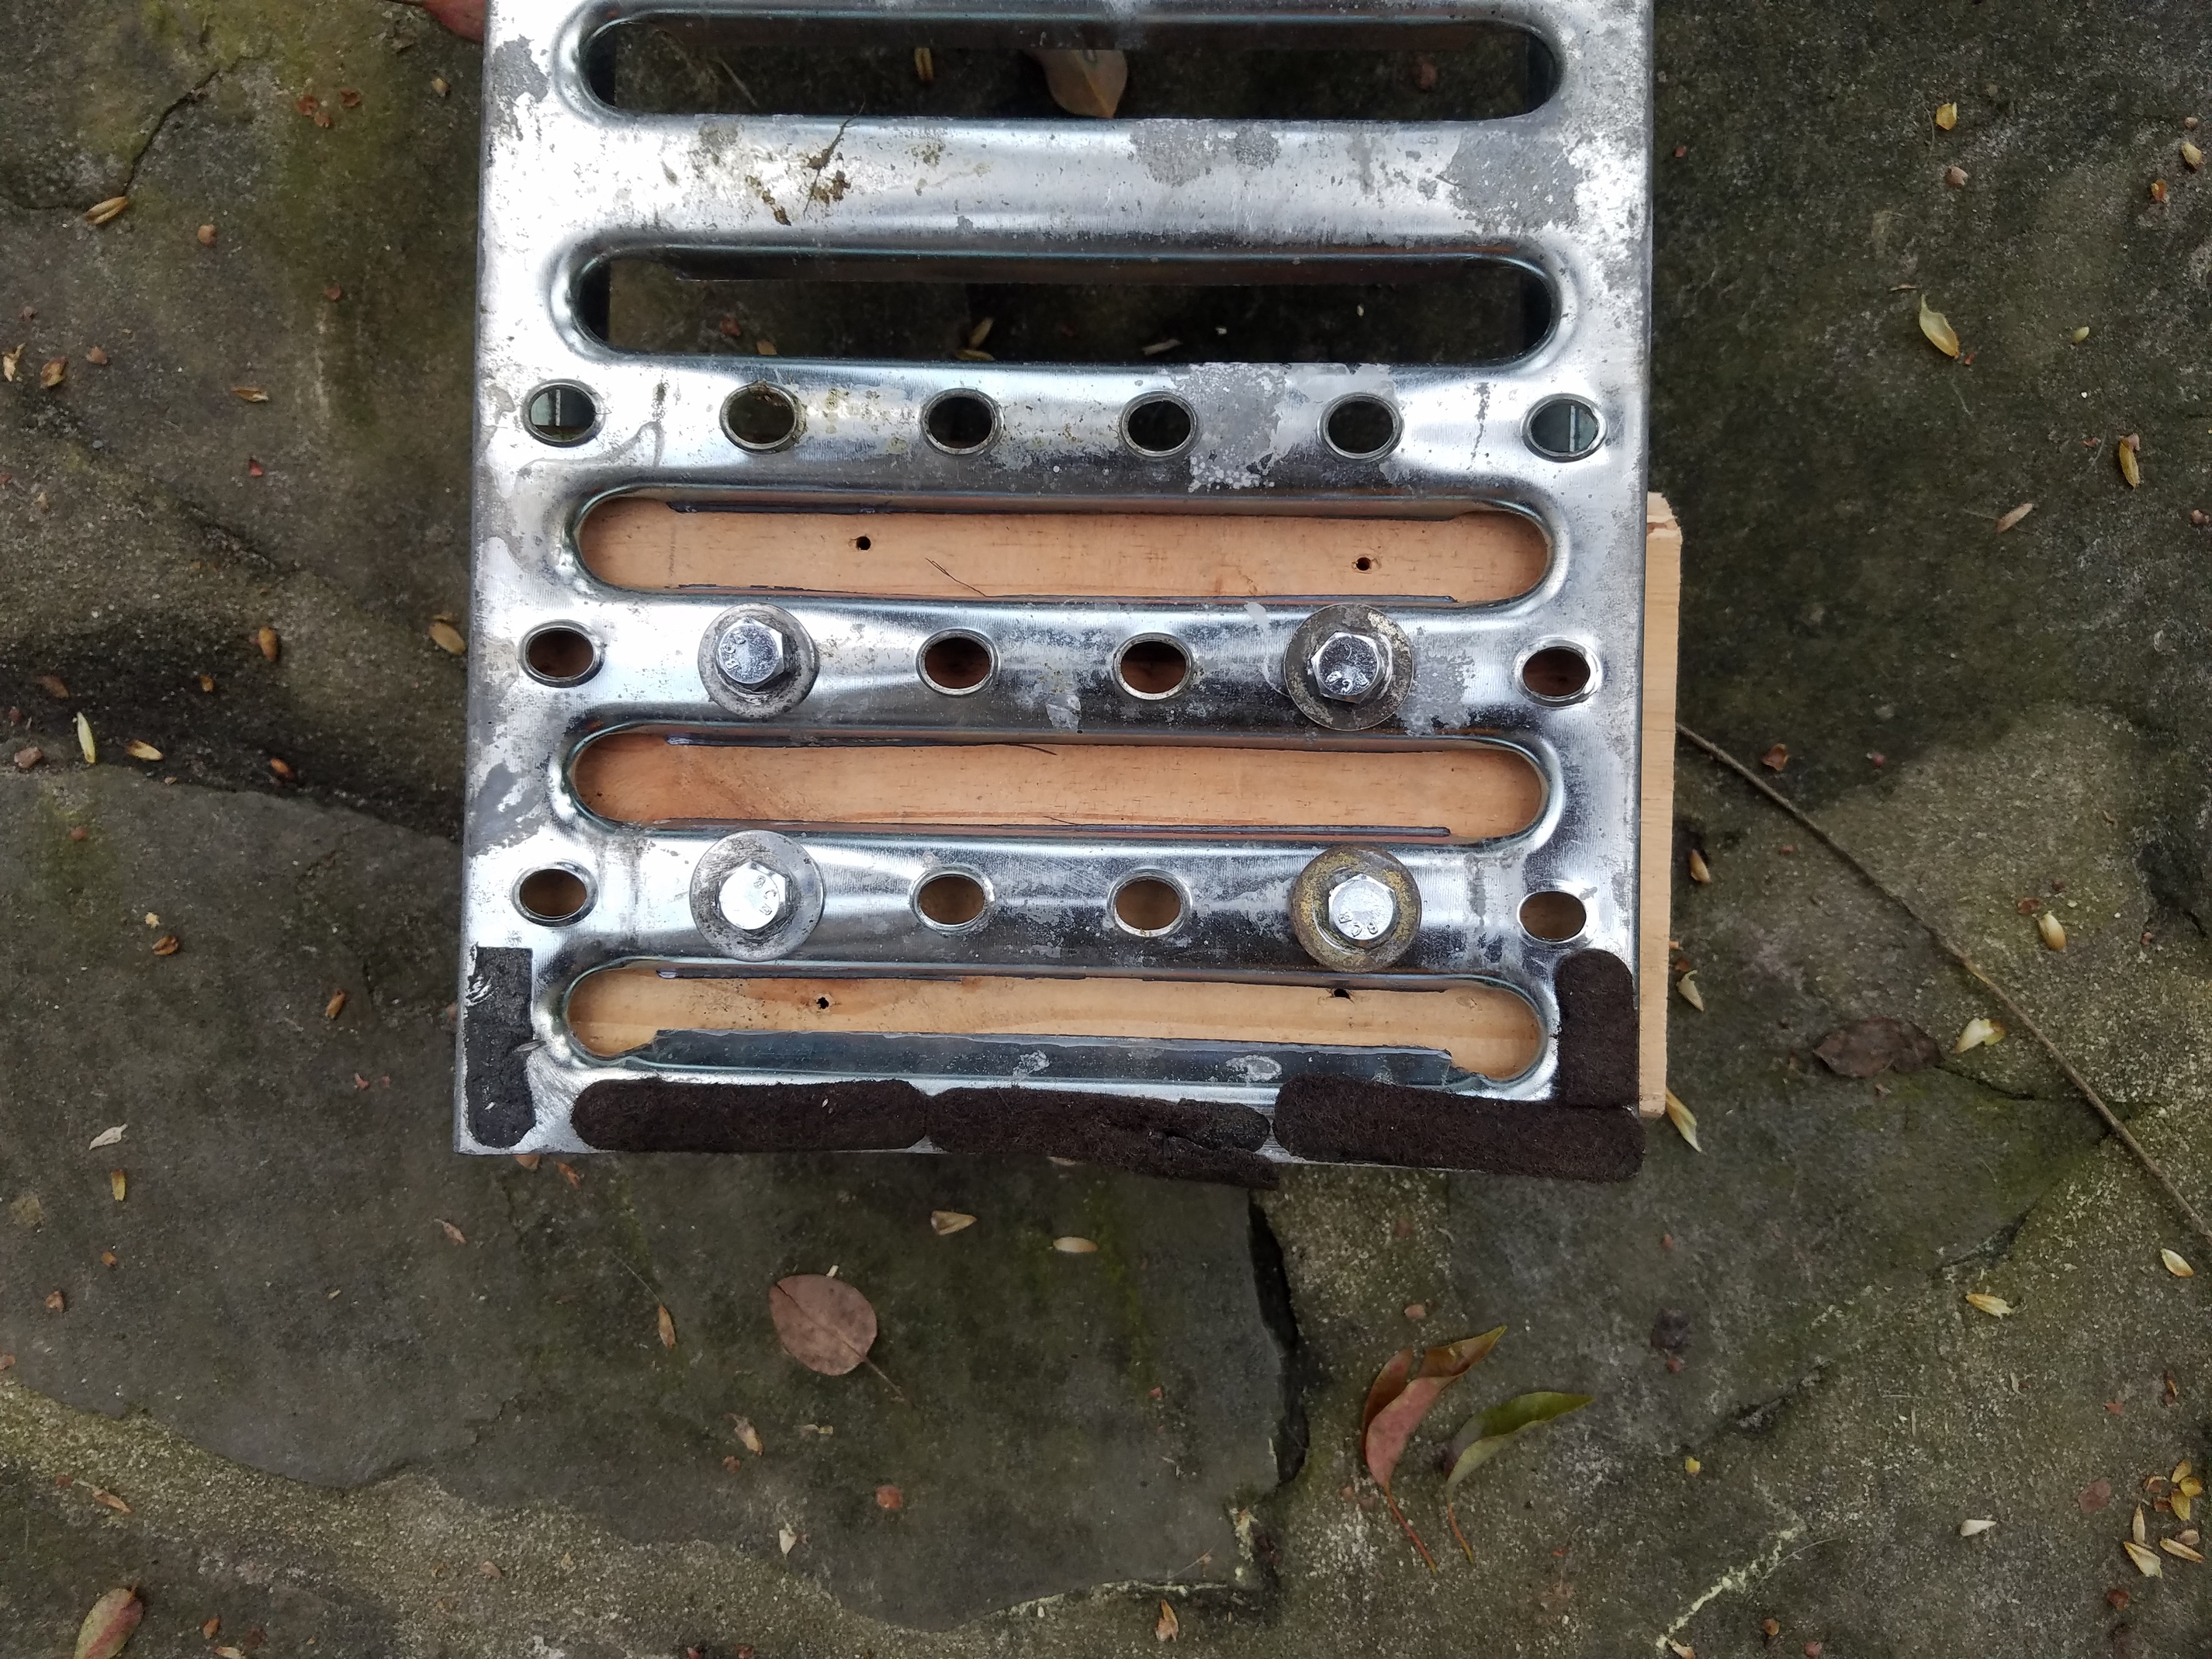
This pic shows the Home Depot nutsert things.

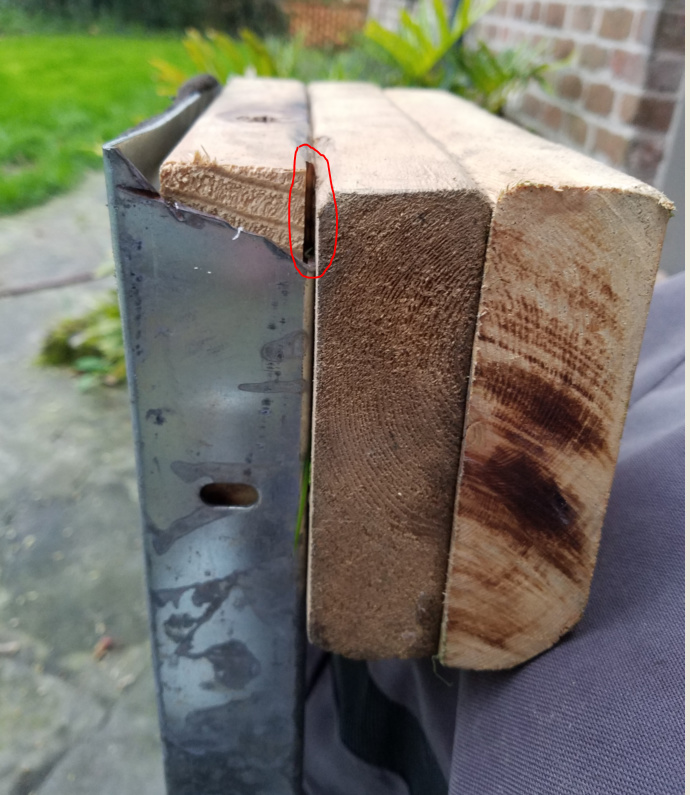
I needed the top 2x6" to fit right inside the ramp. This would provided structural strength. In order to do it I removed a bit of wood from the top 2x6". See pic. Also, the ramp is formed by punching the obvious slots in the steel. Those slots will get in your way when you try to slide the top 2x6" inside. I took a grinder to the other side of the ramp and removed prob 4mm of steel in order to give more room for the top 2x6". That’s not going to become clear until you try to shove a 2x6" inside the ramp. But once you do, you’ll see what the wood hangs up on. Have a grinder wheel ready, not a cutting wheel.
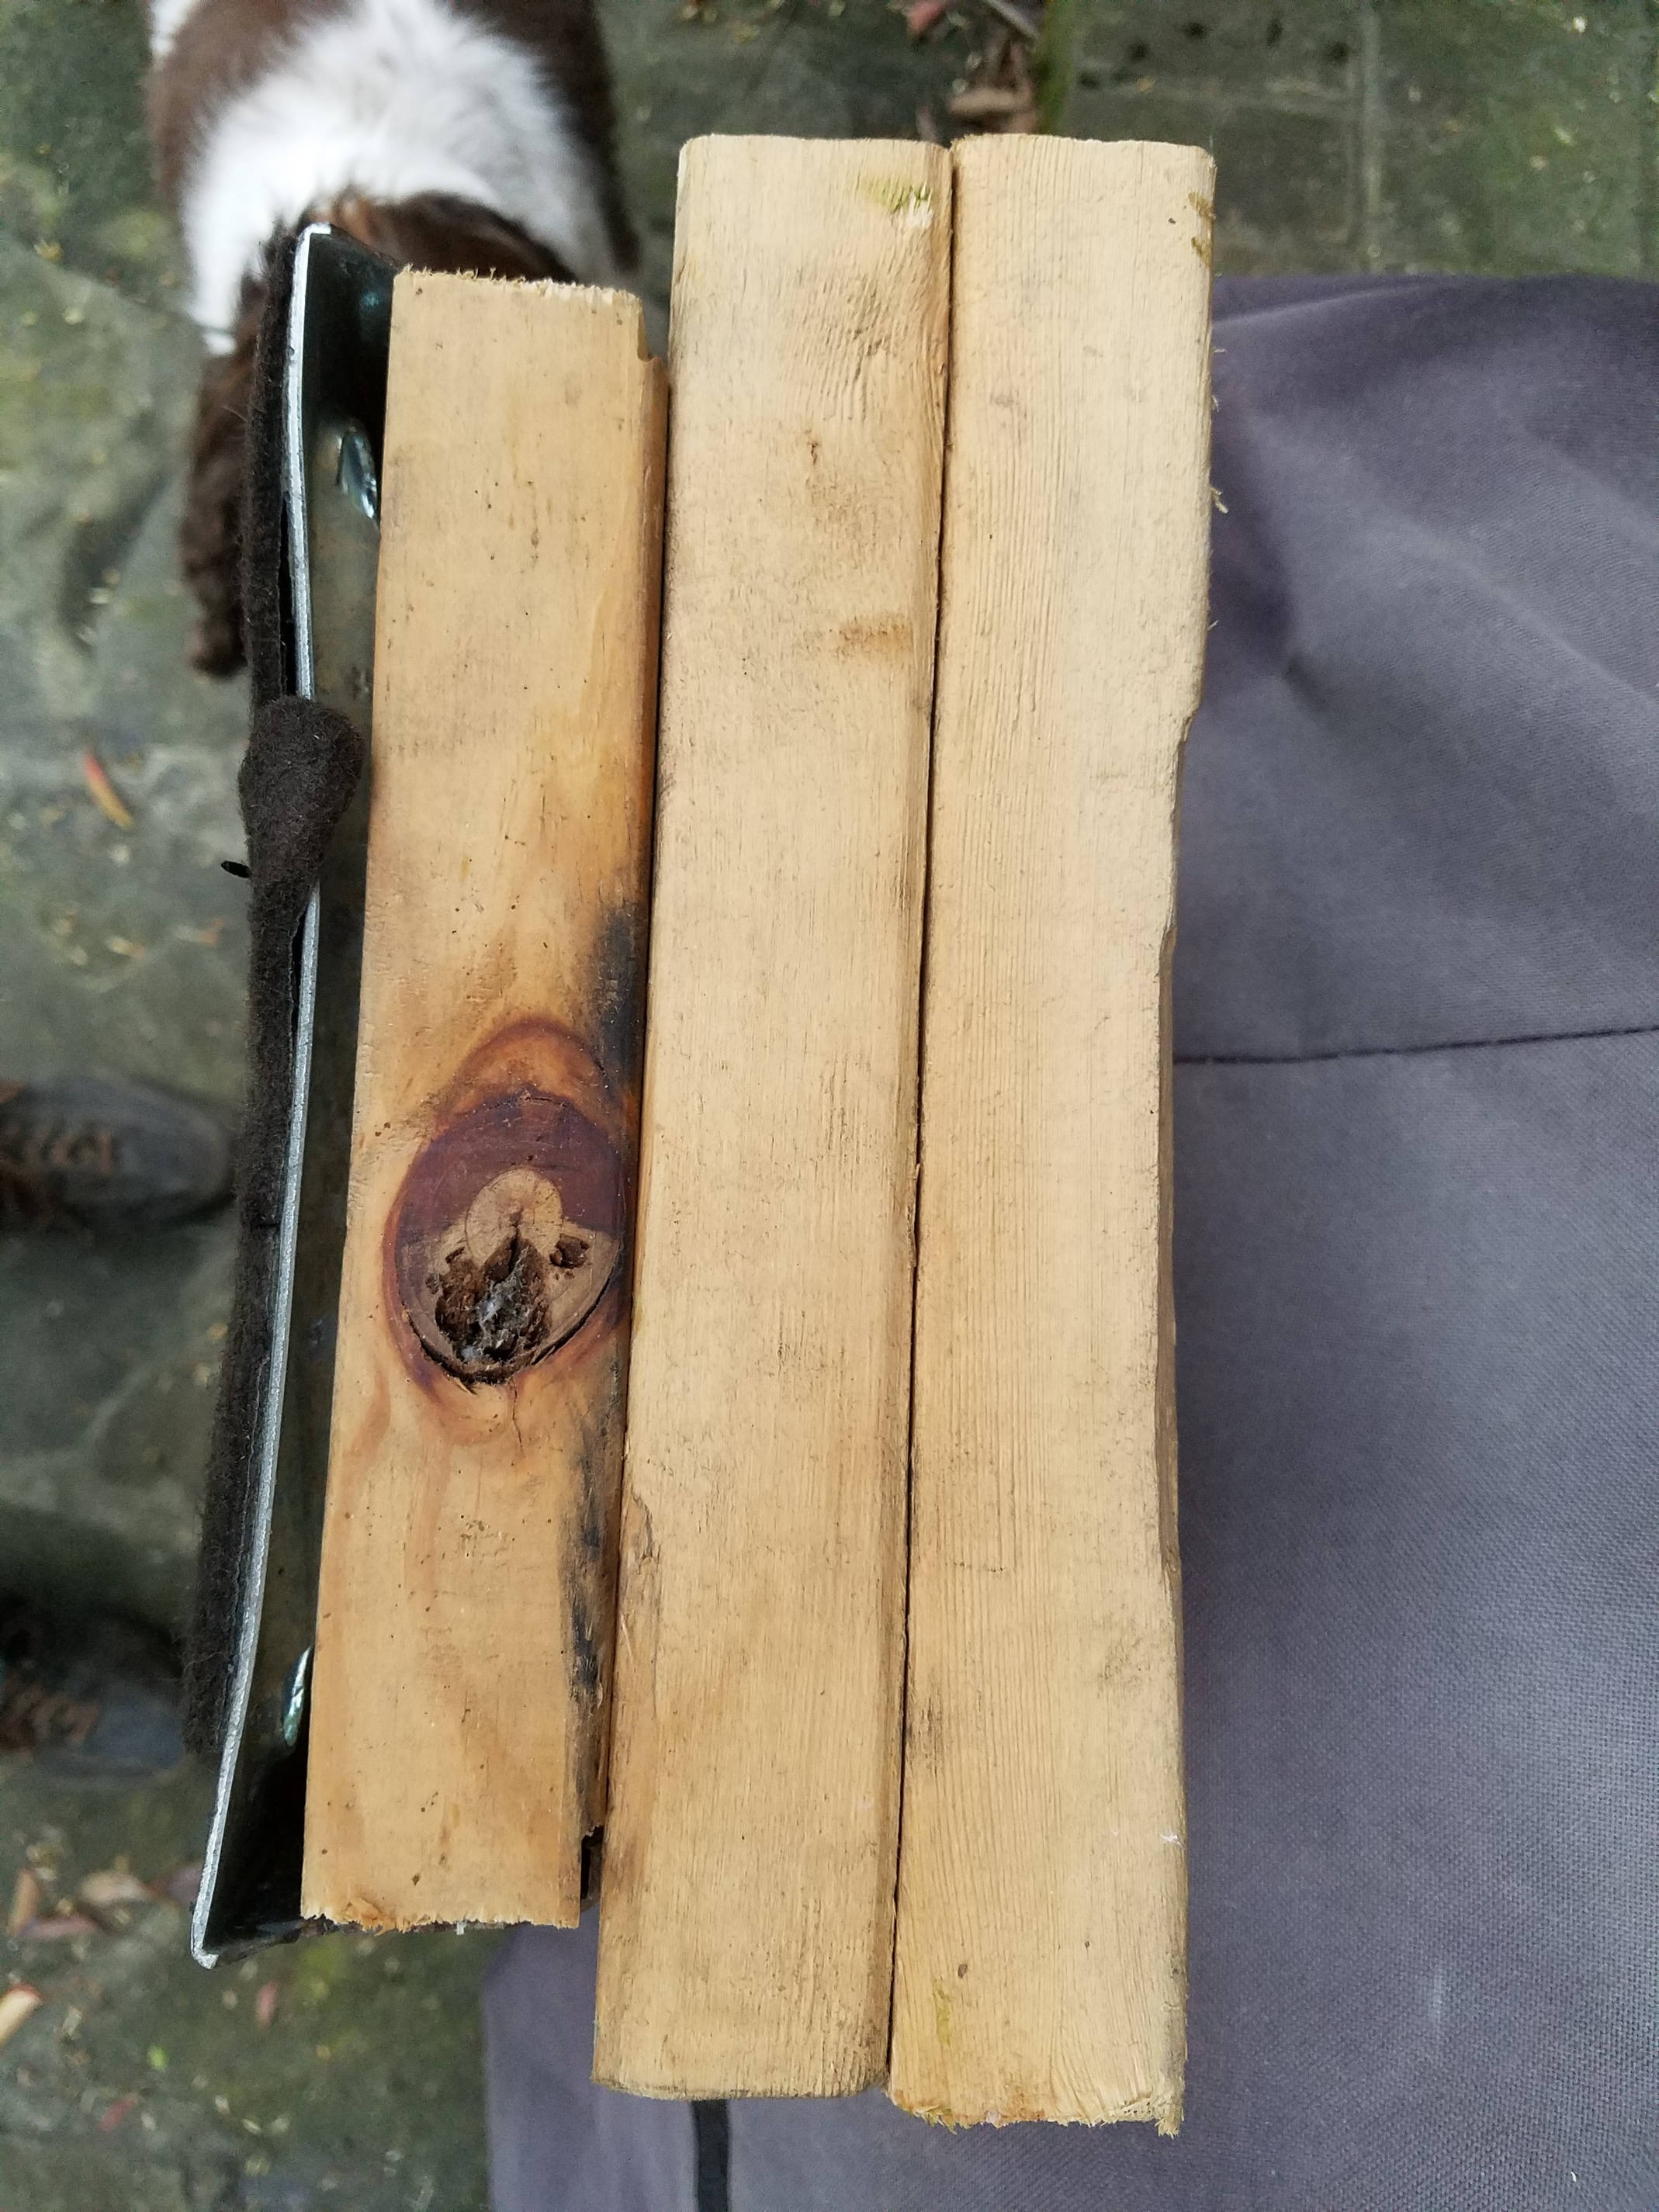
This last pic shows the relative length of the 2x6"s.
Total cost prob $55. The wood was scrap that was laying around,.