~~ M3Rob95's "Reskew" SE30 Build Thread ~~


#1

Hey Everyone! New here to SE30 and the boards. I just introduced myself in my first thread, but I am excited to get the ball rolling on my build thread so here goes!

My goal is to complete this car in time for the NASA Nationals at Road Atlanta this year in August. I just got the car about two weeks ago, so please bare with me as I get caught up with the build process. I am going to post some quick pictures of the progress thus far, and then will be updating more regularly as the progress continues.

I am excited to join you all and I look forward to keeping it sunny side up :slight_smile:

Again, I owe a huge thanks to Markert Motor Works in Atlanta GA (Lawrenceville). Without the boys there I would not be able to persue these goals. They do top knotch work and are truely passionate about what they do.

I also owe a huge thanks to Zintar’s Collision next to Road Atlanta for the top notch quality paint and cage work :slight_smile:

Here goes!

This all started when my good friend Sandro let me drive his SE30 down at Roebling Road. I’ll post the video soon :wink:

I recently took several wins and a track record at VIR-Full Course in my SE36, so what better than to start running in SE30! Maybe some scouts will find me like our famous friend, Mike Skeen :). From what I have seen, the people running in SE30 and nuts! I think I’ll fit in just fine.

[COLOR=“silver”][SIZE=1]- - - Updated - - -[/SIZE][/COLOR]

This car started out as a zinno red mobile, but I owe a huge thanks to Zintar of Zintar’s Collision next to Road Atlanta for painting this bad boy. It looks AMAZING!!! Probably too nice to be a race car, but I will be bringing my M-Technic car to him to properly paint since I went through such a nightmare in the past with other local Atlanta shops. Thread seen here: http://forums.bimmerforums.com/forum/showthread.php?1713449-M3Rob95-s-94-e36-M-Technic-restoration-thread

Please excuse the cell phone pics for the time being:

[URL=http://s148.photobucket.com/user/m3rob95/media/Mobile%20Uploads/F474D7D9-4D50-402B-81DB-F2DDA0A63BD6_zpstzjdtihn.jpg.html][/URL]
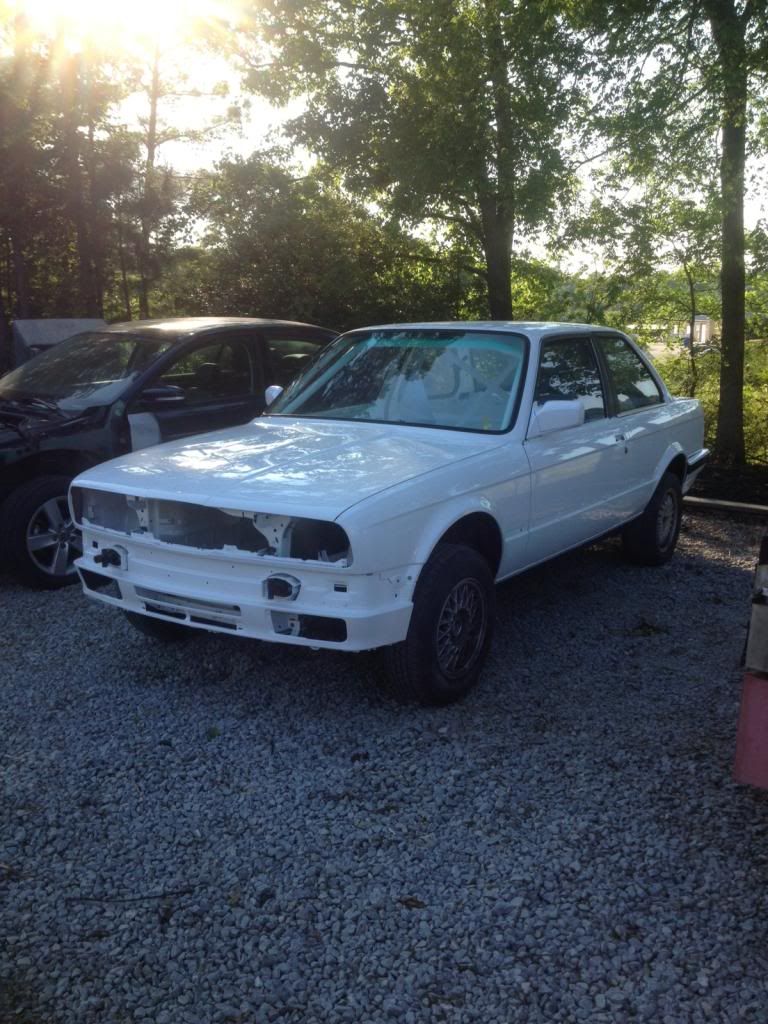
[URL=http://s148.photobucket.com/user/m3rob95/media/Mobile%20Uploads/109481C5-5166-46B1-83A5-C188ACD1CAFB_zpsxl1gcco6.jpg.html][/URL]
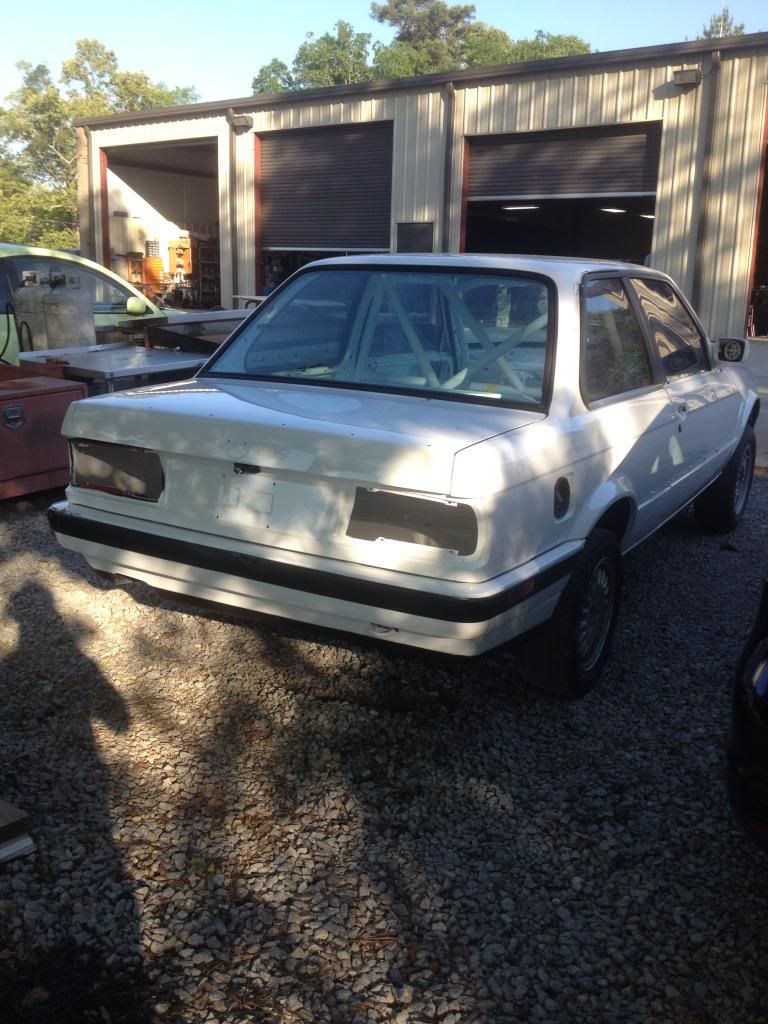
[COLOR=“silver”][SIZE=1]- - - Updated - - -[/SIZE][/COLOR]

The cage is extremely nice, fully tig welded and I could not be happier. The cage is very tight to the body and it should be really safe when running with these crazies.

[URL=http://s148.photobucket.com/user/m3rob95/media/Mobile%20Uploads/3524B4E8-740D-4E08-A647-4F936279952E_zps11s3kyi4.jpg.html][/URL]
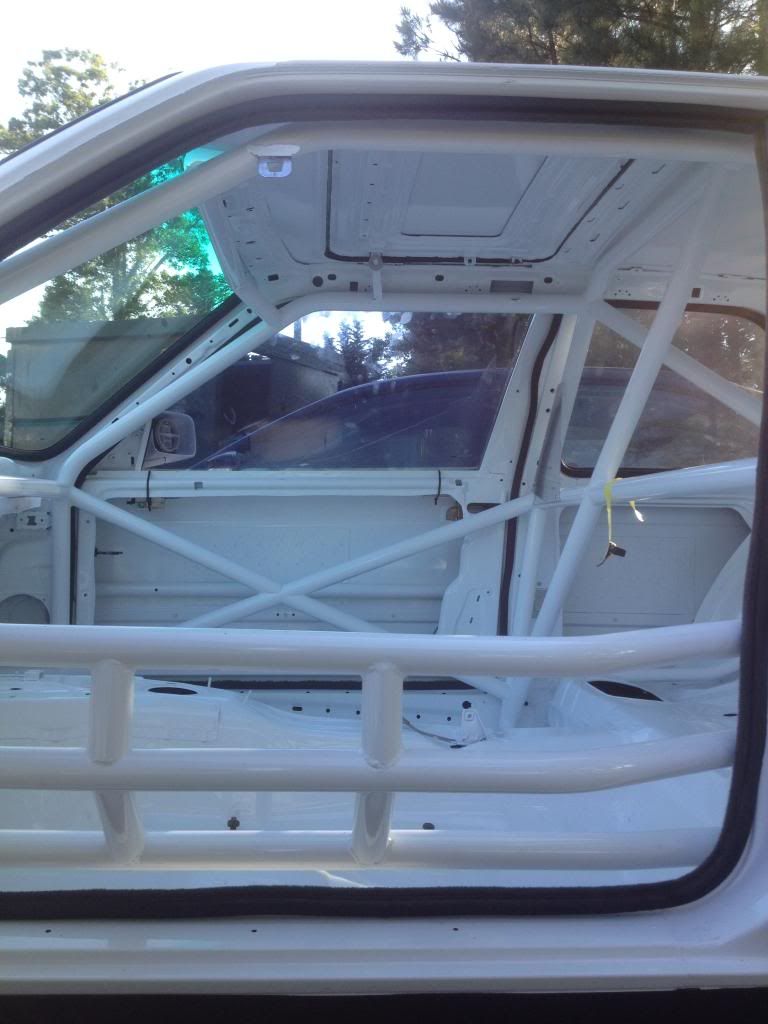
[URL=http://s148.photobucket.com/user/m3rob95/media/Mobile%20Uploads/7BBC0580-5AC2-46B4-96D9-B2812B17338A_zpsk5ieoh7o.jpg.html][/URL]
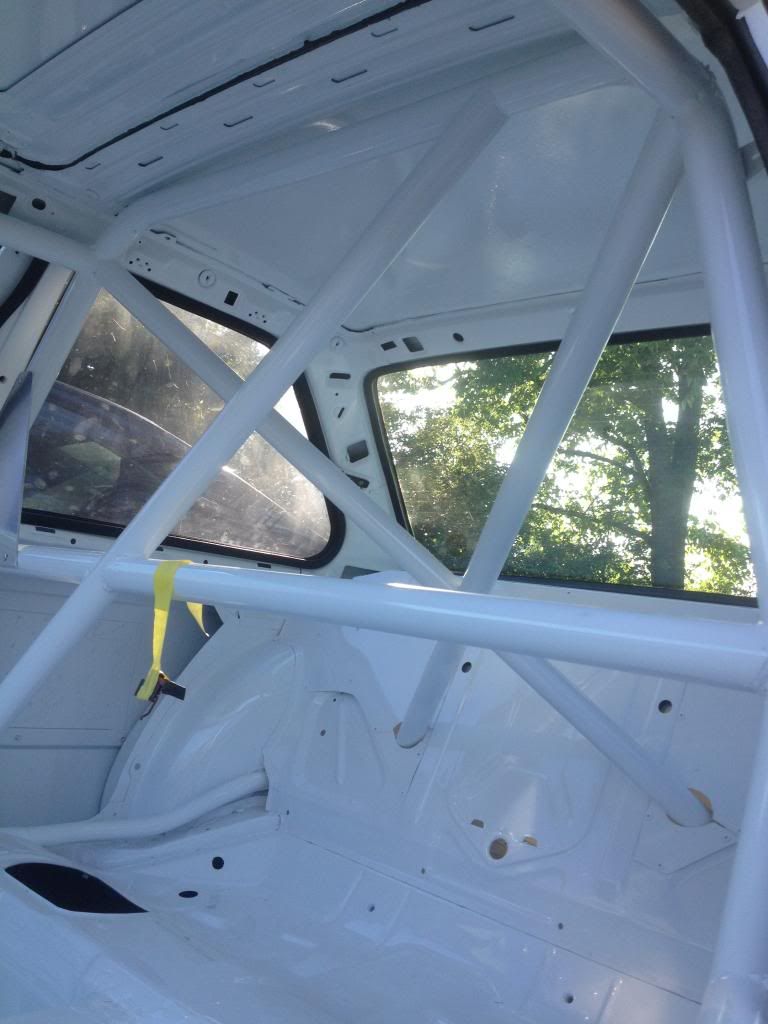

#2

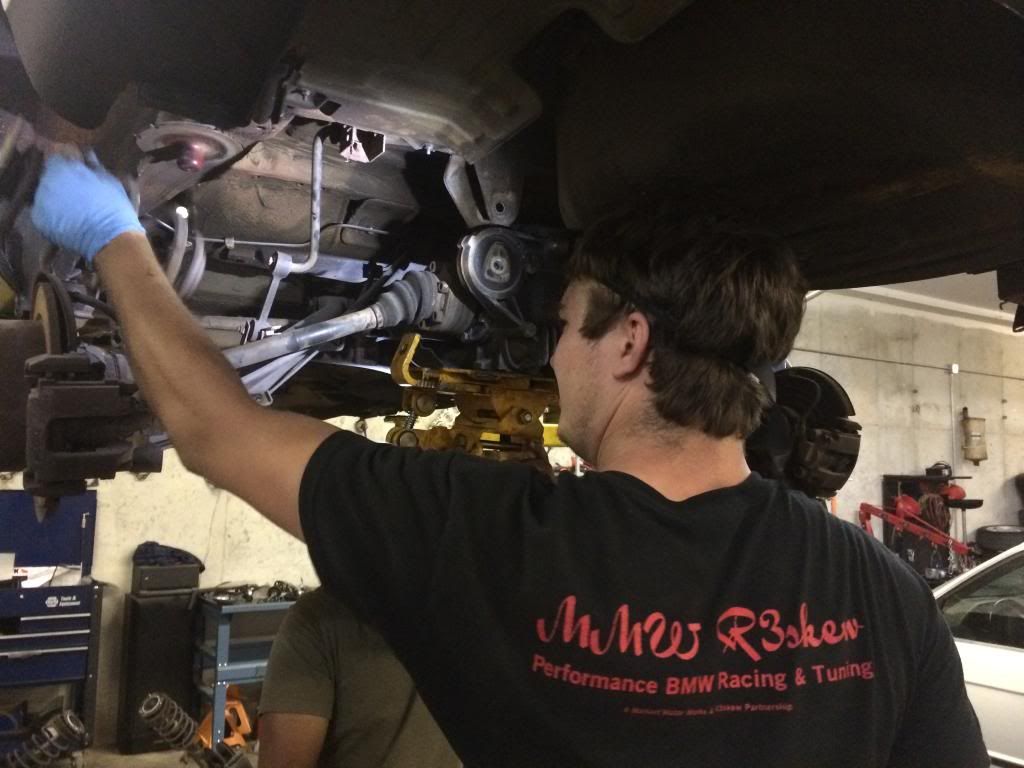
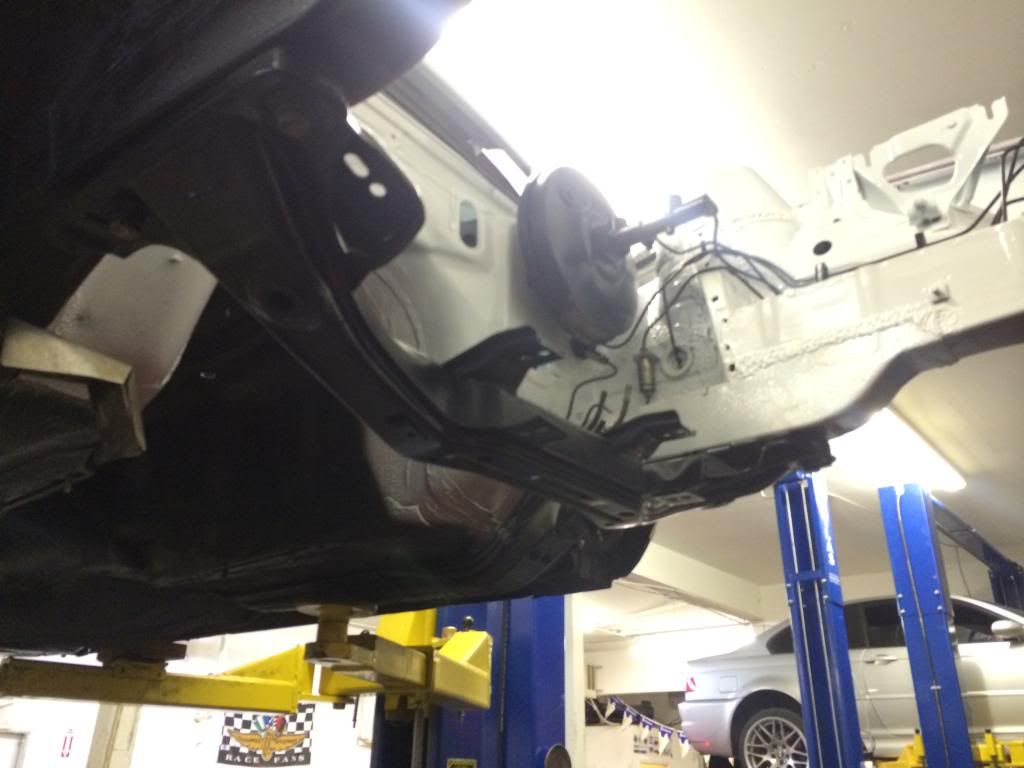
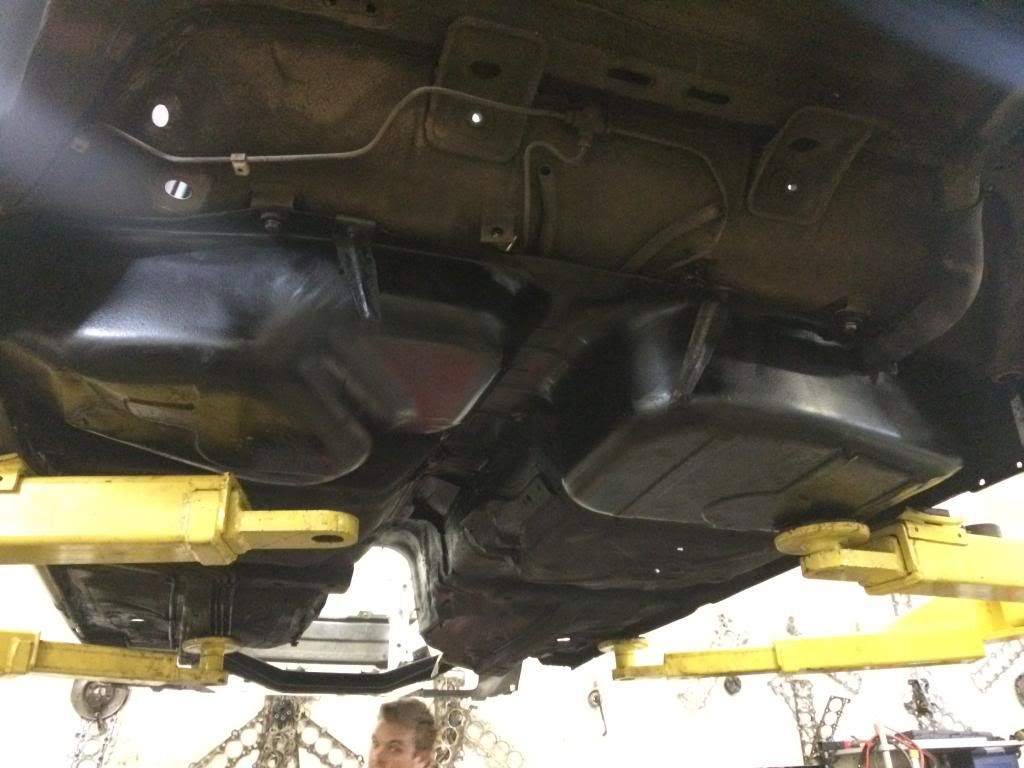
One of the first things we did as soon as we got the car back to the shop was drop the front and rear subframes for full overhauls. I always tell people driving the E9X and new F cars that the older BMWs drive just as good, as long as all the bushings and ball joints arent exploded. Im excited to see how this thing will drive.

We are really big fans of the AKG products. They have so far had great products and customer support.

Ray getting it dropping the rear subframe!:
[URL=http://s148.photobucket.com/user/m3rob95/media/Mobile%20Uploads/EB895704-450E-4230-9F1C-0FE12626E994_zpsiuwkkypd.jpg.html][/URL]

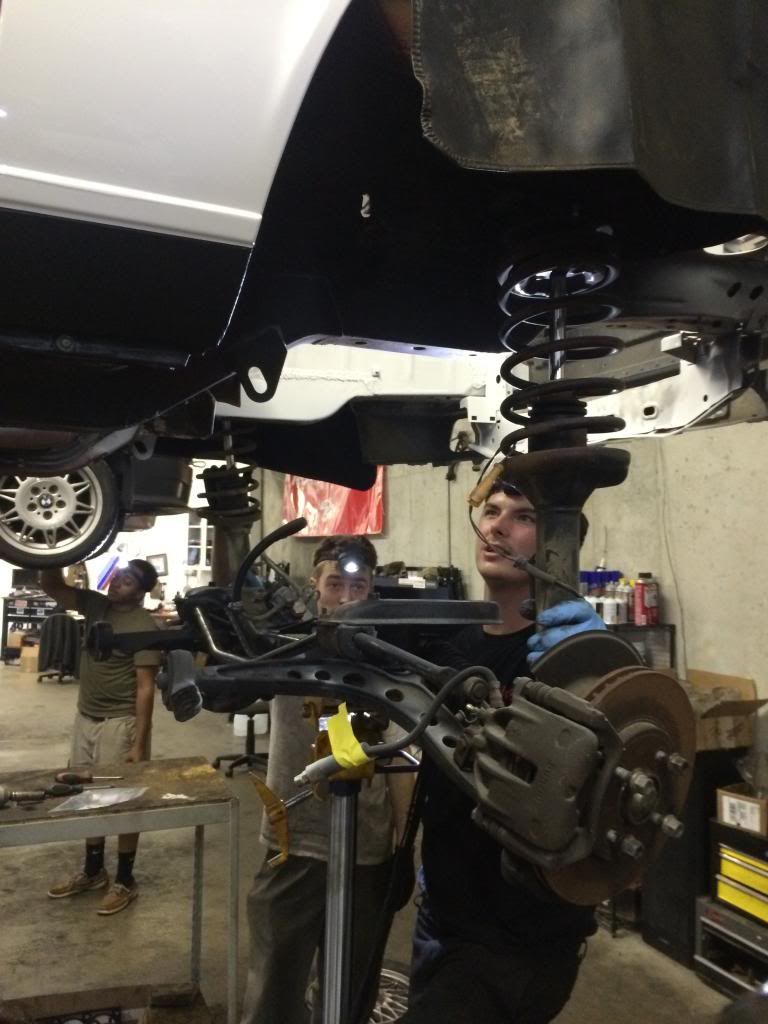
And before we could say, “JIB ON!!!” the front was coming out:

[URL=http://s148.photobucket.com/user/m3rob95/media/Mobile%20Uploads/A3532FC3-00DE-4403-9505-F5B9E6245C8E_zpsseieuk1f.jpg.html][/URL]

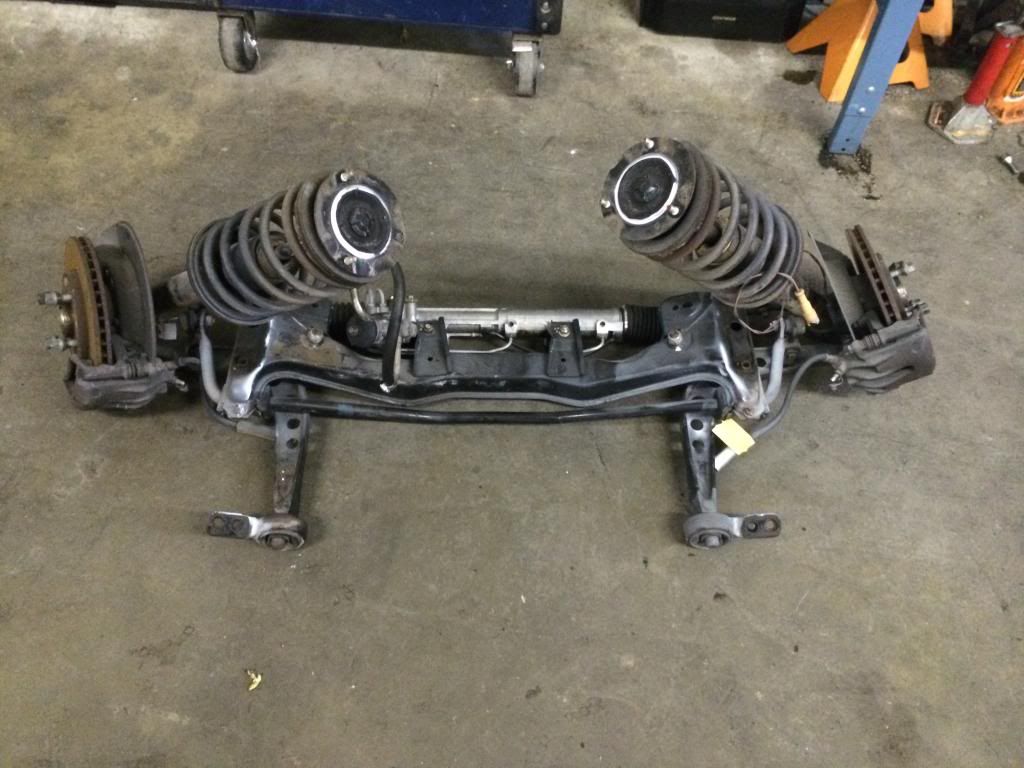
The front came right out:

[URL=http://s148.photobucket.com/user/m3rob95/media/Mobile%20Uploads/94BA49DF-3773-44D6-84CC-127C253F4D6B_zps2qluy5qc.jpg.html][/URL]

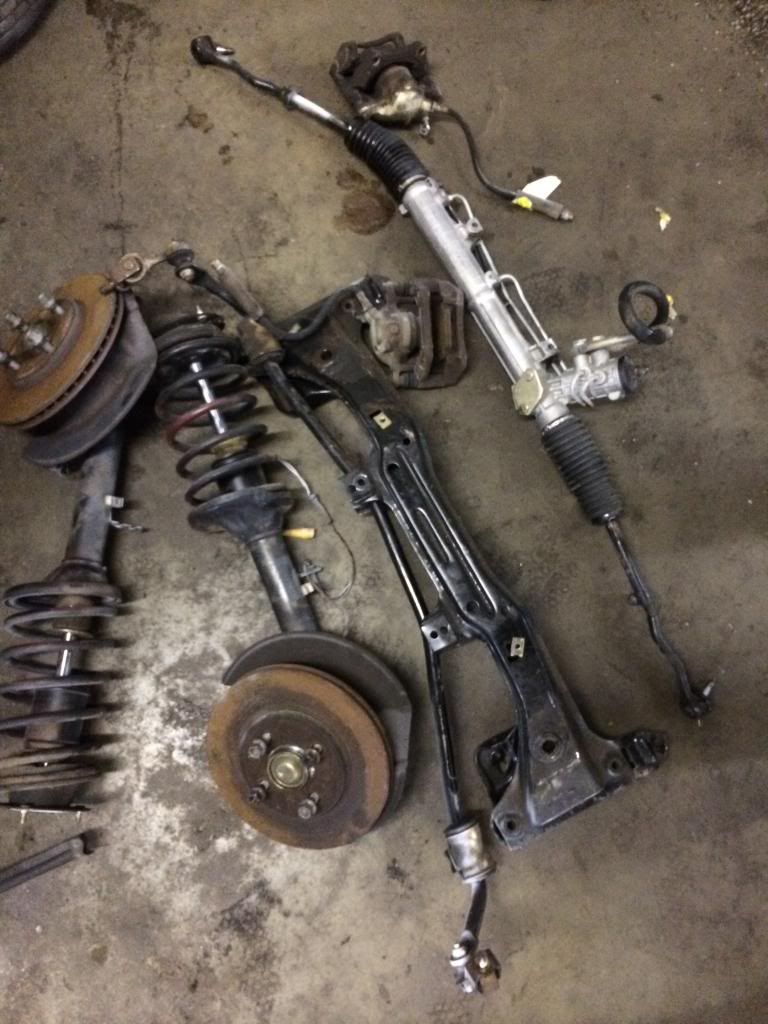
And then it all came apart:

[URL=http://s148.photobucket.com/user/m3rob95/media/Mobile%20Uploads/F2F52591-33D4-4854-A111-1D6F4C3C8E5E_zpszvjawsei.jpg.html][/URL]

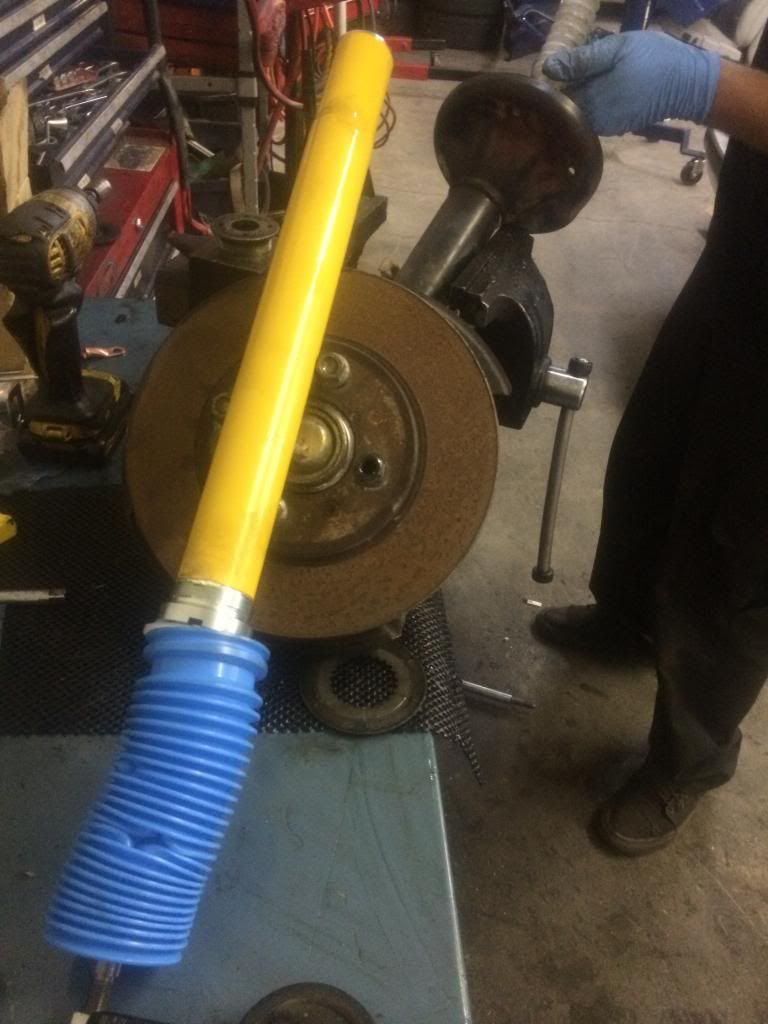
I am going to be going with Lemforder Front Lower Control Arms, AKG Offset Front Control Arm Bushings, a Rack Doctor rebuild steering rack, Bilstein and H&R shocks/springs, and the IE Sways/Camber Plates.

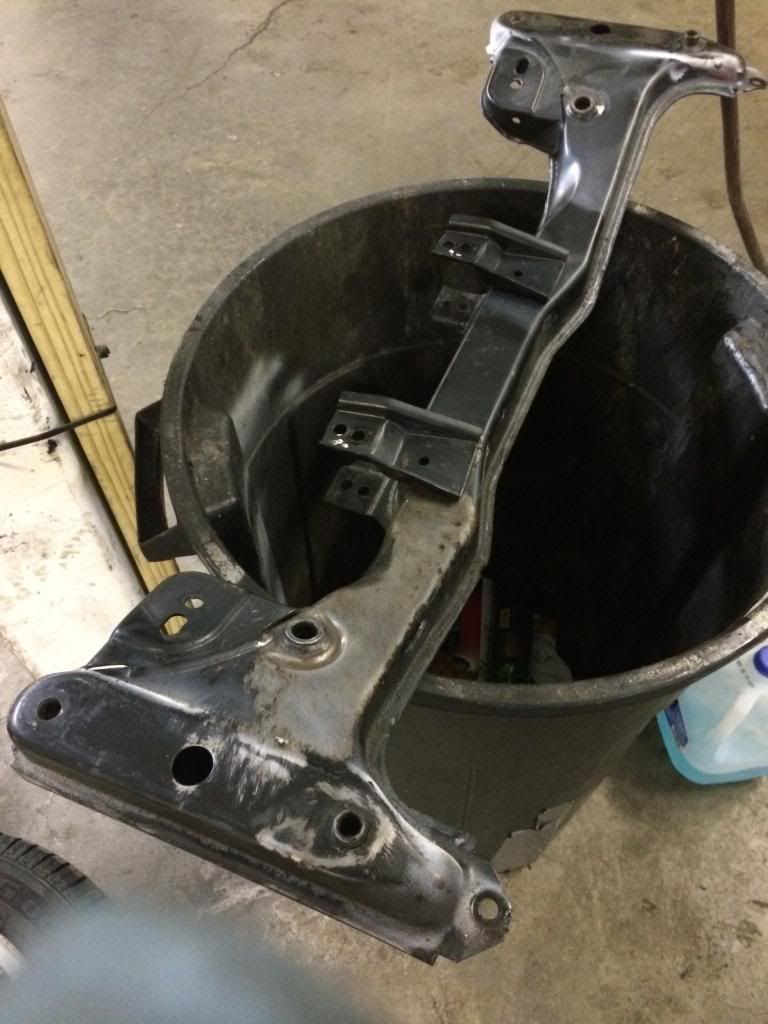
There was a small amount of surface rust on the front subframe so we grinded it all off and painted it. Then popped it right back in where it belongs. On other racecars, I typically reinforce the engine mount mounting points but I think the M20 power will have a hard time tearing these. The subframe didnt show any signs of fatigue so I left it as-is.

Subframe cleaning:

[URL=http://s148.photobucket.com/user/m3rob95/media/Mobile%20Uploads/6341EB97-6C59-4455-A7BB-170D3437E07C_zpsjqb9xlaf.jpg.html][/URL]

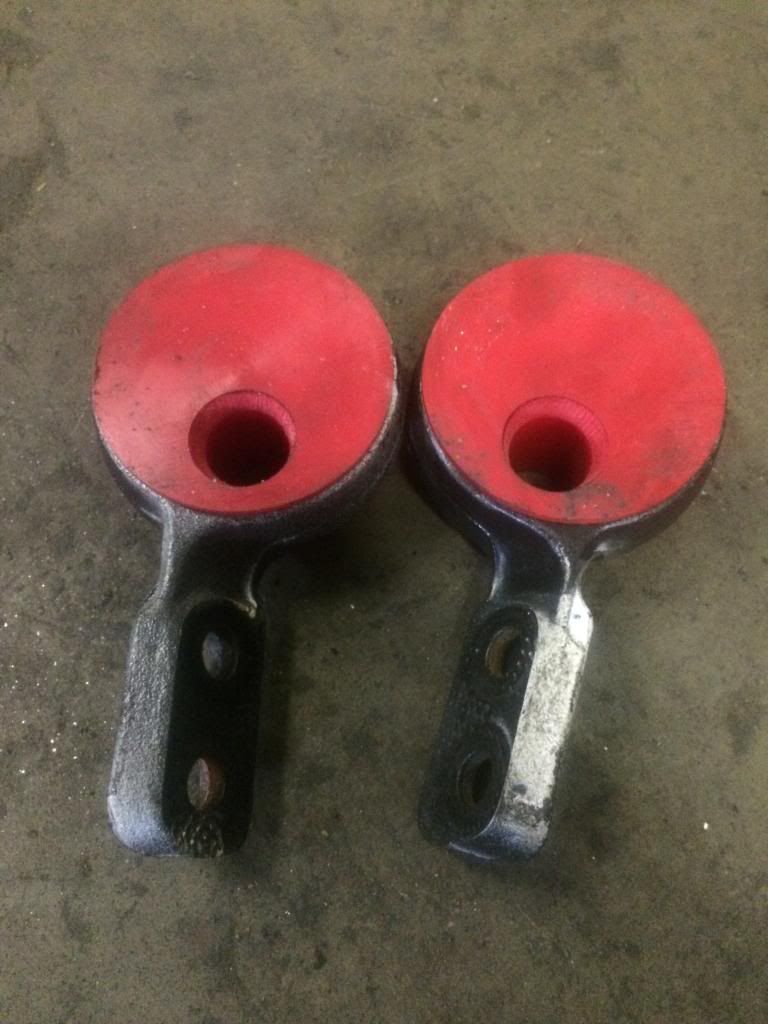
New AKG Control Arm Bushings!!!:

[URL=http://s148.photobucket.com/user/m3rob95/media/Mobile%20Uploads/198C0D4B-756C-4720-AA31-65D7C743C0DC_zpsrml27bzi.jpg.html][/URL]

Front Struts going in:

[URL=http://s148.photobucket.com/user/m3rob95/media/Mobile%20Uploads/0A4C89FB-A210-4CA7-8F2D-CD5D1D3CA2E5_zps37vukjzm.jpg.html][/URL]

Cleaned and painted front subframe back in the car:

[URL=http://s148.photobucket.com/user/m3rob95/media/Mobile%20Uploads/A9E0C153-4E38-45A2-A362-80579A2E3F13_zpsledbk4bg.jpg.html][/URL]


#3

Jumping back to the rear of the car, the gas tank was not even installed. It was luckily 100% rust free, so I cleaned it up really good and there 'er right back up in there:

[URL=http://s148.photobucket.com/user/m3rob95/media/Mobile%20Uploads/2C1D5E49-E0D4-4832-BA94-4F9D94A5D8D9_zpsq3wsvz9m.jpg.html][/URL]

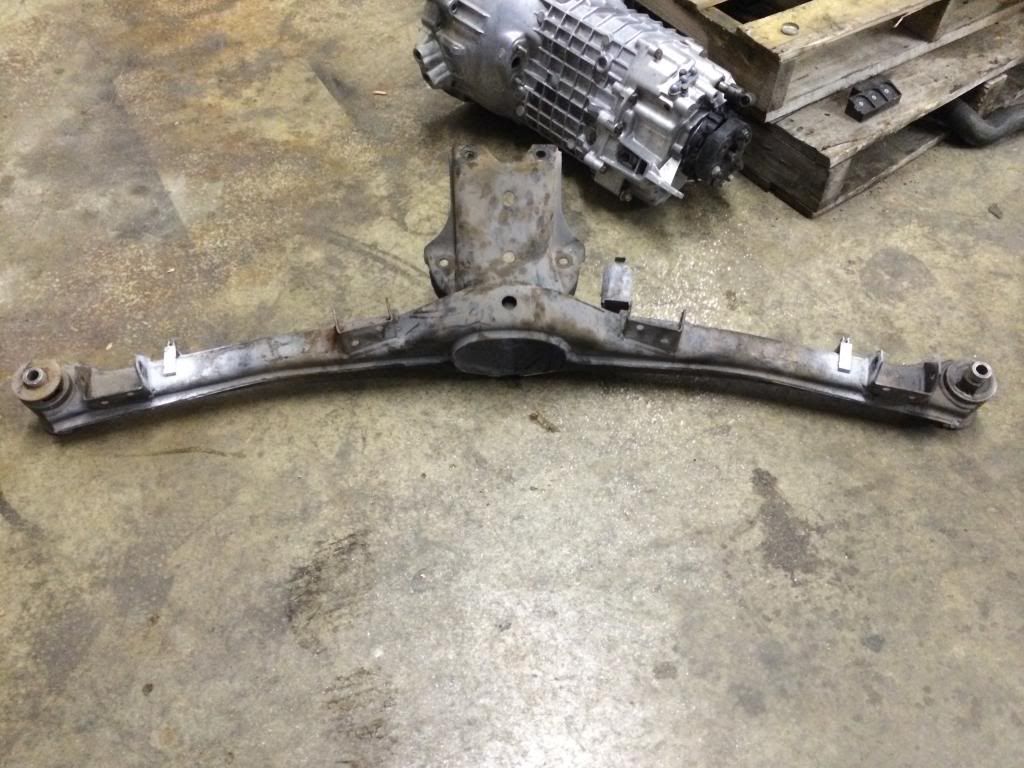
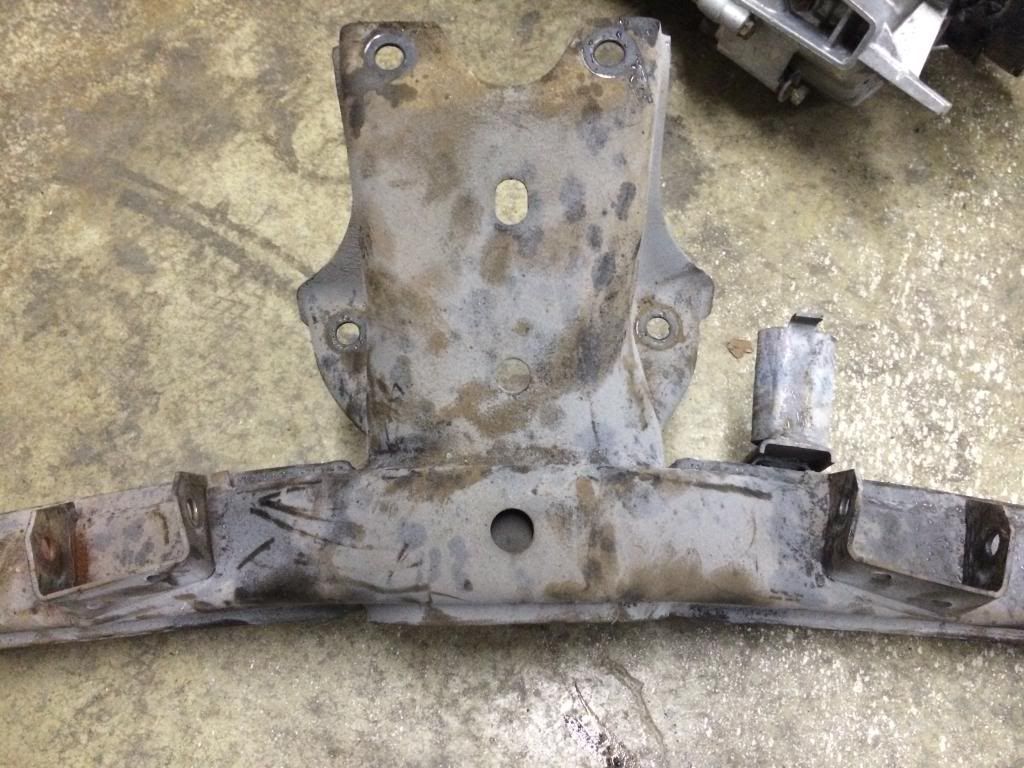
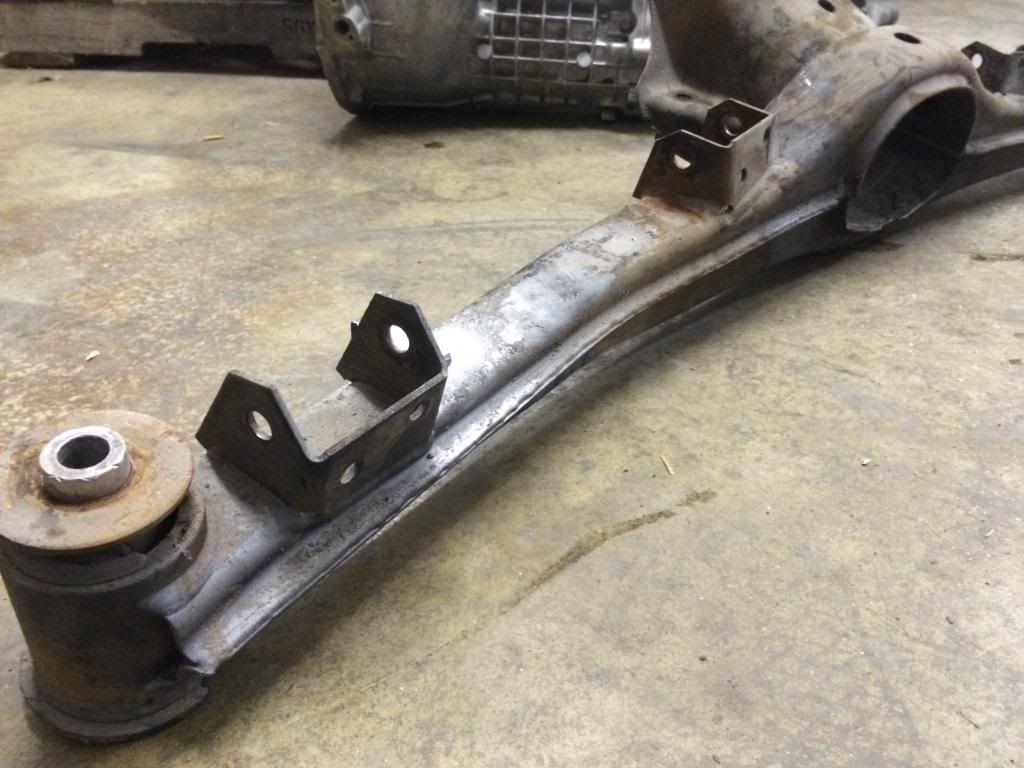
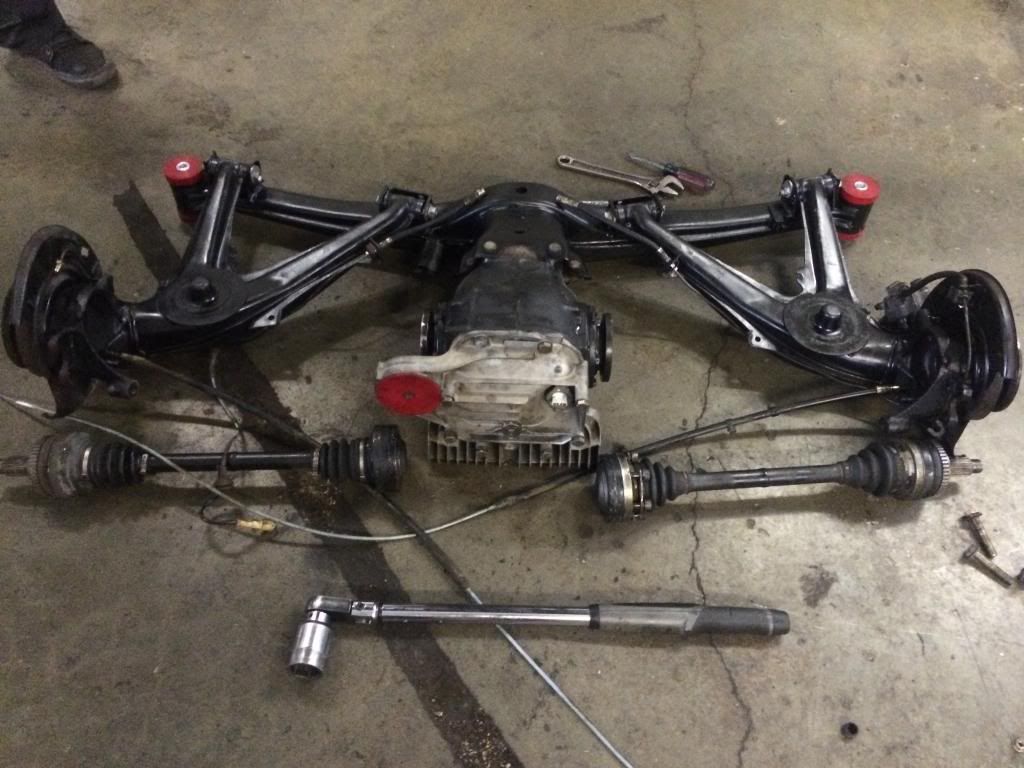
Again at the rear of the car, we took all the parts and pieces off the rear subframe getting it ready for the new AKG bushings and their Camber/Toe Correction Kit. This is an awesome solution to the static alignment these cars had from the factory, and it is SE30 legal! I highly recommend this upgrade!!!

[URL=http://s148.photobucket.com/user/m3rob95/media/Mobile%20Uploads/9B9B9E35-706C-4E4B-A32E-1CFB86BD1E77_zpsuwuilktp.jpg.html][/URL]

[URL=http://s148.photobucket.com/user/m3rob95/media/Mobile%20Uploads/AAA377A2-433D-4229-87C8-3AA36F883CF7_zpsh9tcbptn.jpg.html][/URL]

[URL=http://s148.photobucket.com/user/m3rob95/media/Mobile%20Uploads/4873B011-B54E-4BCA-9A5B-7081468D8FDC_zpsfcuukizw.jpg.html][/URL]

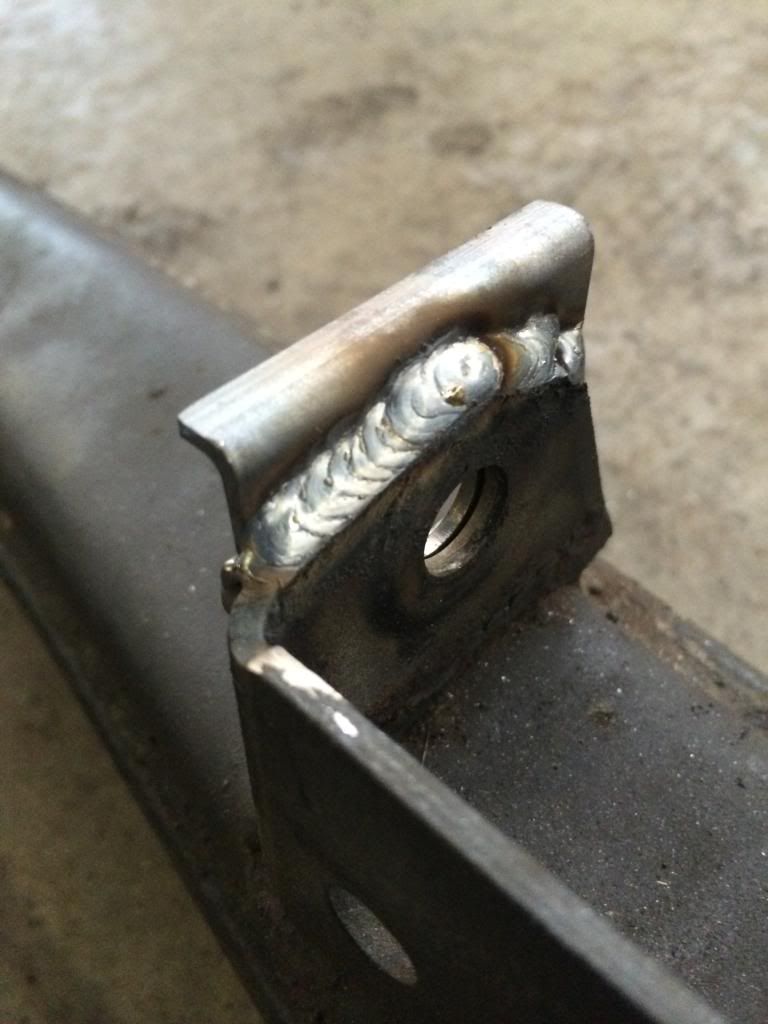
I rolled out the dimes and got the welding done on the subframe for the toe/camber correction kit. I was happy how these looked with just a 110 mig, lol! :slight_smile:

[URL=http://s148.photobucket.com/user/m3rob95/media/Mobile%20Uploads/5B0DFBDD-517A-4856-80E0-1D95BCFC5F72_zpsbzjscvh7.jpg.html][/URL]

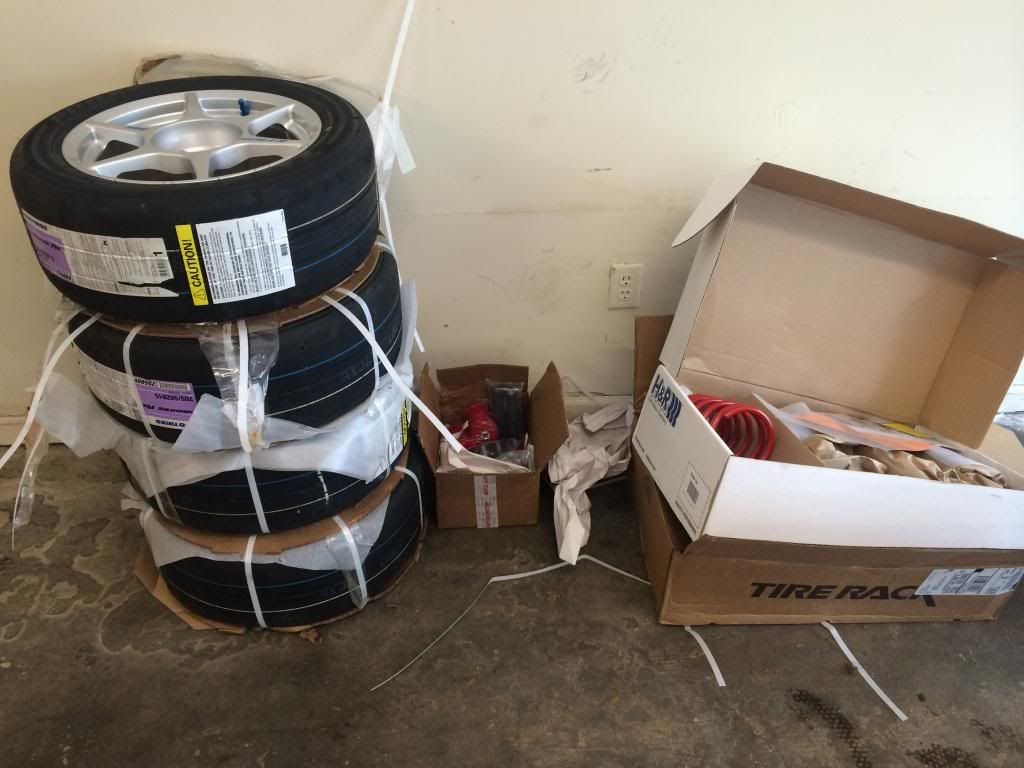
Every day is like Christmas when building a racecar. More parts keep arriving.

Here are some parts from Tire Rack. I am happy with how inexpensive the consumables will hopefully be. Key word: “Hopefully.”

[URL=http://s148.photobucket.com/user/m3rob95/media/Mobile%20Uploads/34DCF269-24EF-461E-B71D-E575390D0561_zps0gilaaqh.jpg.html][/URL]

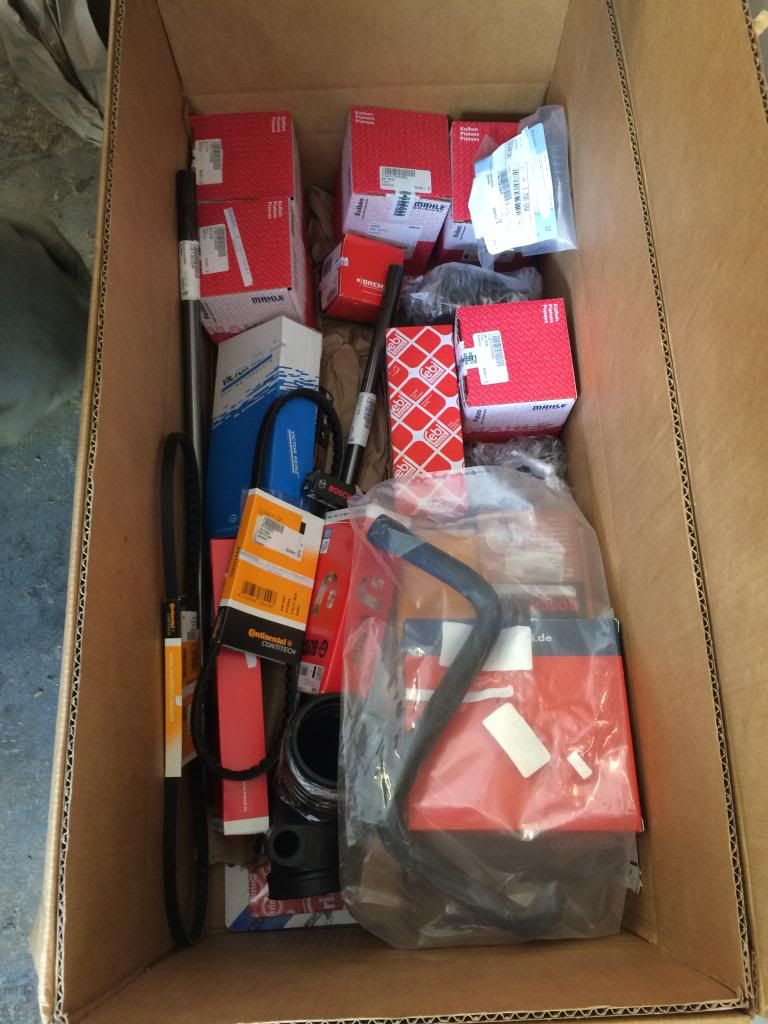
Again, even more parts!!!

[URL=http://s148.photobucket.com/user/m3rob95/media/Mobile%20Uploads/B8DA660A-9A6D-4345-8C28-6DB53000253F_zpstbdlnjhl.jpg.html][/URL]

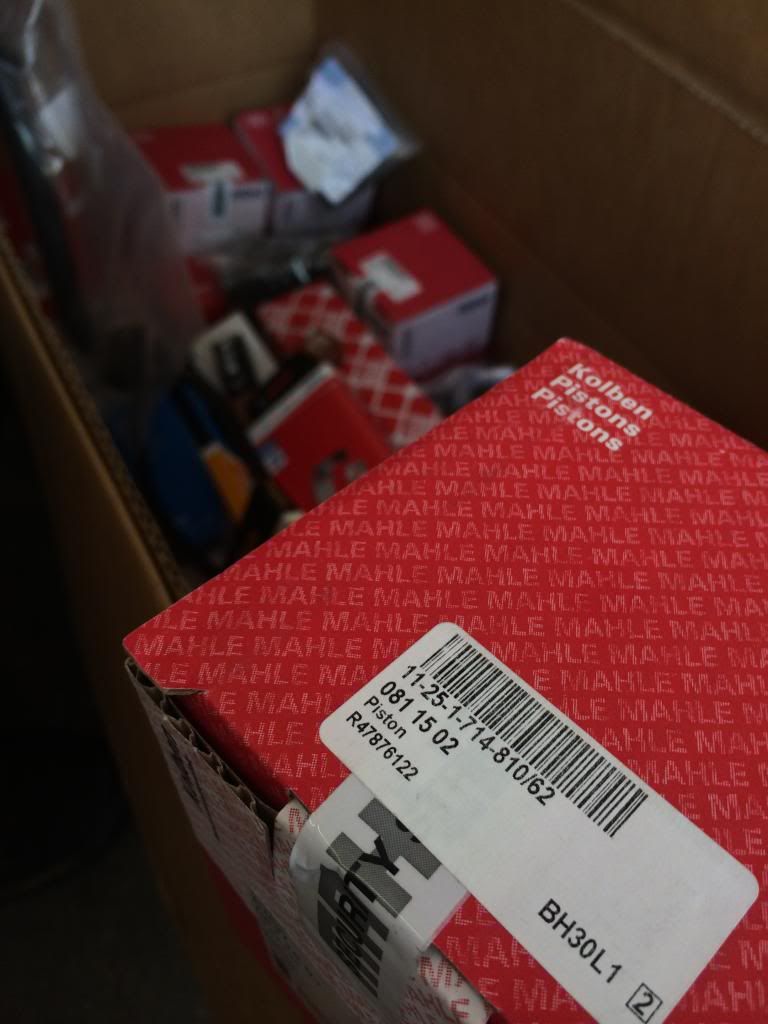
If you looked closely, you may have noticed these:

[URL=http://s148.photobucket.com/user/m3rob95/media/Mobile%20Uploads/884ADB70-BAC2-45D1-8345-CB44D6F68880_zpsxhejjpdx.jpg.html][/URL]

[URL=http://s148.photobucket.com/user/m3rob95/media/Mobile%20Uploads/741941E6-0F35-47EA-802D-04F3DA701F94_zpsq1s6bepw.jpg.html][/URL]

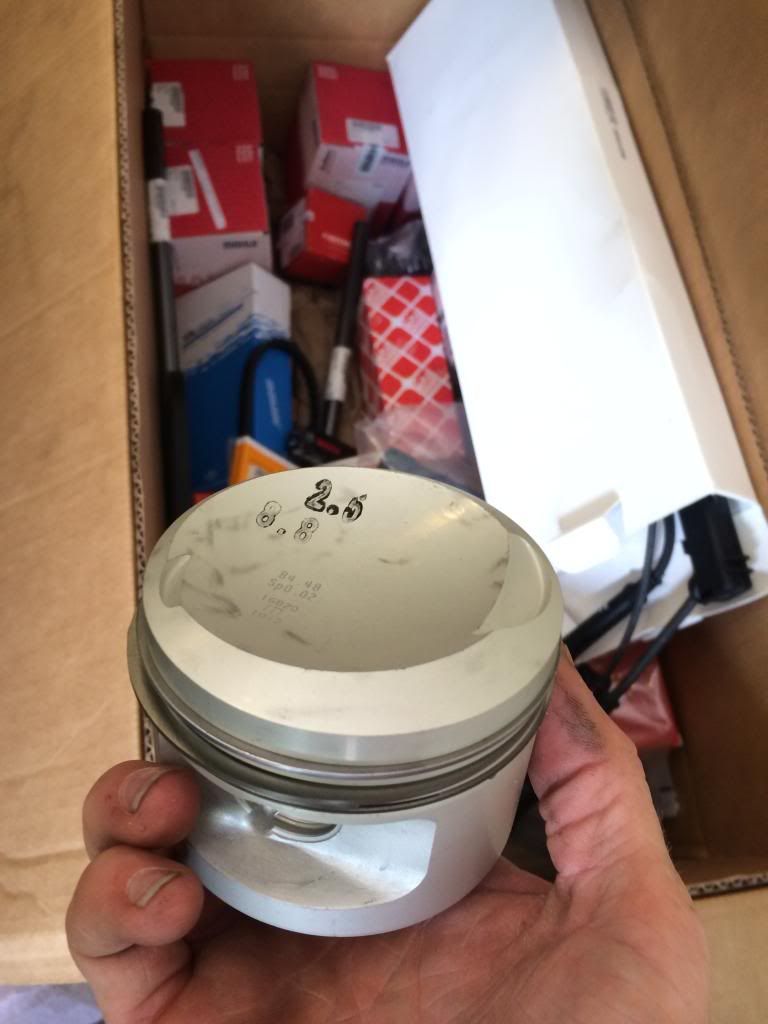
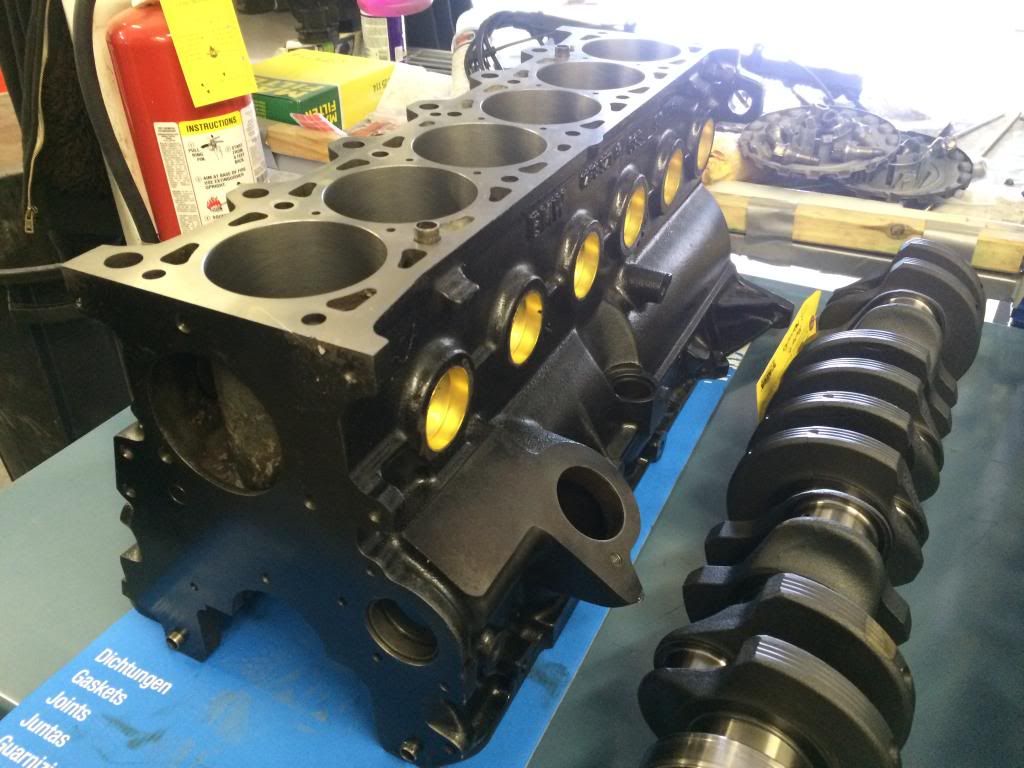
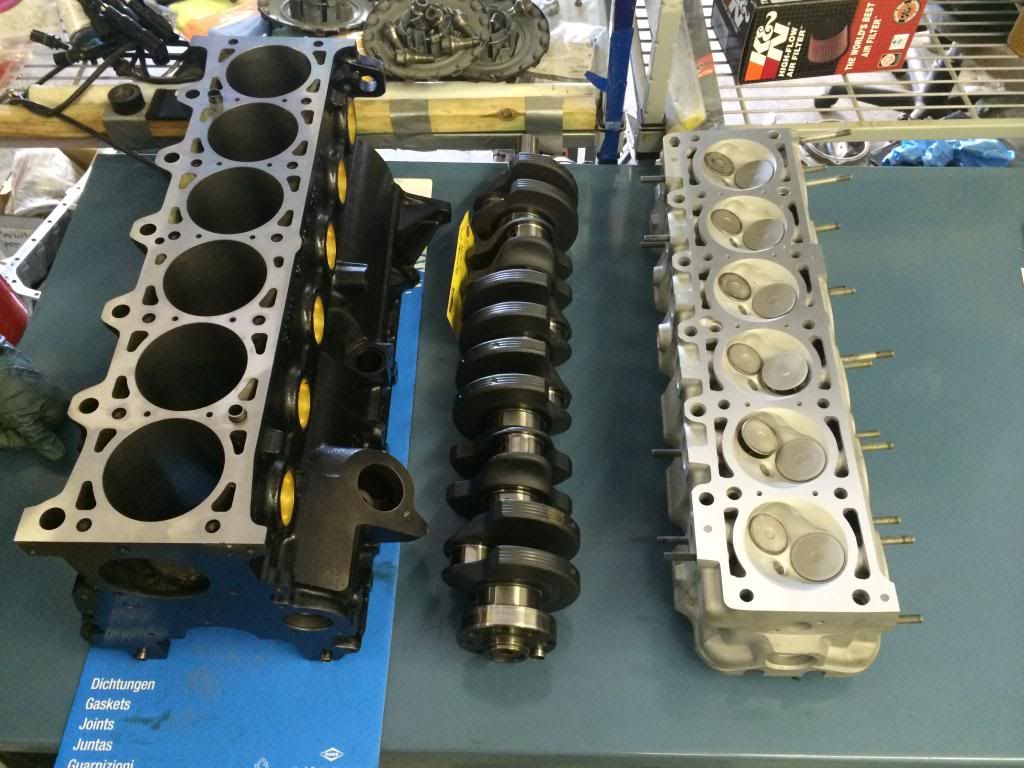
We are going to be doing a full bottom up rebuild on our M20 motor. More so for reliability than anything, but I have the WORST luck when it comes to blocks. I am not sure if our machine shop is just super particular, but the bottom ends never seem to hone out to their quality standard, so boring it barely over will ensure everything is as proper as if it came from BMW.

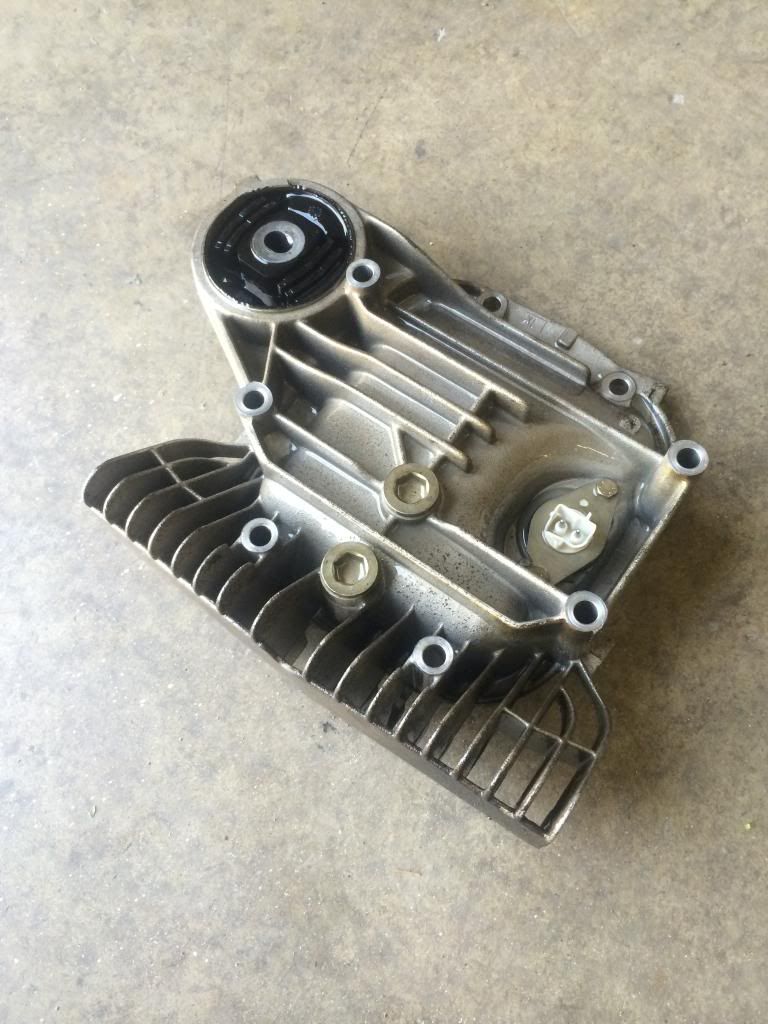
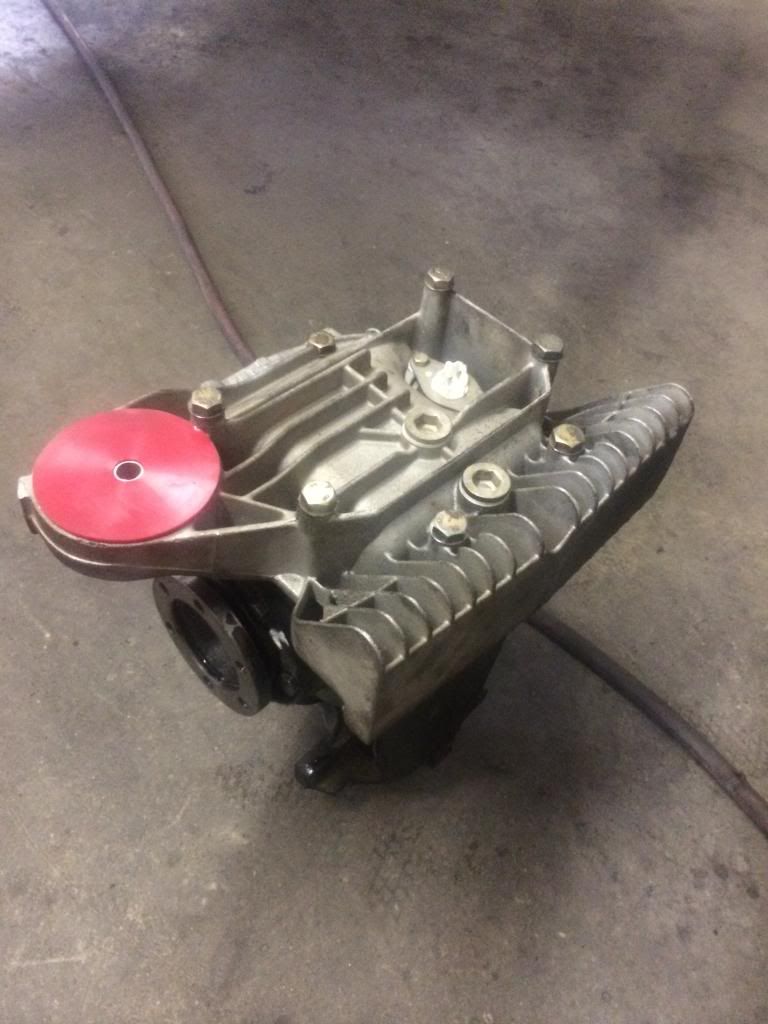
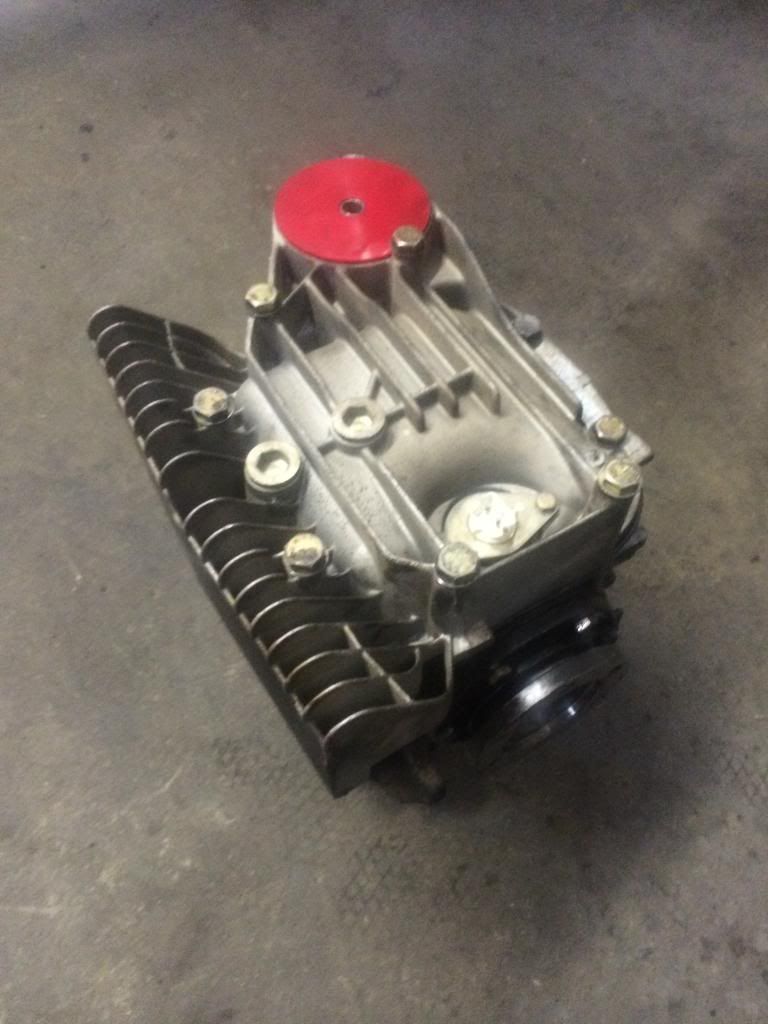
You dont see too too many of these. We had this finned diff cover in the back of the shop for gosh who knows how long. Soooo I checked the rules and it is SE30 legal so it is going on this bad boy!!!

[URL=http://s148.photobucket.com/user/m3rob95/media/Mobile%20Uploads/0C0416C0-BE56-4CEA-8A9A-6B46A4D2D330_zpsf7lvrzz7.jpg.html][/URL]

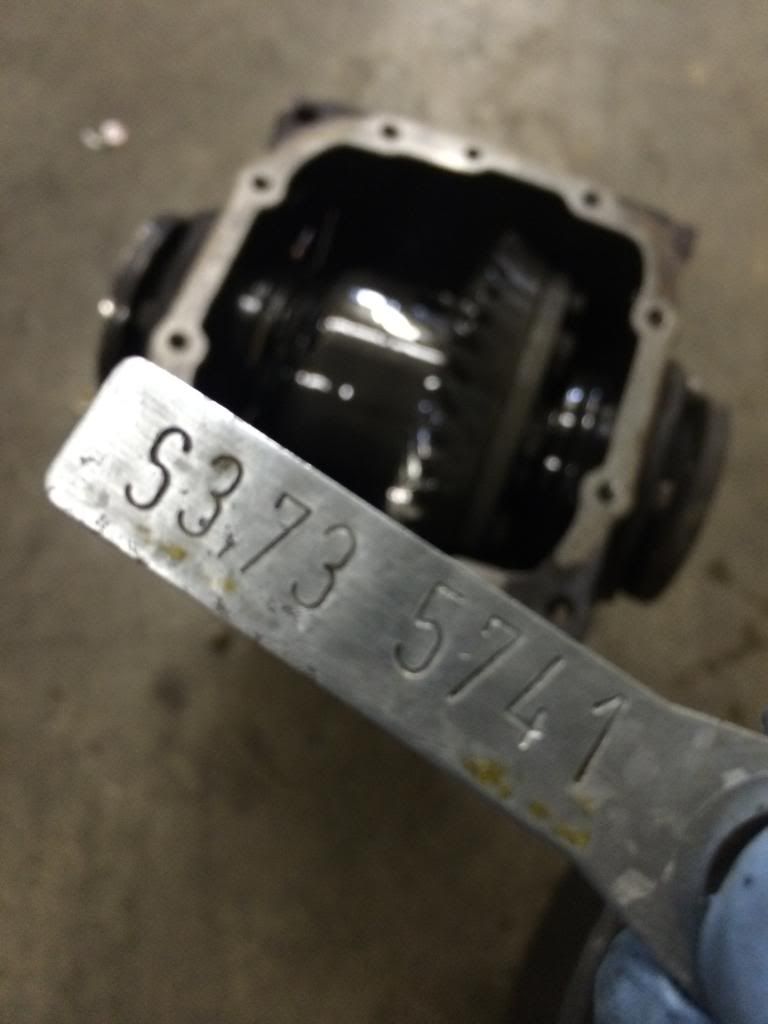
I was even more lucky to find out that the car i bought had an LSD from the factory! That saves me a headache in tracking one down that isnt exploded.

[URL=http://s148.photobucket.com/user/m3rob95/media/Mobile%20Uploads/778016E8-235A-4EBF-B366-7751880A531B_zps0fftpeue.jpg.html][/URL]

We threw in two new clutches from BMW and called it a day. Popped in the AKG rear diff bushings, topped it off with Red Line 75w-90 gear oil and some fresh Permatex Right Stuff RTV gasket maker for the cover seal:

[URL=http://s148.photobucket.com/user/m3rob95/media/Mobile%20Uploads/E082D8FE-A071-48DF-85B8-B7024FFA2126_zps6ow5d6tp.jpg.html][/URL]

[URL=http://s148.photobucket.com/user/m3rob95/media/Mobile%20Uploads/5183B1C7-65E6-468B-8DF0-821810390532_zps7c2ja75m.jpg.html][/URL]


#4

I have the same lollipop bushings, and it was recommended to me to drill into the lollipop and bushing and place a set screw to ensure the bushing doesn’t rotate in the lollipop.


#5

We got the subframe all shined and and reassembled. We again went with AKG bushings for the trailing arms. We are going to be reusing the factory axles. Has anyone had issues with them exploding on track?

[URL=http://s148.photobucket.com/user/m3rob95/media/Mobile%20Uploads/D749D56A-916F-48C7-BD4E-342E43AA0BBF_zpsrq5zhmqt.jpg.html][/URL]

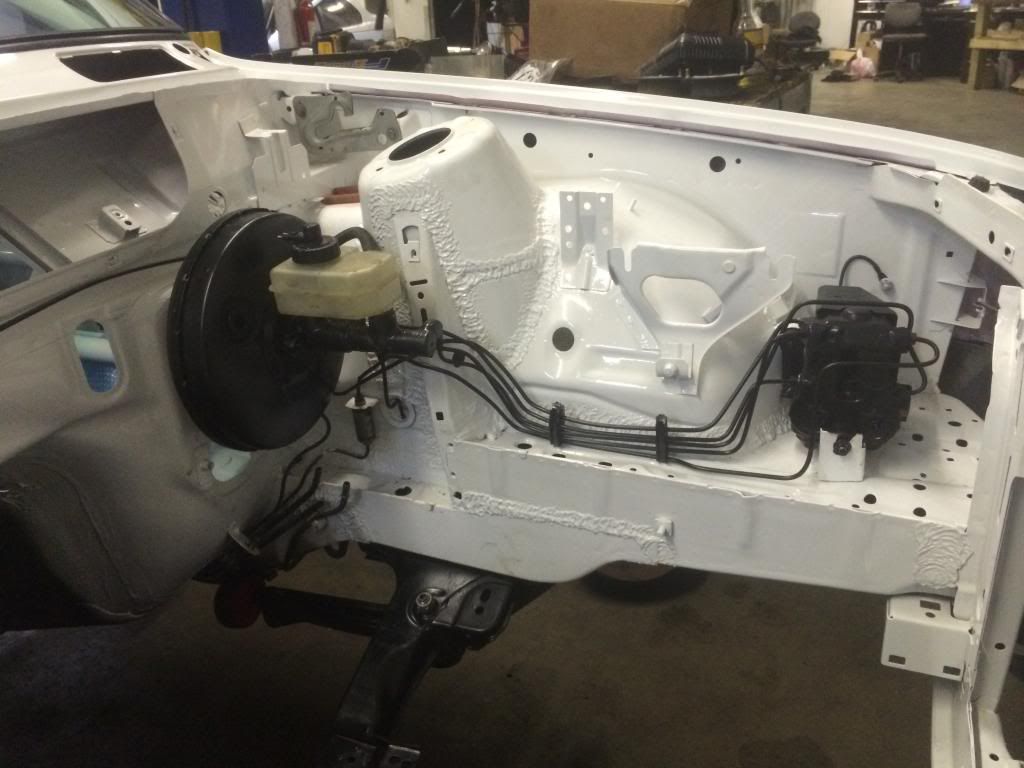
Back under the hood, we got the ABS module, booster, and lines installed. Everything was removed for the paint work so it was nice to be able to clean all this stuff up. I know it might be over kill, but I would hope to have this car for many years to come (thats if you crazies dont run into me :wink: )

[URL=http://s148.photobucket.com/user/m3rob95/media/Mobile%20Uploads/4A83CBF9-58A1-4450-88B7-81E9BF89C074_zpsmd53dmty.jpg.html][/URL]

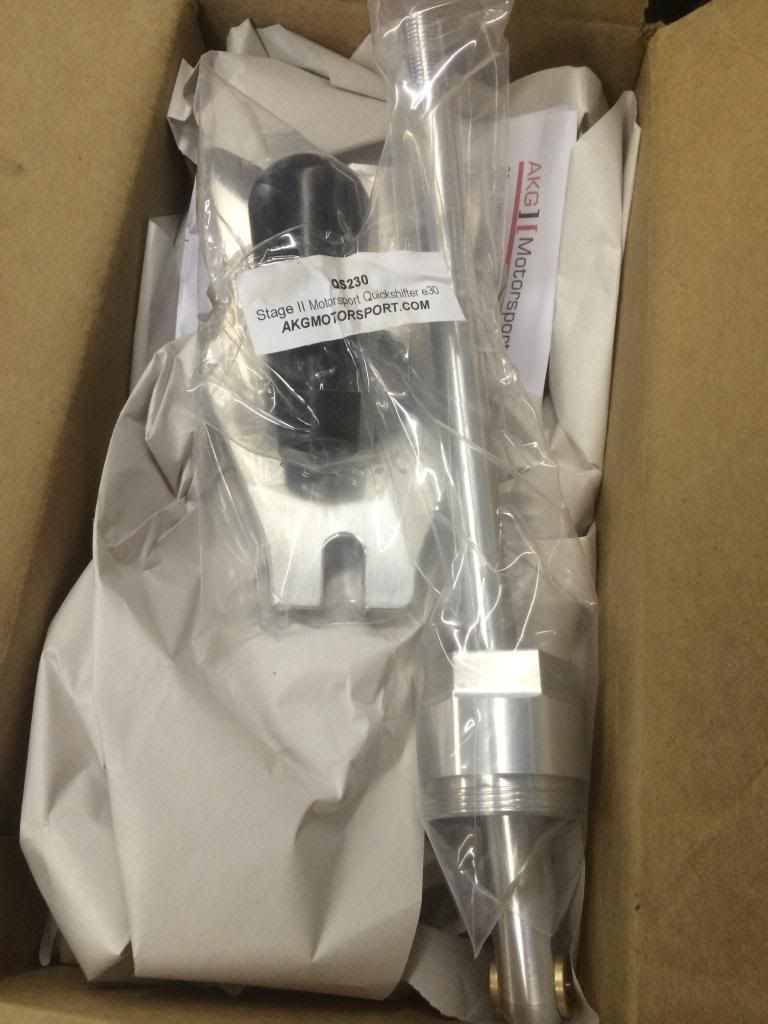
THIS JUST IN!!! AKG SHIFTER!!!

[URL=http://s148.photobucket.com/user/m3rob95/media/Mobile%20Uploads/B75BEA6C-7E2C-43C5-9A40-F3E64F56D105_zpsnyfcsw5y.jpg.html][/URL]

[URL=http://s148.photobucket.com/user/m3rob95/media/Mobile%20Uploads/32CE6272-4D6A-4210-BE58-6736E5A719AE_zpsliimeyhh.jpg.html][/URL]

Thats been a bucket list item for a while :slight_smile:

Again, many of you may have heard of Dave Markert, or Markert Motor Works for his wonderful wiring and engine harness conversions for 24v swaps into E30s. This young man is an absolute GENIUS when it come to anything in regards to BMW wiring, tuning, or complex diagnosing on the newer cars.

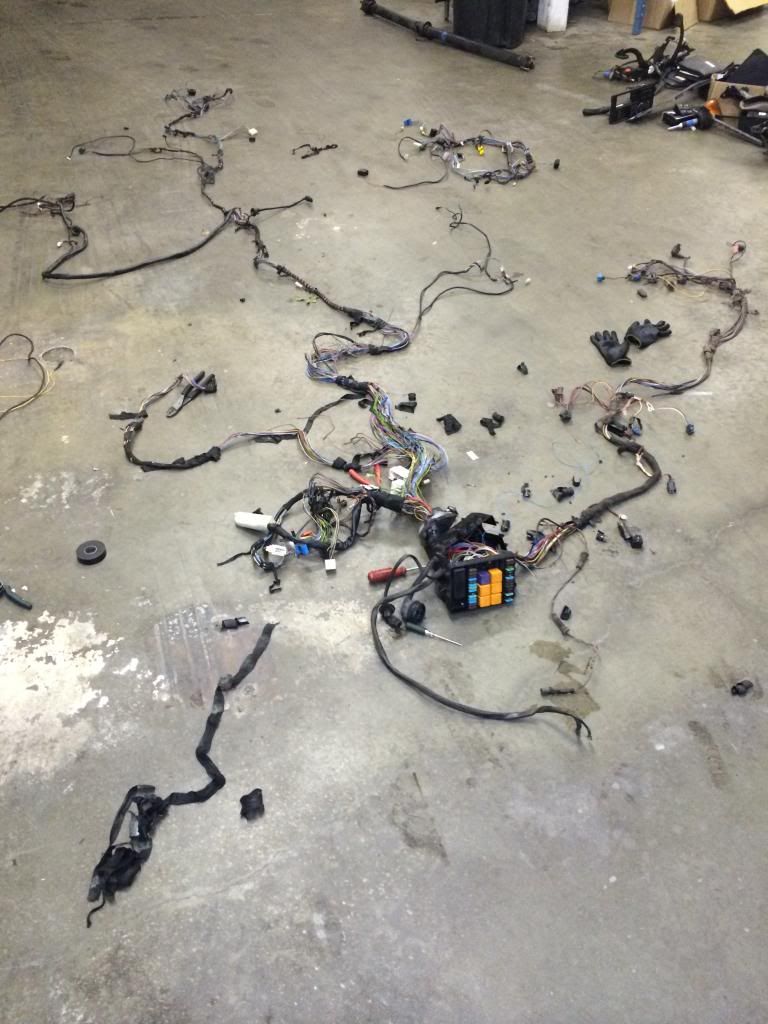
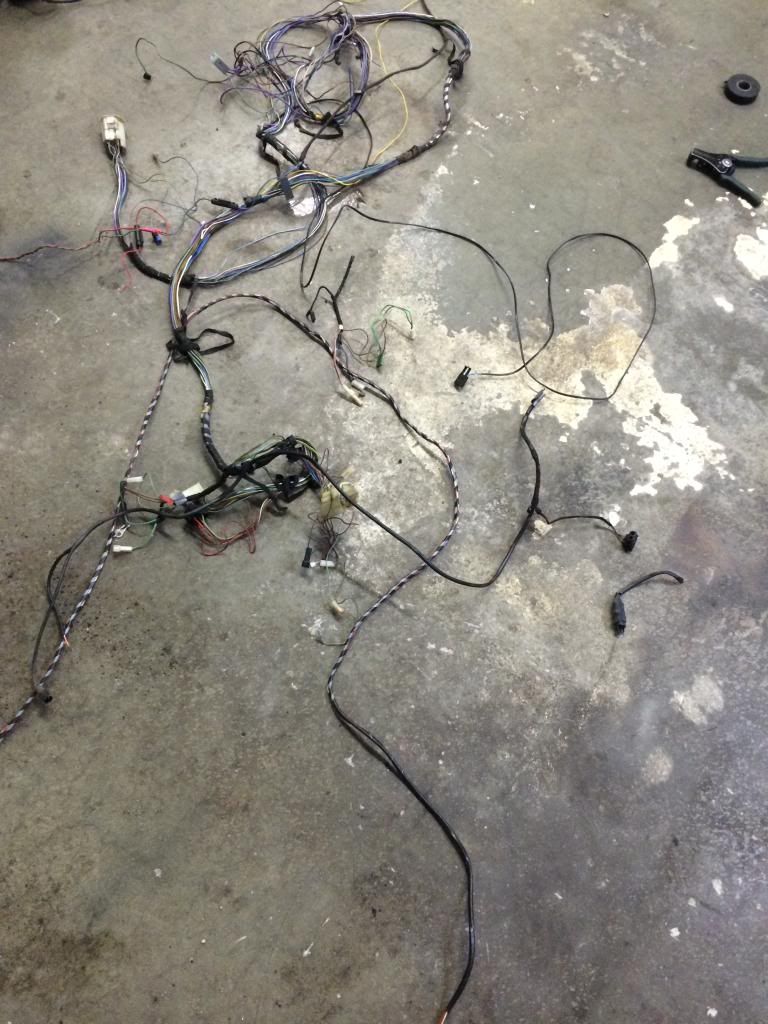
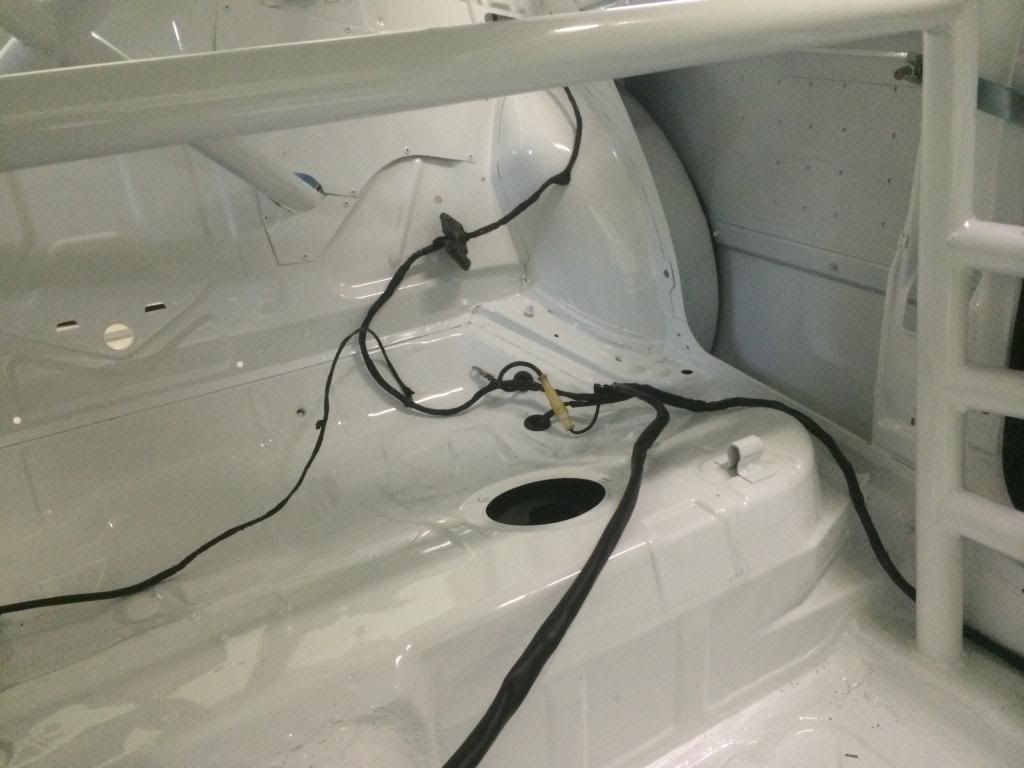
I laid out my complete body harness and he went to work! In just several hours, it was completely stripped down of all that it didnt need and taped back up to look just like new. This is much nicer than trying to do it in the car.

If anyone is planning on building a car, you could mail us your complete harness, and we would be happy to take on this for you. Just give us a ring!

[URL=http://s148.photobucket.com/user/m3rob95/media/Mobile%20Uploads/C8680241-CC15-490F-AD32-9F68821566A2_zpskh3jut2d.jpg.html][/URL]

Getting smaller and lighter:

[URL=http://s148.photobucket.com/user/m3rob95/media/Mobile%20Uploads/8FBB0044-4E9F-41E6-8FAA-6481A7A9DABB_zpsdhnpgrc0.jpg.html][/URL]

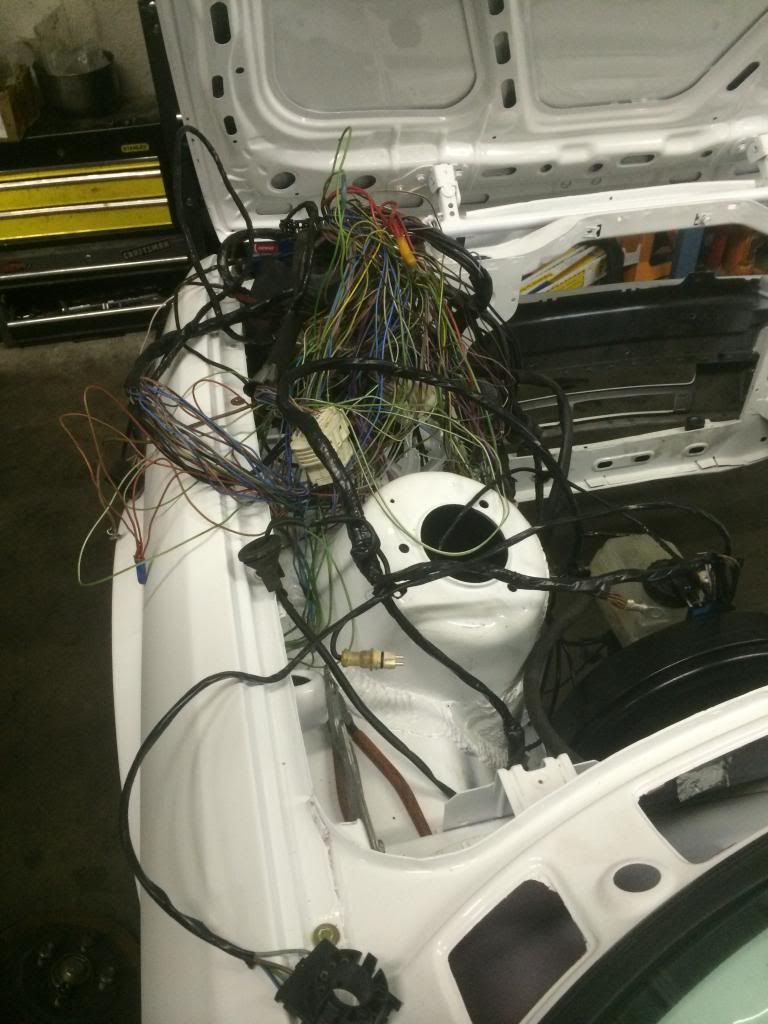
Dave got the harness complete and left me to install it.

I took this picture to try to make it look more daunting that it really was. We ran out of ele tape and it looked like HELL until I taped it the rest of the way up.

[URL=http://s148.photobucket.com/user/m3rob95/media/Mobile%20Uploads/8AFA099C-28C6-4727-AE4F-FA17BCE543CE_zpsighlep5e.jpg.html][/URL]

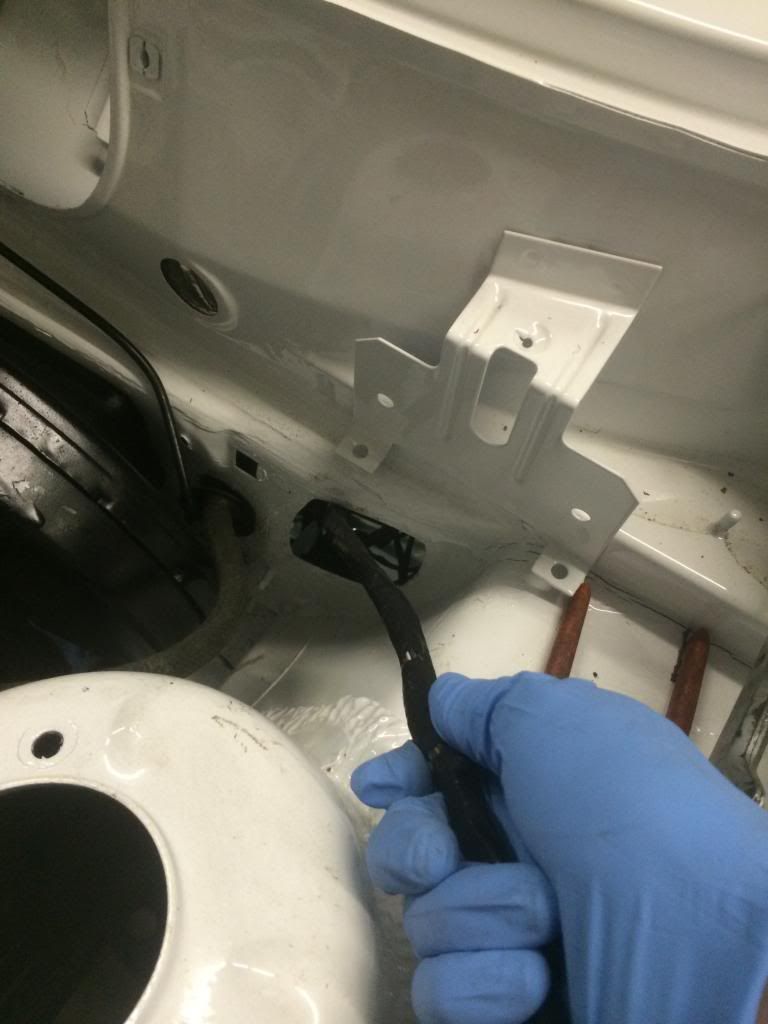
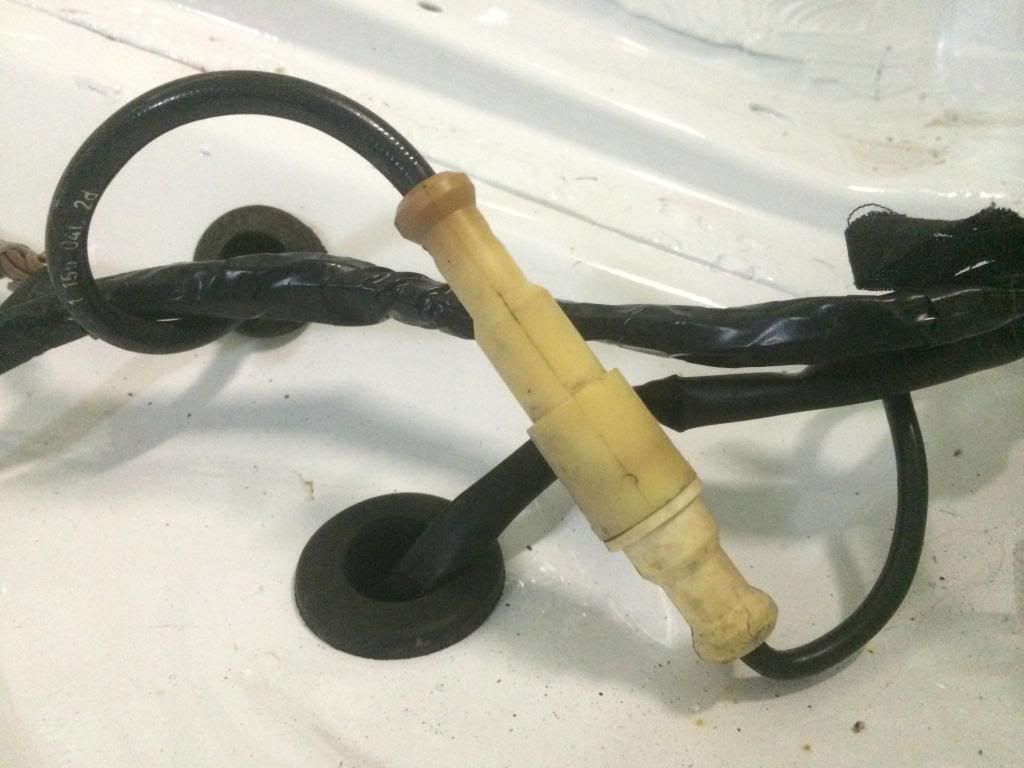
Feeding the harness through the fire wall:

[URL=http://s148.photobucket.com/user/m3rob95/media/Mobile%20Uploads/381A09BC-258D-4EF3-AE7A-88F86983C3F7_zpsinajbwfb.jpg.html][/URL]

Coming through:

[URL=http://s148.photobucket.com/user/m3rob95/media/Mobile%20Uploads/E1D9C960-A7F8-4498-9345-37B1F3855AB0_zpshvvd3bdp.jpg.html][/URL]

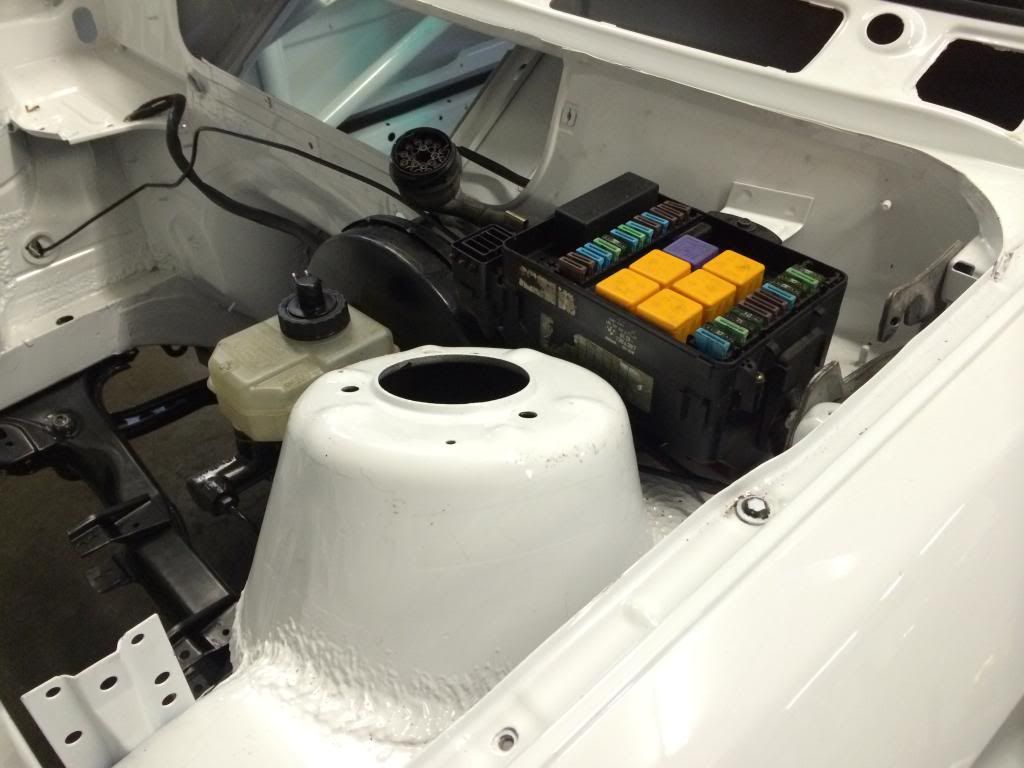
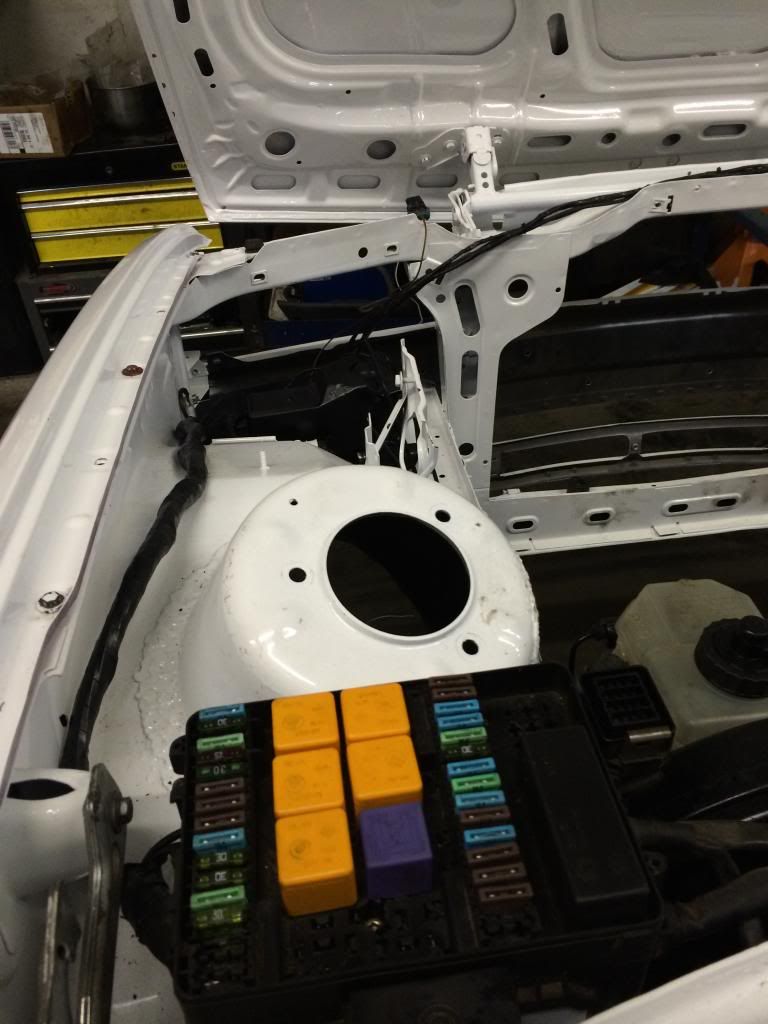
Fuse box looking proper back in the engine bay!:

[URL=http://s148.photobucket.com/user/m3rob95/media/Mobile%20Uploads/1E03B5CE-F2F9-4BD5-8448-2F15AE7770A5_zpspmvfnf7b.jpg.html][/URL]

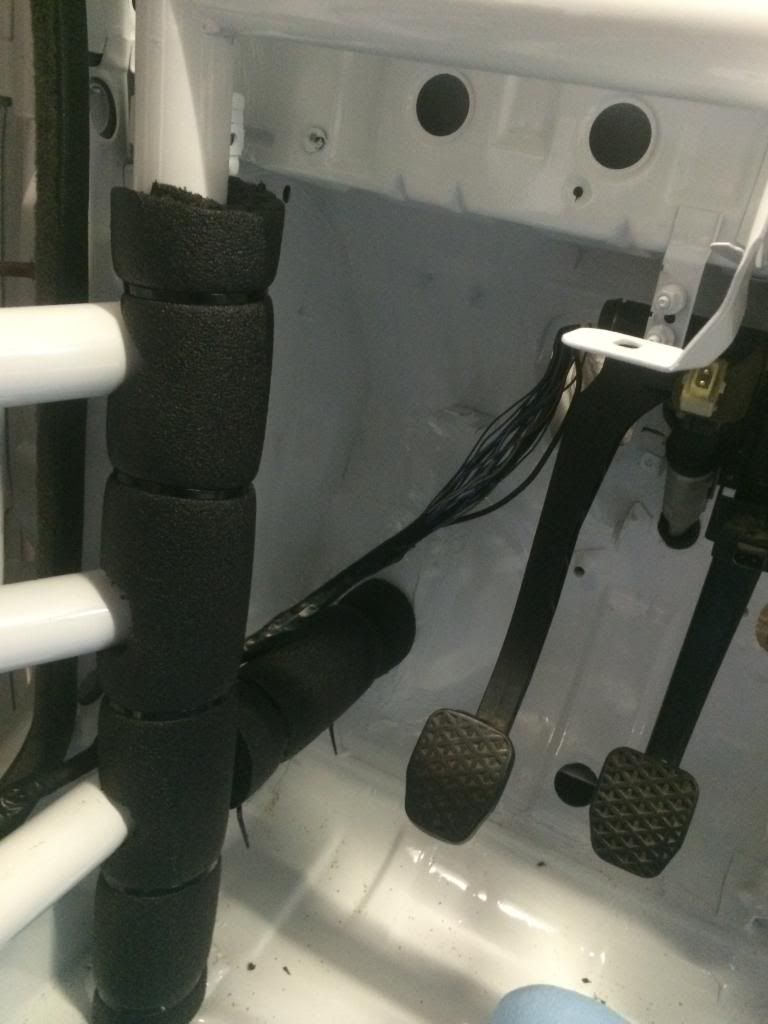
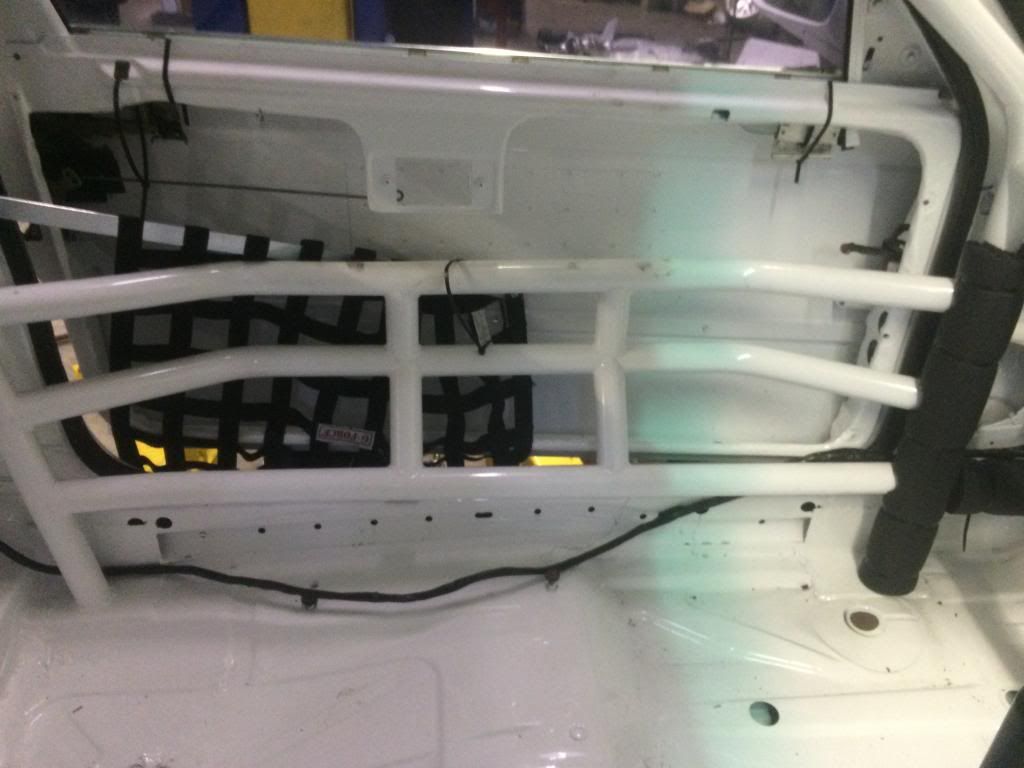
Routed it nicely along the body so it will be out of the way:

[URL=http://s148.photobucket.com/user/m3rob95/media/Mobile%20Uploads/34FDE6D1-B80A-4E0A-A892-56174E03E88B_zps2vnwzhps.jpg.html][/URL]

[URL=http://s148.photobucket.com/user/m3rob95/media/Mobile%20Uploads/743544D7-C2F3-44C8-B3FB-E4F639DD2EAD_zpsb7ahkalw.jpg.html][/URL]

Clean!!!:

[URL=http://s148.photobucket.com/user/m3rob95/media/Mobile%20Uploads/19E9BD65-4907-4C06-9E3A-14C38A9EFFC2_zpsax0hoe8e.jpg.html][/URL]

[URL=http://s148.photobucket.com/user/m3rob95/media/Mobile%20Uploads/E46D73F9-486F-42FA-9F4B-10303A421D96_zpsy8vl60ss.jpg.html][/URL]


#6

Rob, welcome to the SE.

After this weekend’s event we’ll all get together to discuss the CMP event and to answer all your questions. But it looks like you’re in good hands with the shops that you are working with.

RP


#7

The only thing I saw were your tabs for the eccentric adjusters on the rear. They look like AKG because they are made by bending the sides instead of the ones that are milled. I used a set and the sides actually bent or bowed out when they were adjusted. I talked with AKG and he said the side of the tabs had to be welded along the edge to give them extra support. I told him that maybe that should be included in the instructions. Be careful when you adjust them.


#8

Nice! And I thought my car was clean! Some quick suggestions.

Reinforce the front subframe (sway bar tabs and engine mount locations) while you have access. Also, route the wiring harness inside the cage so it doesn’t get pinched in an accident.

The halfshafts are pretty durable. Take the CV joints apart and clean out the old grease. If you see any dark bearings, corrosion, deep pitting, etc you might want to replace. Mine looked good so I cleaned, relubed, and reassembled with new boots. I also installed new rear wheel bearings while I was at it.


#9

[quote=“AndrewK” post=77012]Nice! And I thought my car was clean! Some quick suggestions.

Reinforce the front subframe (sway bar tabs and engine mount locations) while you have access. Also, route the wiring harness inside the cage so it doesn’t get pinched in an accident.

The halfshafts are pretty durable. Take the CV joints apart and clean out the old grease. If you see any dark bearings, corrosion, deep pitting, etc you might want to replace. Mine looked good so I cleaned, relubed, and reassembled with new boots. I also installed new rear wheel bearings while I was at it.[/quote]

Do this, but I think wheel bearing should be left alone if they’re good. Factory installed ones seem to be able to last forever but once you replace them you need to keep replacing them.

Rear sway bar tabs need to be reinforced. Some sway bar kits will come with triangular pieces to weld on.


#10

Rob - remember when we were at the Thon’s house party and you tried to convince me to go with an E36… now look where we’re at…


#11

Lol! I’m still heavily promoting SE36, but spec e30 is a good start towards professional racing which is my ultimate goal. I love the se36 crowd, car setup, and everything else that comes with that class. But my thoughts were, why limit myself! Lol

I will definitely be doing the reinforcements now. I wish I did them a tad earlier but oh well! I greatly appreciate the input. We have never had any issues with e30s we track but with almost all e36s those areas are often problematic.

Please let me know when y’all see anything else I’m missing!

More updates coming soon.


#12

Looking good brother!! Hopefully you can make it to the race in August 2-3 before the Nationals :wink:


#13

Best of luck to you Rob! Car is looking great man!

I definitely want to talk to Dave about thinning my harness out…


#14

Lots of progress. I didn’t get my car done before the weekend at RA before nationals, but I owe a huge thanks to Sandro for letting me rent the TicTac car. It was awesome to drive and a great opportunity to get some seat time before the big event. It was my first time in an SE30 at RA, managed to get 4th in SE30 and 1st in PTD. The awards at the Mexican resturant with the whole crew Saturday evening was probably the best part! Lol

Here are several pics I had on my phone of random things through out the process.


#15

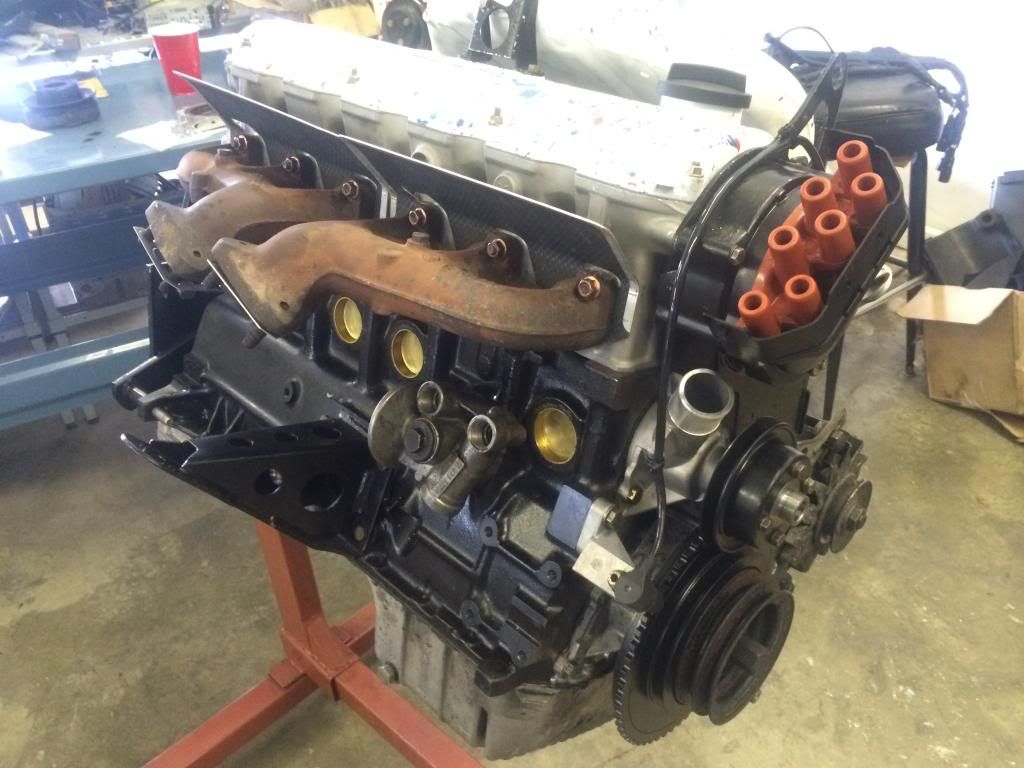
Engine parts!!! Yay :slight_smile:

[URL=http://s148.photobucket.com/user/m3rob95/media/E81898E8-E84C-4E57-9DA6-12DA3B68EA13_zpszdebvlvc.jpg.html][/URL]

[URL=http://s148.photobucket.com/user/m3rob95/media/F4C791C6-8C09-40B7-AD44-4243F30B2CA0_zpscivghe2z.jpg.html][/URL]

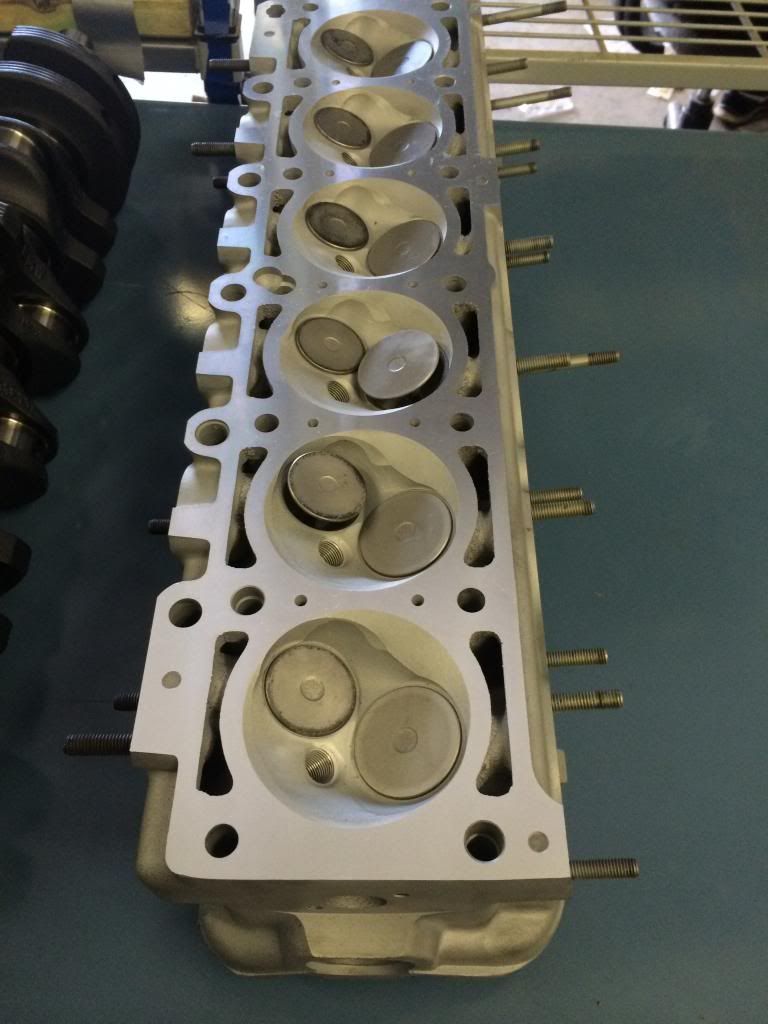
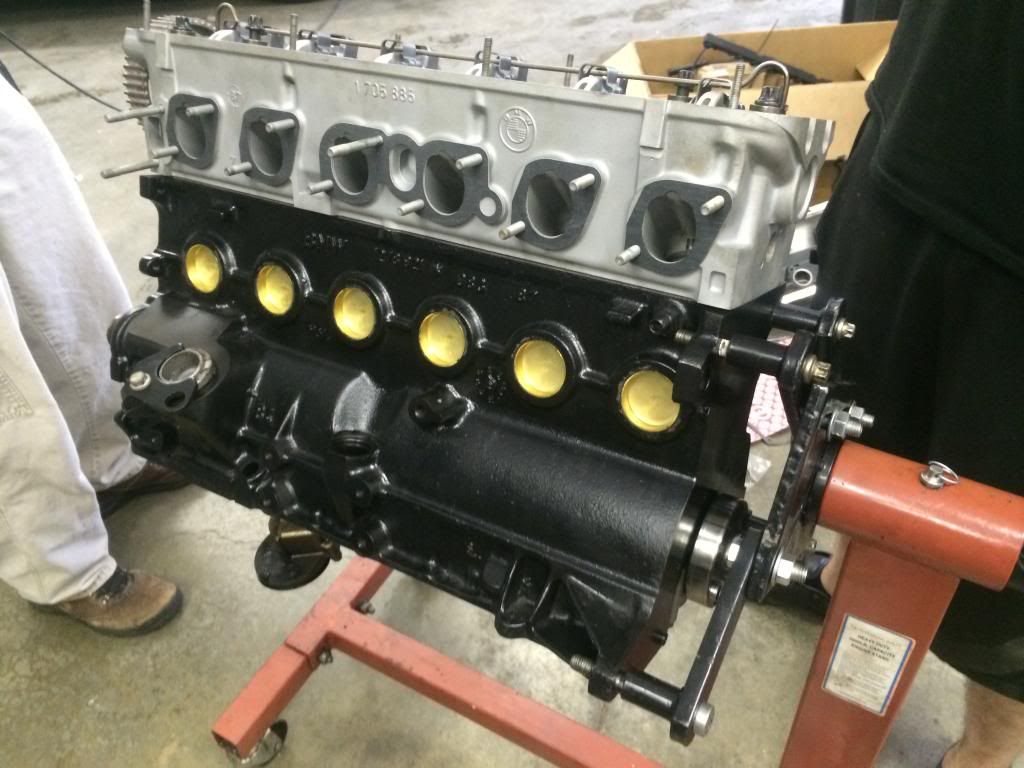
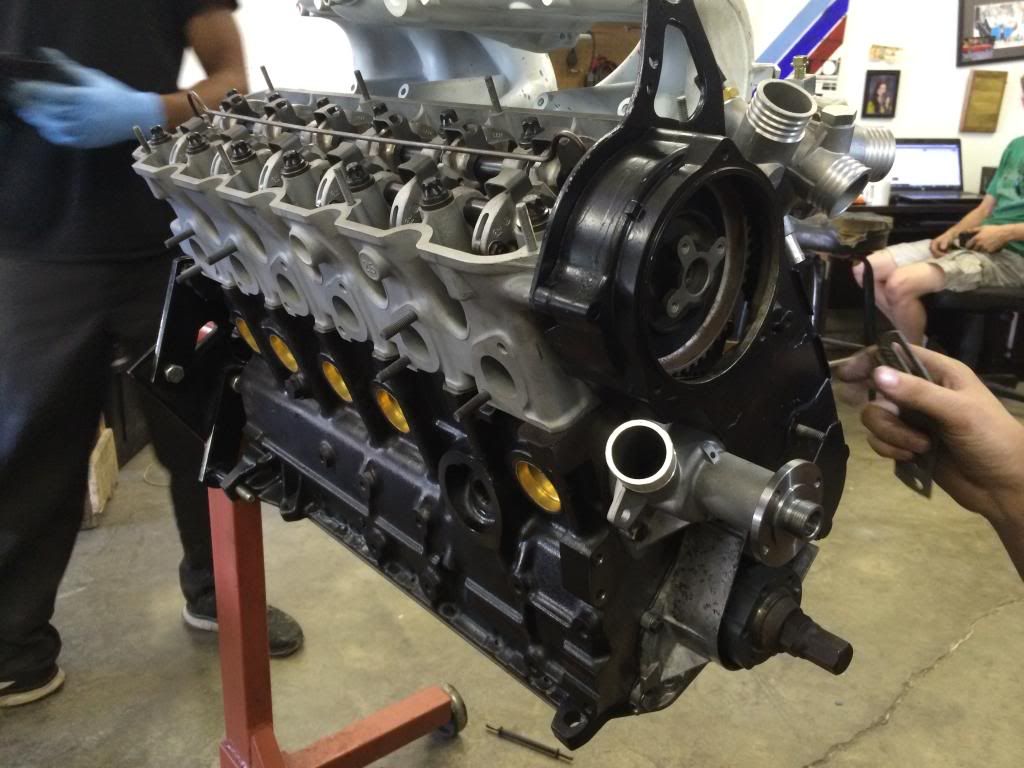
Cylinder head was resurfaced, cleaned, valve stem seals, pressure tested etc. I put new OE rocker arms, eccentrics and shafts. Should hopefully do well for years to come.

[URL=http://s148.photobucket.com/user/m3rob95/media/87E93A97-2AA5-485B-8038-86AA89809C23_zpszbc5ntxs.jpg.html][/URL]

Motor coming together:

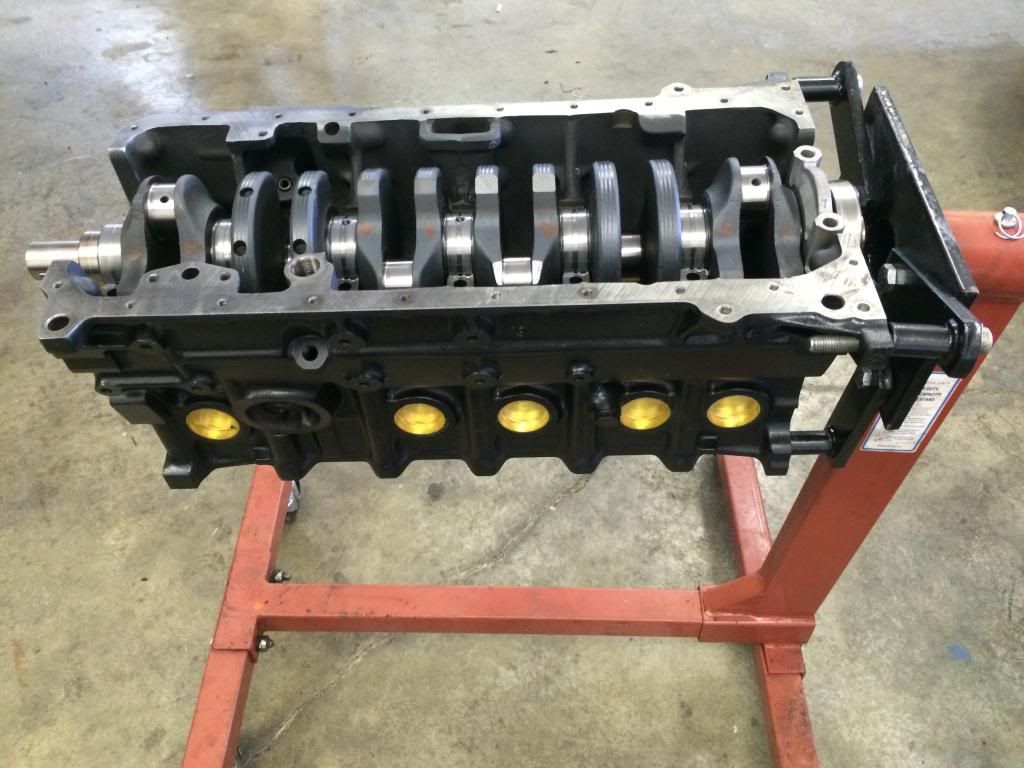
Crank and main bearings getting installed:

[URL=http://s148.photobucket.com/user/m3rob95/media/1815E8FA-9DF7-49A0-A471-36E0343E6641_zpszyrjrtl4.jpg.html][/URL]

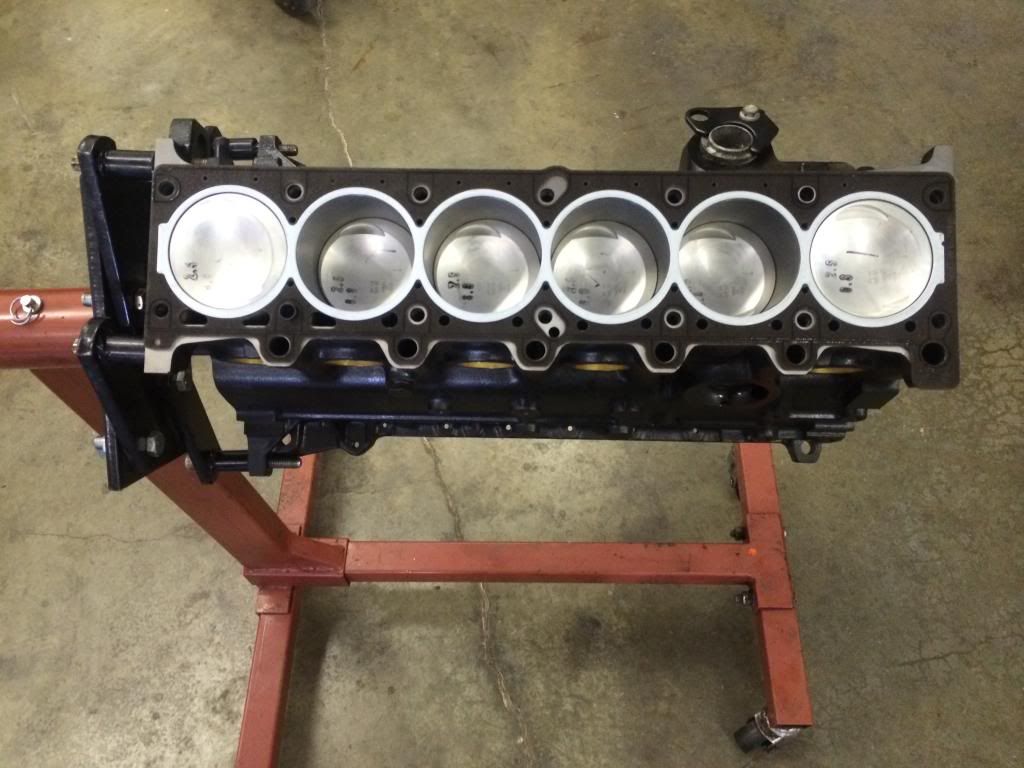
Pistons in and HG sitting there.

[URL=http://s148.photobucket.com/user/m3rob95/media/4F7A9E9E-BE66-4177-B217-21FAF2B622E6_zps0zucr3yl.jpg.html][/URL]

Cylinder head on:

[URL=http://s148.photobucket.com/user/m3rob95/media/3B752E66-871C-4799-B9A8-CCBBF57D1F09_zpsrcypsoer.jpg.html][/URL]

[URL=http://s148.photobucket.com/user/m3rob95/media/AE147D87-702F-4562-A706-EFFE3F2C44F9_zps0u49qprn.jpg.html][/URL]

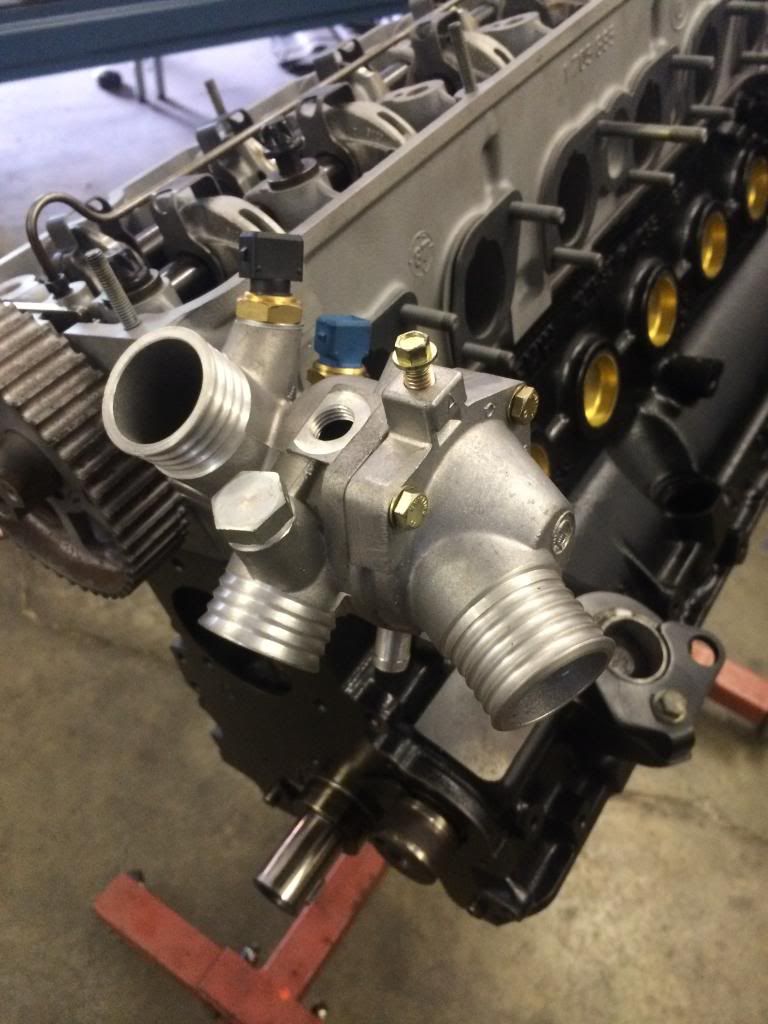
Super clean new tstat assembly:

[URL=http://s148.photobucket.com/user/m3rob95/media/FB92821E-2CF0-4666-AE62-F2571822F365_zps66xpe4oh.jpg.html][/URL]

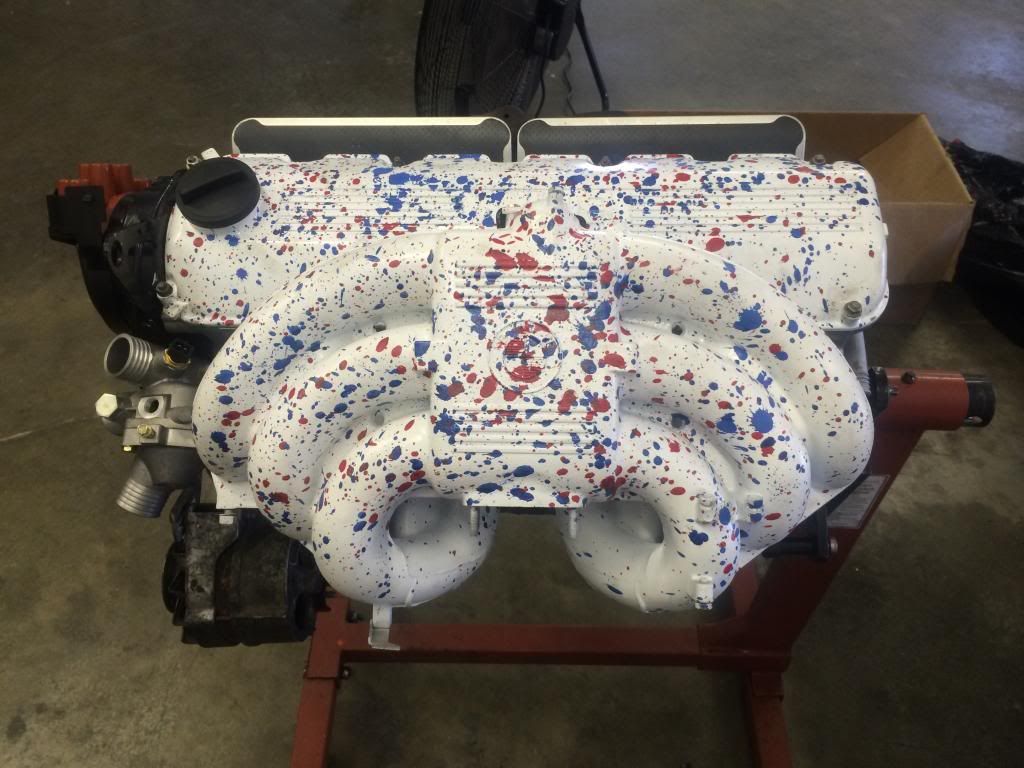
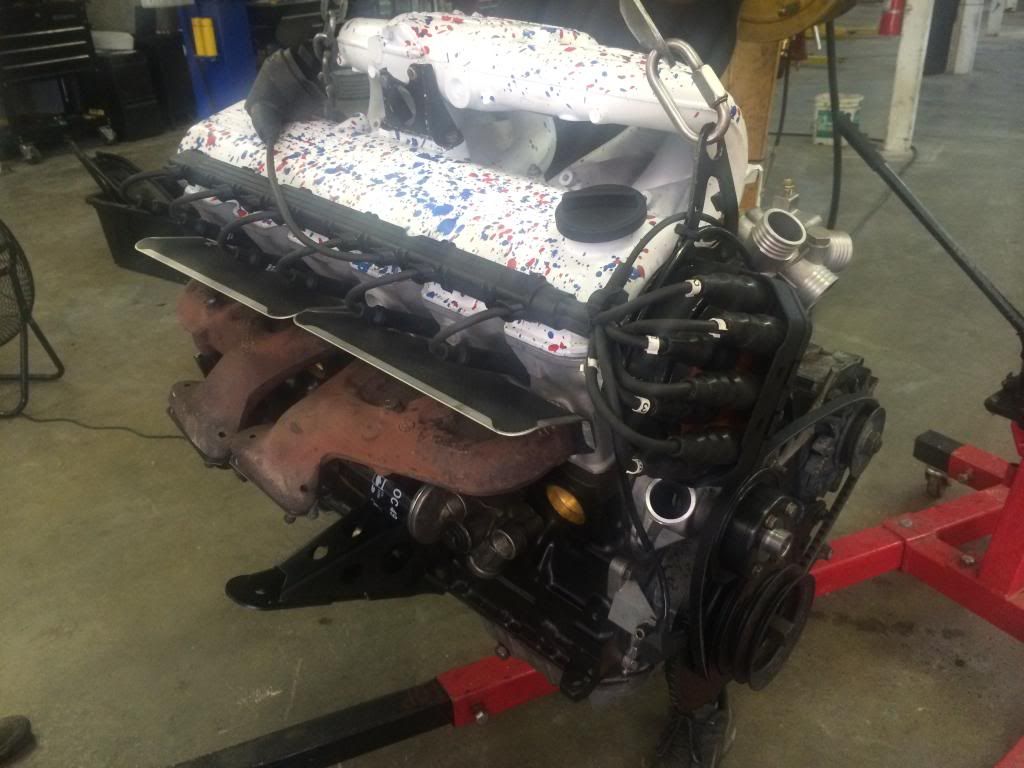
Threw paint at this thing for some reason. Keepin it classy
[URL=http://s148.photobucket.com/user/m3rob95/media/54347B87-FCA4-4F89-8D76-813804610CB8_zpsiqfo2wvc.jpg.html][/URL]

[URL=http://s148.photobucket.com/user/m3rob95/media/2F32DAB0-5A6C-40C4-BAF6-DE336FDAB78C_zpsecwdn68f.jpg.html][/URL]

[URL=http://s148.photobucket.com/user/m3rob95/media/3F53A574-0863-454E-B7F0-DF89E6B88FE6_zpss16zmnhj.jpg.html][/URL]


#16

Oh no! Here comes trouble lololol

[URL=http://s148.photobucket.com/user/m3rob95/media/44359EB8-84E2-451E-BB4A-5A06C543DBC5_zpsiu1zgfg7.jpg.html][/URL]

[URL=http://s148.photobucket.com/user/m3rob95/media/16B5575C-2F82-4C1E-9186-F9191659A67B_zpsbvkt5qyw.jpg.html][/URL]

Ooooo

[URL=http://s148.photobucket.com/user/m3rob95/media/09F29451-E30C-4C1B-9C08-5E4ECA538C74_zps64ok3jik.jpg.html][/URL]

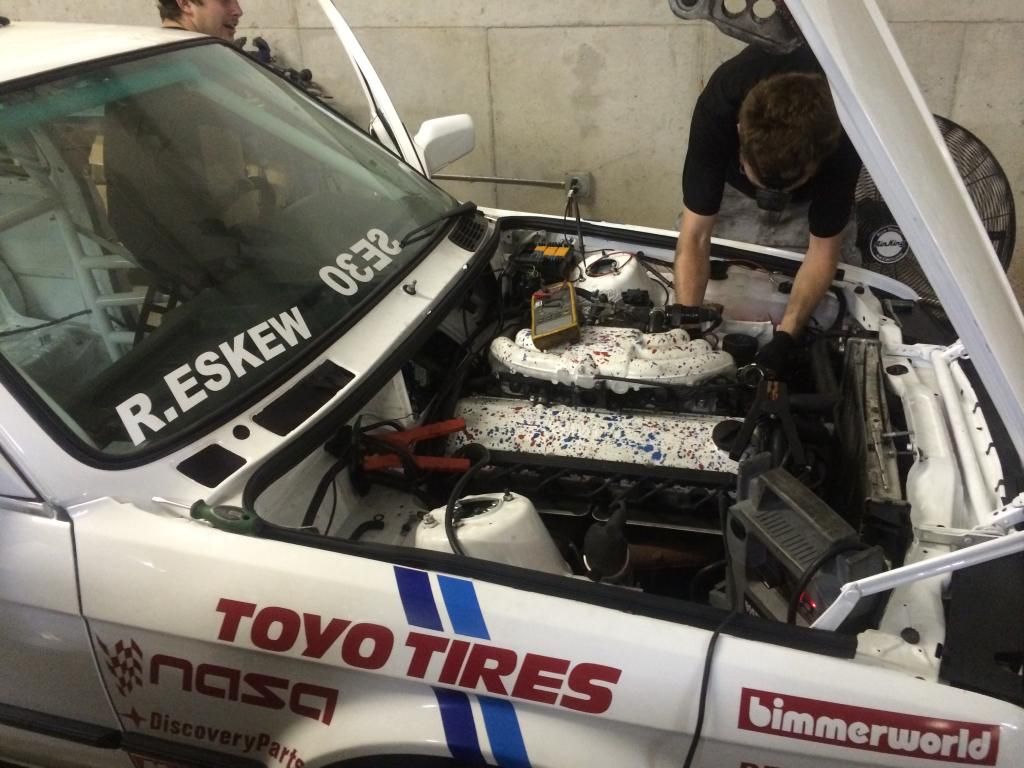
I did as much as I could and I had Dave help start it right up. Basically fired up first try, but I had the wrong engine harness from an earlier model so it needed some tweaking for the first start. I am currently replacing the incorrect harness with a proper one from a late model.

[URL=http://s148.photobucket.com/user/m3rob95/media/2D138FD0-0AAA-4B44-9891-2A3E1D07AB80_zpsashaup9y.jpg.html][/URL]

Btw, these things are a royal PITA to install.

[URL=http://s148.photobucket.com/user/m3rob95/media/252A9AA1-9899-48EF-A58A-4B2BCDFEB850_zpsfeoythtr.jpg.html][/URL]


#17

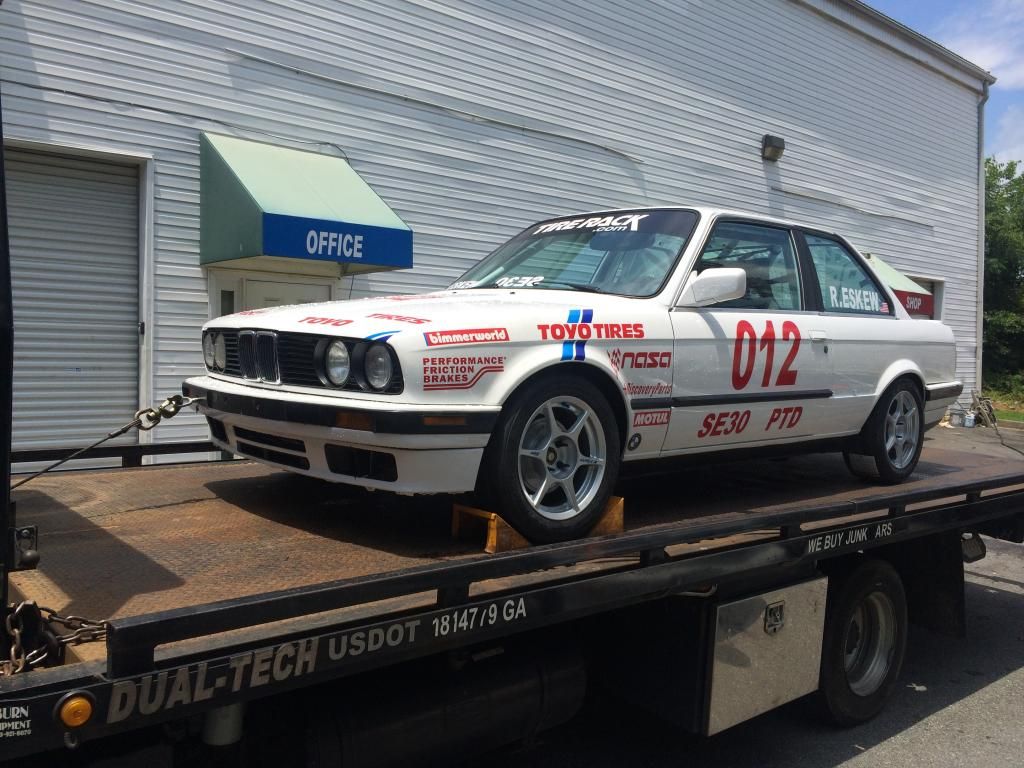
Towing it back up to Zintars for the last few touches including alignment, hood pins I didn’t want to install, and several other things I had on a long annoying check list I didn’t want to mess with :slight_smile:

Not pictured, I got the fire system completely installed and it looks beautiful. I’ll grab some pics soon. I also got the seat, OMP steering wheel, harnesses and nets installed to complete the “racecar” look and feel. All the roll bar padding is nice and neat and makes it look really professional. It’s not easy hanging out with y’all :wink:

[URL=http://s148.photobucket.com/user/m3rob95/media/BFFADEA3-E27D-4464-8C99-2A8B31FB7DE3_zpsllfyizr1.jpg.html][/URL]


#18

I need more Bills for the Build!!!

[URL=http://s148.photobucket.com/user/m3rob95/media/DBEA6678-CF34-427C-9080-13970853EE72_zpsjp617xca.png.html][/URL]


#19

Thought I would point this out.

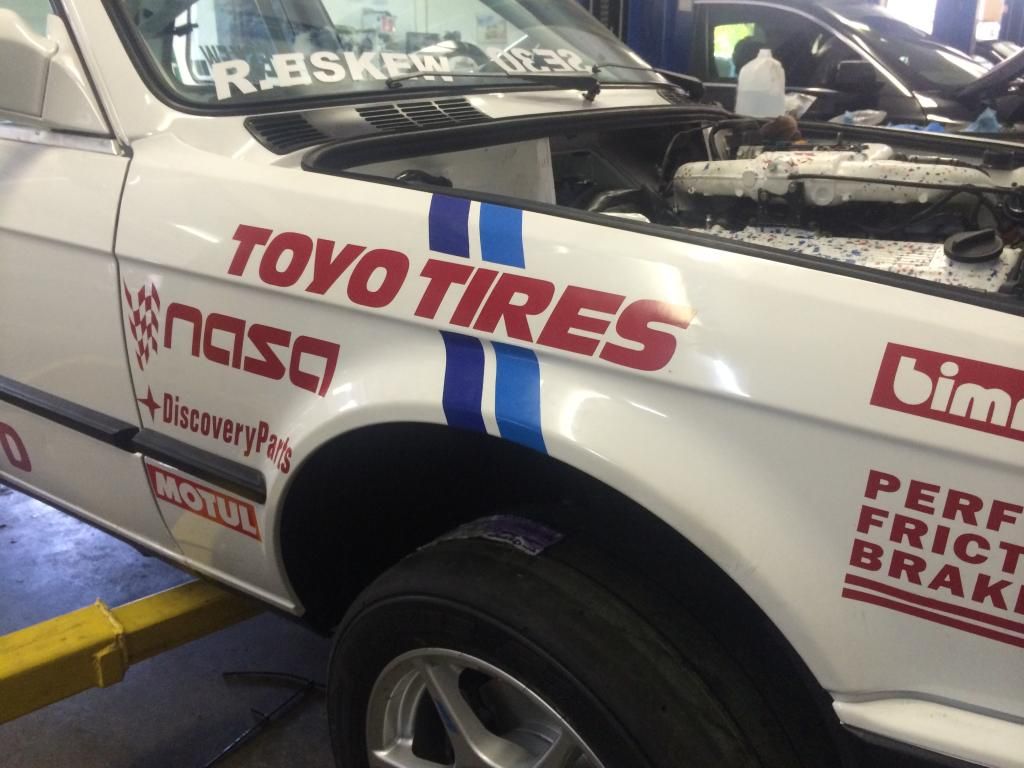
[b]BimmerWorld - To be eligible for BimmerWorld contingencies, car must display the official blue and yellow BimmerWorld decal (2.5”x11” - not the smaller 8" version) on each front fender, unless written approval of a substitution is on file from James at BimmerWorld.

PFC - To be eligible for Performance Friction contingency, car must display the Performance Friction decal on the front position of the front fender in front of tire opening, with no other brake supplier decals on car. Finisher must produce an invoice or order number for their prior purchase of Performance Friction SpecE30-fitment brake pads from BimmerWorld dated within one year prior to the race date. [/b]


#20

So shiny and pretty. Gonna be fun putting donuts on that brand new white paint!