Woohoo, with the new springs we can now adjust corner weights for real. But we also have to keep in mind bump travel. That is to say, we can lower a corner so much that the tire can’t hardly bump up into the car, because the resting height of the strut shaft is so low that it doesn’t have much room to go lower.
Terminology. I’m pulling all this out of my butt, so I can’t be sure that I have the industry-standard terminology right. But I need to define terms so what I’m saying will be clear. I’m using the word “lower” to mean moving the adjustable perch such that it lowers the car. What’s actually happening is that your raising the wheel. When I say “put turns in” I mean rotate the adjustable spring perch UP the red threaded cylinder.
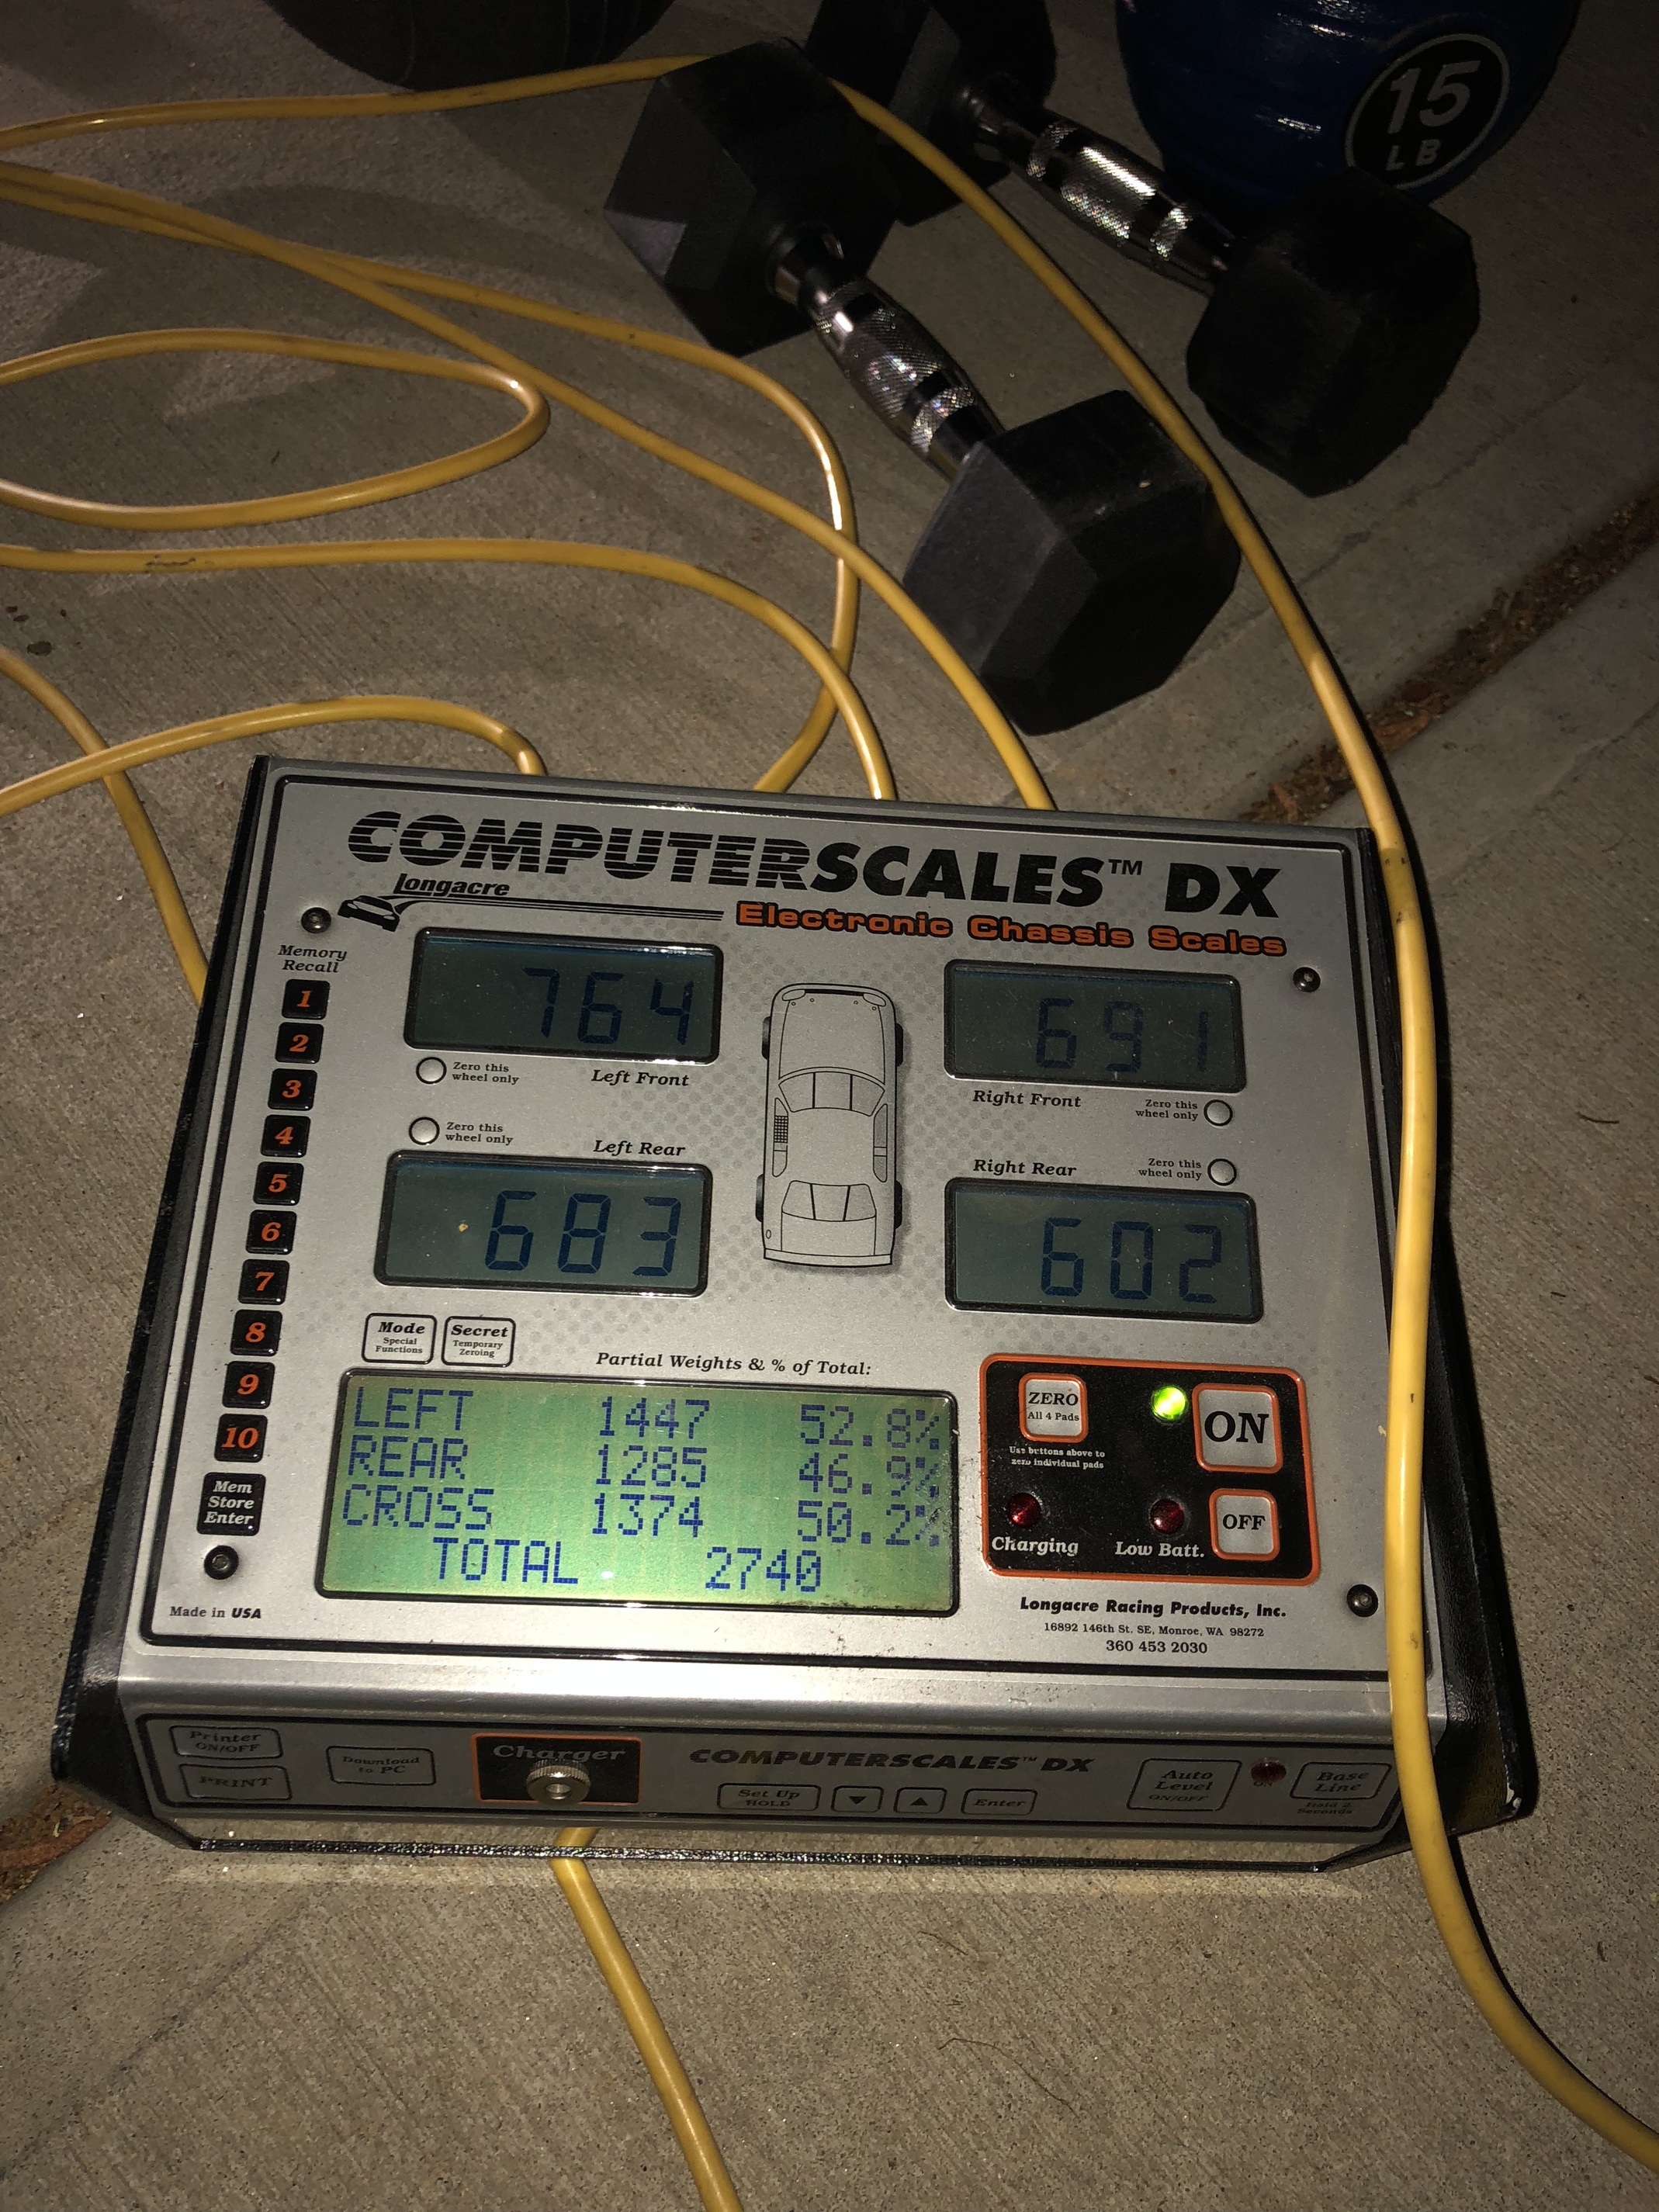
You’ll need scales. There’s a thread or two around here re. buying cheap 400lb scales. Put a pair of those under each wheel with a 2X10 on top.
Checking to ensure that your floor is flat. It doesn’t have to be perfect, but you want to get it as close as you easily can. Go to Home Depot and buy an 8’ long piece of AL tube, 3/4" or 1" square in cross section. Then put a socket on your floor where each wheel would go. Put the AL tube across 2 of the sockets so it spans one wheel spot to the next. Use the laser level’s digital angle gauge (link below) to see how flat the surface is. Have some thin pieces of something, like 1/4" thick, that you can use to lift a corner. Keep at it until you have a pretty flat surface. Mark the spots and keep a record of this so you never have to do it again. Doesn’t have to be perfect. A little error won’t effect the results much.
Once you’ve figured out how many thin pieces of whatever need to go at what corner, those pieces go on top of the 2x10’s, not under the scales. Otherwise you’ll confuse the scale’s calibrated feet. Also, if you have 400lb scales, you’ll need the front wheels pretty close to centered over the two scales. Otherwise one will get >400lbs and prob just error out.
Simulate race weight. Get some weight into the driver’s seat. I used dumbells to simulate me. No really. But in order to genuinely fine tune the simulation, I only used dumbells that were really good looking, hard as woodpecker lips, and all kinds of charismatic.
Normal race fuel load. For me that means full tank.
Start with enough front bump travel. Turn your front wheels all the way to a limit. Grab a caliper and measure the distance between the gland nut that holds the strut into it’s housing, and the top hat. If you have less than 50mm of distance between gland nut and top hat, I’d put some turns in to lift that corner a bit. 50mm only gives you around 27mm of bump travel, the distance the strut will compress before bottoming out on it’s internal bump stop, which isn’t a lot. Getting 55 or 60mm wouldn’t be crazy. As time goes by, the community and the racers in your region will get a better idea as to how much bump travel you need for the tracks you frequent.
The picture that is starting to emerge is that we used to have about 30mm of bump travel, but that was with softer springs. So we used to bang on the bumpstops a lot. If you set your new springs such that you have a little less bump travel then you used to, you’ll still be in a better situation because the far stouter springs will generally keep you off of the bumpstops.
As we learn more about these #'s, I’ll come back to this post and make changes as necessary.
In this example, you’re starting with 27mm of bump travel. Resolve now not to allow the corner weighting process to lower a front corner. Don’t let corner weighting degrade bump travel.
Check tire pressure. If anything is obviously whacked, make it less whacked. If your obsessive, set all tire pressures to hot pressures.
Sway bars. Might as well disconnect one end of each sway bar. Between screwing with ride height with your new springs, and any adjustments you’re about to do, there’s probably preload on a sway. So disconnect them. Once you’re done cornerbalancing your sways, fasten your sway bars back up, but play with your endlinks to dial out preload. If one end of the bar is fastened up and the other end link seems to happily fit right into it’s hole with no up-down play, your prob good.
Put the car down on your scales. Give each fender a shove to reduce the possibility that a corner is being balky and isn’t all the way down to it’s rest position. Put the weights into a corner weight calculator like this one.
https://robrobinette.com/corner_weight_calc.htm
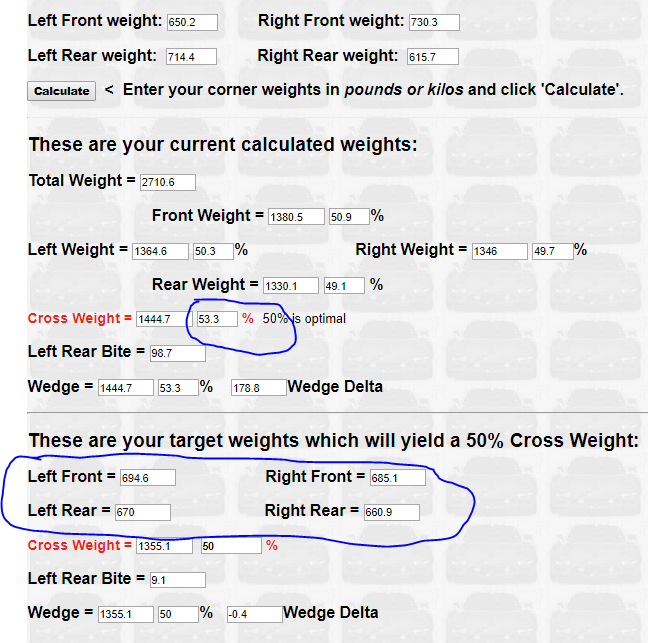
The example below is generic. With the weights entered in, the driver ended up with a cross weight of 53.3%. I don’t have a feel for how bad is “bad”. The objective is 50% so is a 3.3% problem “fine” or is it “pretty bad”? I don’t know, sorry. But last night my problem was 2.9% and I got it to 1.1% with one quick adjustment.
Look lower down on the image for the “target weights”. These #'s give you ideas as to how to improve your situation. Identify your corner that is the most too heavy, and the most too light. In the example, the LF and RR are too heavy. The RF and LR too light.
Decide how to fix your problem. In order to add weight to a corner, you have to raise it. That is to say “put turns in” by threading the adjustable perch up the red threaded cylinder. To lower a corner, “take turns out”. Keep in mind that you don’t want to lower your front because you’ll lose bump travel. So lowering your RF to drop the weight there is a nogo. Other than that, you can kinda go at this any way you want.
I’ll choose to adjust the most screwed up corner. If you compare your corner’s weight (in the example) against it’s “target”, you’ll see that the LF is off by the most. So I’d add 2 turns to it, about 10mm. The charm of that solution is that you gain bump travel. 2 turns will prob add about 20lbs to that corner and that will likely cut your corner weight problem in half, or maybe even better.
Alternately you could add weight to the LR by raising it 2 turns, or you could drop weight from the RR by lowering that corner 2 turns. This latter idea would be a winner if you were comfortable that your 27mm of bump travel was adequate.
Ok, what did I miss? What did I say poorly and therefore it makes no sense?